🎬 When Colors Don’t Complete the Story…
Have you played around with the Super Pack Cinematic LUT Collection at all? It must have happened to you: you edit the video cleanly, the cuts are precise, the rhythm matches the music, and technically everything is fine. But when you watch the final output, a sense of dissatisfaction creeps in. It feels like the image isn’t conveying the atmosphere you had in mind during editing, and there’s a gap between the “idea” and the “final result.”
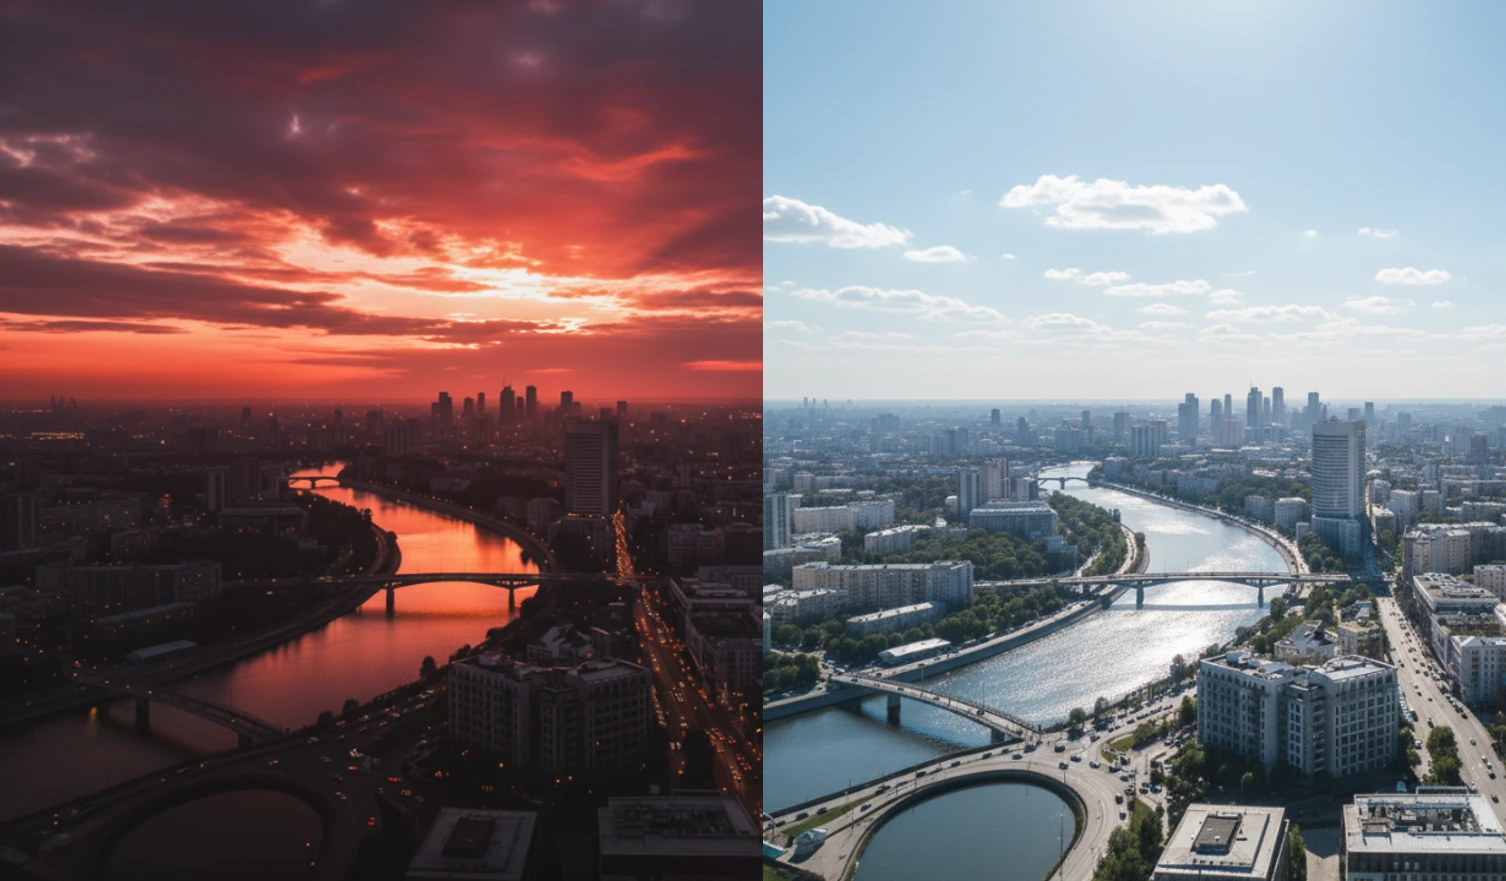
Usually, this problem doesn’t come from editing or even cinematography; most of the time, it comes down to colors. Poorly colored or inconsistent color grading makes footage look flat and fails to convey the emotion of the scene, whether thrilling, tragic, intimate, or even cinematic.
It’s almost a shame that ordinary coloring can make an entire project look ordinary, even with blood, sweat, and tears, and technically appropriate application. The audience might not know exactly what’s wrong, but they subconsciously feel that the video isn’t “quite right,” which reduces their connection with the work. This is where color correction and choosing the right color style become critically important.

Color Grading Means Controlling the Audience’s Emotion
Color grading is about how the colors feel. Does it feel warm? Cold? Realistic? Cinematic? Happy and bright or dark and moody? The color in the video conveys this all.
Great color grading can change the mood of a shot and impact the feelings of the viewers of the video without them even being aware of it. This is what makes great color grading in a music video, film, documentary, or even wedding video enhance the project and add value to the end product.
When You Try to Work Without LUTs
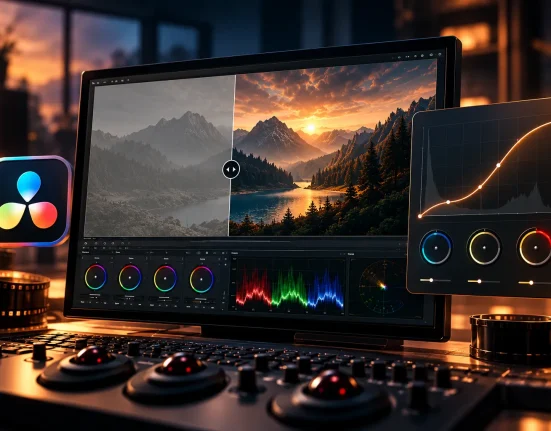
If you try to color grade manually without pre-made tools, you usually have to adjust settings manually in software like Premiere Pro, After Effects, or DaVinci Resolve. That means constantly tweaking Curves, Color Wheels, Levels, and numerous sliders to gradually reach an acceptable result—often not exactly what you had envisioned.
The problem with this approach, especially for real projects, is that it comes with specific challenges:
- ⏱ Time-consuming: slows down your workflow
- 🎛 Requires advanced knowledge: color grading expertise is needed
- 🎬 Consistency is hard: keeping the same color across multiple scenes is challenging
- 🔁 Trial and error: involves repeated testing and undoing
For projects with tight deadlines or limited budgets, this path quickly becomes exhausting, and energy that should go into creativity is spent on repetitive, time-consuming adjustments.
This is Where LUTs Come Into Play
A LUT, in the simplest terms, is a “pre-made color grading preset.” Instead of creating colors from scratch, you apply a pre-designed color style to your video with a single click. This allows you to quickly see the intended mood of your footage and adjust only the details if needed.
The Super Pack Cinematic LUT Collection does exactly this on a professional scale. This package includes 550 cinematic LUTs designed for various styles and moods—from warm and emotional tones to cold, dark, dramatic, high-contrast, and artistic styles. In other words, you have multiple suitable options for every type of project.
What makes Super Pack Cinematic LUT Collection practical is that the LUTs don’t just “mess up” or exaggerate colors. They are designed so that:
- Highlights don’t blow out
- Shadows retain their details
- Skin tones remain natural
- The image stays clean and controllable
In practice, this package helps you quickly set the mood for your work. For example:
- For music videos, you can give a unique style and visual signature.
- For narrative films, colors can enhance cinematic emotion and storytelling.
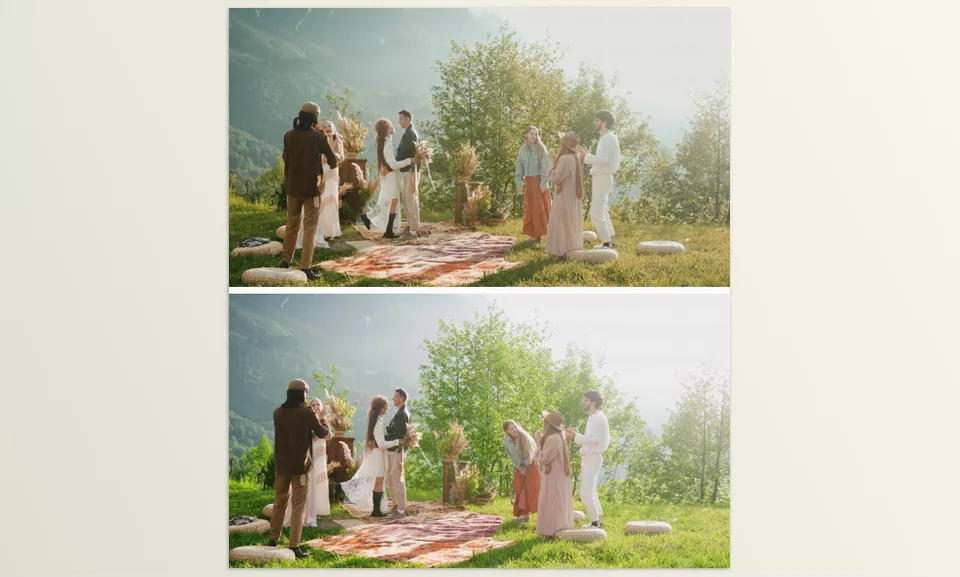
- For wedding or memory videos, you can achieve warm, soft tones with just a few choices.
Most importantly, Super Pack Cinematic LUT Collection is compatible with major editing and color grading software—Premiere Pro, After Effects, and DaVinci Resolve. You don’t need to change your workflow or learn new tools. Simply apply the LUT and quickly achieve a professional, vibrant result without wasting time and energy.
Simple Tips for More Professional LUT Results
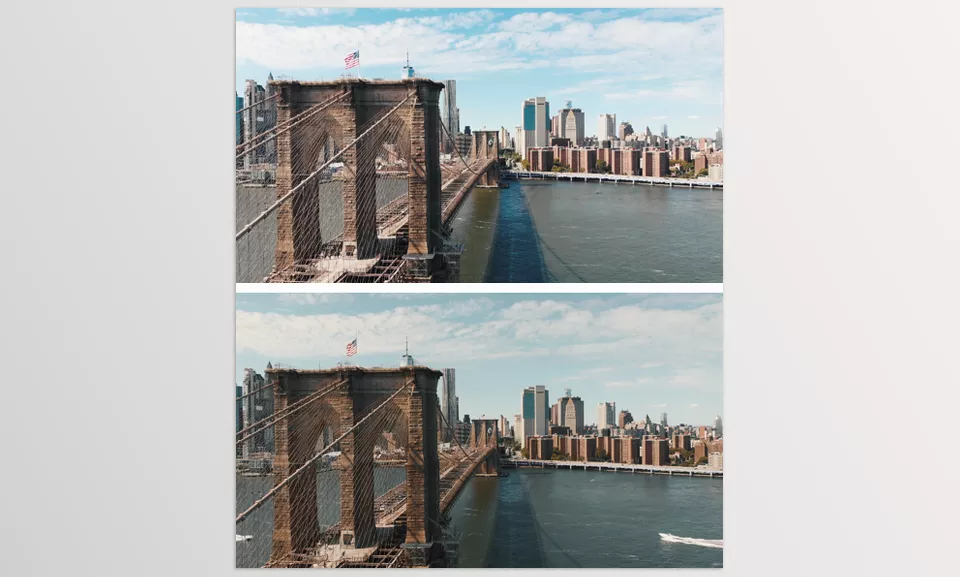
When you apply a LUT to your video, a few simple tips can make the output look more professional and natural. Following these tips ensures that colors remain realistic and pleasing, and the image retains its emotional impact.
- 🎯 Use the LUT as a starting point, not the final step: first set the style and mood, then adjust details.
- 🎚 Reduce LUT intensity: typically 40–70% gives the most natural result.
- 🌞 Manually adjust exposure and contrast slightly: this helps control highlights and shadows for a more natural image.
- 🎬 Stick to one LUT for the entire project: ensures consistent and professional output, especially with multiple scenes.
- 👤 Pay attention to skin tones: if necessary, adjust Hue or Saturation slightly to keep them natural.
- 🔄 Treat the LUT as a supplementary step: the goal is a natural, professional look, not an obvious LUT effect.
By following these simple steps, not only will you save time, but your final video will also feel cinematic and professional, helping the audience connect more easily with your work.
Good Color is Half the Path to Professionalism
Color significantly improves professionalism in video footage. A well-colored video evokes emotion; you can connect with a scene.
When colors, contrast, and lighting feel right, nothing simple or “ugly” needs to be raw or unfinished anymore.
The Super Pack Cinematic LUT Collection is not here to ruin your vision, but to give you a shortcut to achieve professional-grade color in your videos without draining your capacity to create.
If you’re interested in pushing your color grading to a more professional level, we’ve published a full, easy-to-follow Color Grading article that covers the entire process. It’s definitely worth reading—you’ll discover helpful tips that you can apply right away.