What is Premiere Pro?
Premiere Pro is the industry-standard film and video editing software created by Adobe. It is used for everything from films to shorts, documentaries and even internet videos. It features professional layer editing capabilities, audio integration and editing, effects and professional color grading.
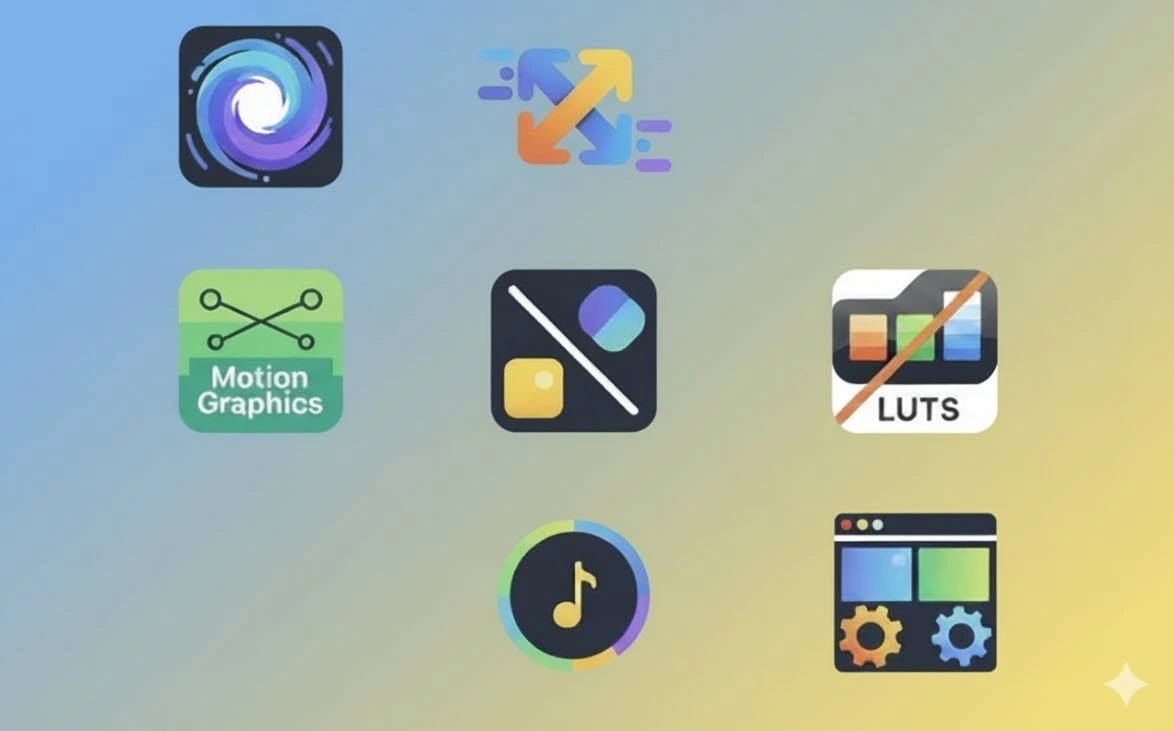
In addition to built-in tools, Premiere Pro also supports a variety of external tools that make the editing process faster, more professional, and more creative. From ready-made effects and transitions to graphic elements and color presets, each allows you to create attractive projects without building everything from scratch. Below, we will review the most practical categories of external tools for this software.
Main Categories of External Premiere Pro Tools
The table below shows the most important categories of external Premiere Pro Tools. Each category has a specific function and, depending on the project’s needs, can make the editing process easier and more professional:
| Tool Category | Description | Main Use |
|---|---|---|
| Extensions / Plug-ins | Add-ons and plug-ins that introduce new capabilities such as effects, transitions, or custom panels. | Expanding the software beyond its default capabilities |
| Presets | Ready-made effects, transitions, and keyframes that can be applied with one click. | Increasing editing speed and saving time |
| Motion Graphics Templates (MOGRT) | Ready templates for intros, subtitles, logos, and motion graphics. | Quick design of motion graphics and visual elements |
| LUTs / Lumetri Looks | Ready-made color sets for correction and styling images. | Color correction and creating a professional look |
| Graphics & Titles Packs | Ready collections of text and graphics used via drag & drop. | Quickly adding graphics and typography to projects |
| Audio Packs | Ready sound effects and background music. | Professional sound design and improving project quality |
| Workspaces / UI Layouts | Ready workspace layouts and shortcuts. | Optimizing workflow and simplifying software use |
Next, we will examine each of these categories separately to see what features they provide and how they can make editing in Premiere Pro simpler and more professional.
Reviewing Categories of External Premiere Pro Tools
Each external tool in Premiere Pro has a specific role in the editing workflow. Some add new features to the software, some speed up the process, and others make the project look more professional. In this section, we will review each main category separately:
1. Extensions / Plug-ins
What are they?
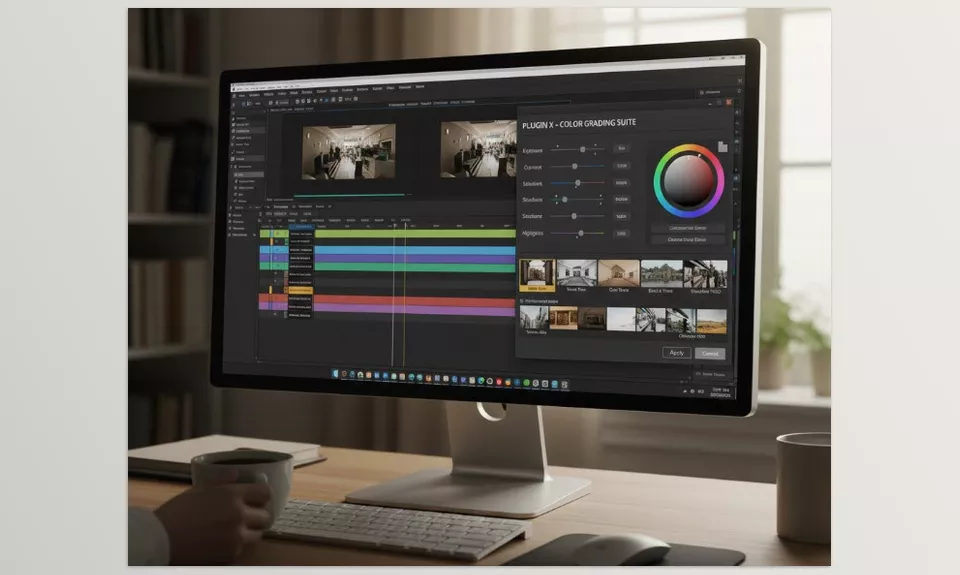
Extensions or Plug-ins are tools that add new features to Premiere Pro. They act like assistants that the software does not have by default, but once installed, you can perform more specialized or faster tasks. Some plug-ins are new visual effects, some are transitions, and some are management panels to make project handling easier.
What are they used for?
Plug-ins are useful in various situations, such as:
- Adding professional effects and transitions
- Speeding up editing and reducing manual steps
- Helping with color grading and cinematic looks
- Adding management panels for project organization
- Performing specialized tasks that Premiere doesn’t include by default
Almost all editors—from beginners to professionals and content creators—may need to use plug-ins.
How do they get into Premiere Pro?
Plug-ins usually enter Premiere through ready installers or the Creative Cloud Marketplace. After installation, they appear in the software environment, ready for use in projects. Some are free, while others are paid.
Additional notes:
- Not all plug-ins are compatible with every version of Premiere; always check the required version.
- Some plug-ins require learning but greatly improve speed and quality.
- It’s better to download plug-ins from trusted sources to keep your system secure.
💡 In simple terms: Plug-ins are like extra tools in a kitchen. Premiere works without them, but with them, you can create projects faster and more professionally.
2. Presets
What are they?
Presets are ready-made settings that you can apply to videos or effects to make changes automatically. They are a key part of Premiere Pro Tools for fast and efficient edits. Simply put, presets are like a ready-made recipe in the kitchen: you apply it to your video, and the software performs all the required steps.
For example, instead of changing the color, light, brightness, and contrast manually, you can select a color preset, and all those adjustments will be applied with one click.
What are they used for?
Presets make working with Premiere simpler and faster. Their main uses include:
- Transitions between clips: ready effects like fade or slide
- Video color and lighting: one-click adjustments for a professional look
- Element motion: ready-made animations for text or images
- Audio and music: quick volume or sound effect adjustments
- Consistent project style: apply the same look across multiple videos for uniformity
💡 In simple terms: Presets are like a “one-click and it’s ready” button.
How do they get into Premiere Pro?
Presets are usually ready files that you can download or create yourself. After adding them to Premiere, simply apply them to the video for automatic adjustments.
- Some presets are free
- Some are paid and professional
- You can create your own presets and reuse them
Additional notes:
- Some presets may need minor adjustments to match your video.
- Presets speed up and professionalize the workflow, even for beginners.
💡 In simple terms: Presets are like a ready-made meal kit. All the ingredients and instructions are included; you just apply it to your video, and the result is ready without doing the long steps yourself.
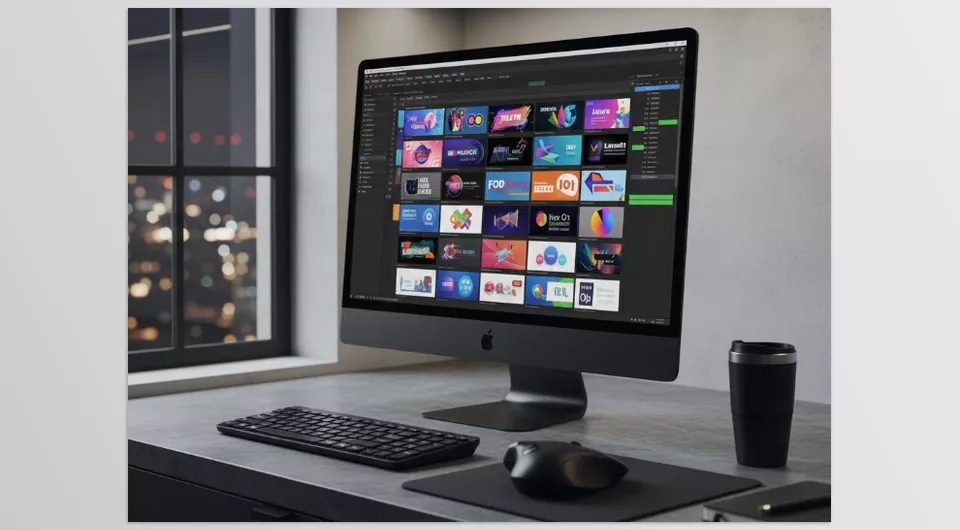
3. Motion Graphics Templates (MOGRT)
What are they?
MOGRT, or Motion Graphics Templates, are ready-made templates for animated graphics and text in Premiere Pro. Simply put, they are pre-designed files that allow you to quickly add subtitles, logos, intros, or any animated graphic element to your video.
What are they used for?
MOGRTs make your projects attractive and professional without requiring complex motion graphic work:
- Ready animated subtitles
- Animated logos for branding
- Quick intros and outros
- Simple graphic effects like colored bars, icons, or markers
- Easily editable text, color, and size without opening After Effects
💡 In simple terms: MOGRTs are like a ready cake mold—you just replace your ingredients (text, logo, colors), and the design is complete.
How do they get into Premiere Pro?
MOGRT files usually have a .mogrt extension and can be:
- Added from the Essential Graphics Panel in Premiere
- Exported from After Effects and imported into Premiere
- Free or paid depending on source
After importing, you can easily customize text, color, and size without handling complex animations.
Additional notes:
- Ideal for those who want to quickly add attractive graphics to videos
- Even with no motion graphics experience, you can create professional looks
- Keeps projects consistent and avoids building from scratch
4. LUTs / Lumetri Looks
What are they?
LUTs and Lumetri Looks give your videos professional styles and color grading. Simply put, they are like photo filters but for video. With one click, you can adjust colors, brightness, and contrast to achieve cinematic or specific looks.
- LUT (Look-Up Table): mainly for color/light shifts and stylistic looks
- Lumetri Looks: sets of adjustments for color, light, and contrast that can transform the video’s appearance
What are they used for?
- Color and light correction
- Creating cinematic or specific styles
- Matching the colors of multiple videos in one project
- Saving time compared to manual adjustments
Real examples:
- Cinematic LUTs: cinematic style
- Vintage LUTs: old film style
- Bright & Clean Looks: bright and clear videos
- Dark & Moody Looks: dramatic dark-toned videos
How do they get into Premiere Pro?
- LUTs and Lumetri Looks are standard-format files imported through the Lumetri Color panel.
- Many are free, while others are paid.
- After import, you just select the LUT or Look, and adjustments are applied automatically.
Additional notes:
- Some LUTs may need manual tweaks to perfectly match your video.
- They help make videos look professional and consistent quickly.
💡 In simple terms: LUTs and Lumetri Looks are like ready-made filters for videos. Apply them, and your video’s look changes instantly without manually tweaking every setting.
5. Graphics & Titles Packs
What are they?
Graphics & Titles Packs are collections of ready-made graphic and text elements you can easily add to your video. Simply put, they are like pre-designed cards or shapes that you drop into your video.
What are they used for?
- Adding ready animated text like subtitles or headlines
- Adding simple, attractive graphics like bars, icons, or symbols
- Beautifying videos without designing from scratch
- Saving time, especially for quick or online projects
How do they get into Premiere Pro?
These packs are usually ready files imported through the Essential Graphics Panel. After adding them, you can adjust text, colors, and sizes to match your video.
Additional notes:
- Great for those who want quick and easy professional videos
- You can download packs or create your own
- Keeps projects visually consistent and professional
💡 In simple terms: Graphics & Titles Packs are like ready-made decorative cards for videos. Drop them in, and your video instantly looks more professional.
Comparing Graphics & Titles Packs vs. MOGRT
Sometimes it’s unclear when to use MOGRT and when to use Graphics & Titles Packs. Understanding these Premiere Pro Tools helps create professional and consistent videos. The table below shows the differences:
| Feature | MOGRT | Graphics & Titles Packs |
|---|---|---|
| Content type | Animated text/graphics (pre-built animation) | Static or simple text/graphics |
| Editing ability | Text, color, size, and motion customizable | Text and color editable, motion usually limited |
| Complexity | Slightly more complex; for professional projects | Very simple; great for beginners or quick edits |
| Time needed | May take time to adjust animations | Instant use |
| Professional level | Suited for professional intros, logos, subtitles | Suited for quick/simple projects |
| Example use | Animated titles, professional subtitles, logos | Simple text, bars, or shapes |
💡 In simple terms:
- MOGRT = a professional animated card
- Graphics & Titles Pack = a simple ready card
✅ Professional, animated look → MOGRT
✅ Simple, quick, easy → Graphics & Titles Packs
6. Audio Packs
What are they?
Audio Packs are collections of ready-made sounds and music you can add to your video. Simply put, they are like a sound box containing all the effects and background music you need.
What are they used for?
- Ready sound effects like door knocks, impacts, footsteps
- Background music
- Quick sound adjustments without recording from scratch
- Increasing attractiveness and professionalism
- Saving time, especially for short/online content
How do they get into Premiere Pro?
- Usually come as ready audio files (.mp3 or .wav)
- Just import them into Premiere and place on the timeline
- Some are free; others are paid
- Use them for sound design, effects, or background music
Additional notes:
- Some sounds may need volume adjustment to match your video
- They make videos professional and complete quickly
💡 In simple terms: Audio Packs are like a ready sound box. Just pick the sound or music and drop it on your video—professional results without creating sound yourself.
7. Workspaces / UI Layouts
What are they?
Workspaces or UI Layouts are ready-made environment settings in the software. Simply put, they are arrangements of Premiere’s panels and tools designed to make editing easier and faster.
What are they used for?
- Panel arrangements for editing (Timeline, Program Monitor, Effects, etc.)
- Organizing tools by task (color grading, audio, motion graphics, quick cutting)
- Saving time with quick access to needed tools
- Creating personalized working environments
How do they get into Premiere Pro?
- Premiere Pro comes with default workspaces like Editing, Color, Audio, Graphics
- You can create and save your own custom layouts
- Professional custom layouts can also be downloaded
Additional notes:
- Workspaces increase speed and reduce confusion
- Switching layouts is especially useful for handling different project types
💡 In simple terms: Workspaces are like a tidy work desk. Everything is in its place, so you can start working without confusion.
FAQ – About External Premiere Pro Tools
- Do I have to use external tools to work with Premiere Pro?
No. You can edit videos without any external Premiere Pro Tools. They just make things faster, easier, and more professional. - What’s the difference between Presets and LUTs?
Presets are ready-made settings (e.g., transitions, effects). LUTs are mainly for color and look, like ready photo filters. - Are MOGRT and Graphics & Titles Packs the same?
No. MOGRTs are animated, professional templates, while Graphics & Titles Packs are simpler static/ready text and graphics. - Can I make my own external Premiere Pro Tools?
Yes! You can save your own presets, design custom workspaces, or even create ready graphics and sounds for later projects. - Are these tools free or paid?
Many are free online, but professional ones are usually paid. It depends on your needs and project level. - Where should I download these Premiere Pro Tools?
The best way is from trusted sources like official websites or known marketplaces. Untrusted sources may cause security or compatibility issues. - Are these tools hard to use?
Not at all! Most are designed so even beginners can use them with just a few clicks.
From Tools to Creativity: A Summary of The World of Premiere Pro Tools
Using Premiere Pro alone isn’t enough. There’s an entire universe of external Premiere Pro Tools. For instance, there are extensions and plug-ins to grant you abilities not already available within the system. There are presets to provide you with premade options to get you up and running quicker. There are Motion Graphics Templates (MOGRT) for high-end animated titles and graphics and Graphics & Titles Packs for more basic, less intensive options at your fingertips. There are LUTs and Lumetri Looks to change color and provide a new realm of opportunities for your ambiance, and Audio Packs grant you integrated sounds and music. Finally, there are workspaces and layouts to adjust your familiarity with the organization of the space.
Using these categories wisely isn’t just about saving time; it helps you focus more on creativity and storytelling while technical steps become simpler. If you aim for professional editing, knowing and using these Premiere Pro Tools is one of the main keys to achieving higher quality, more speed, and ultimately unique projects.
After Effects is another favorite tool among video editors. If you enjoyed this guide and want to also discover After Effects tools, make sure to visit our After Effects tools article.