

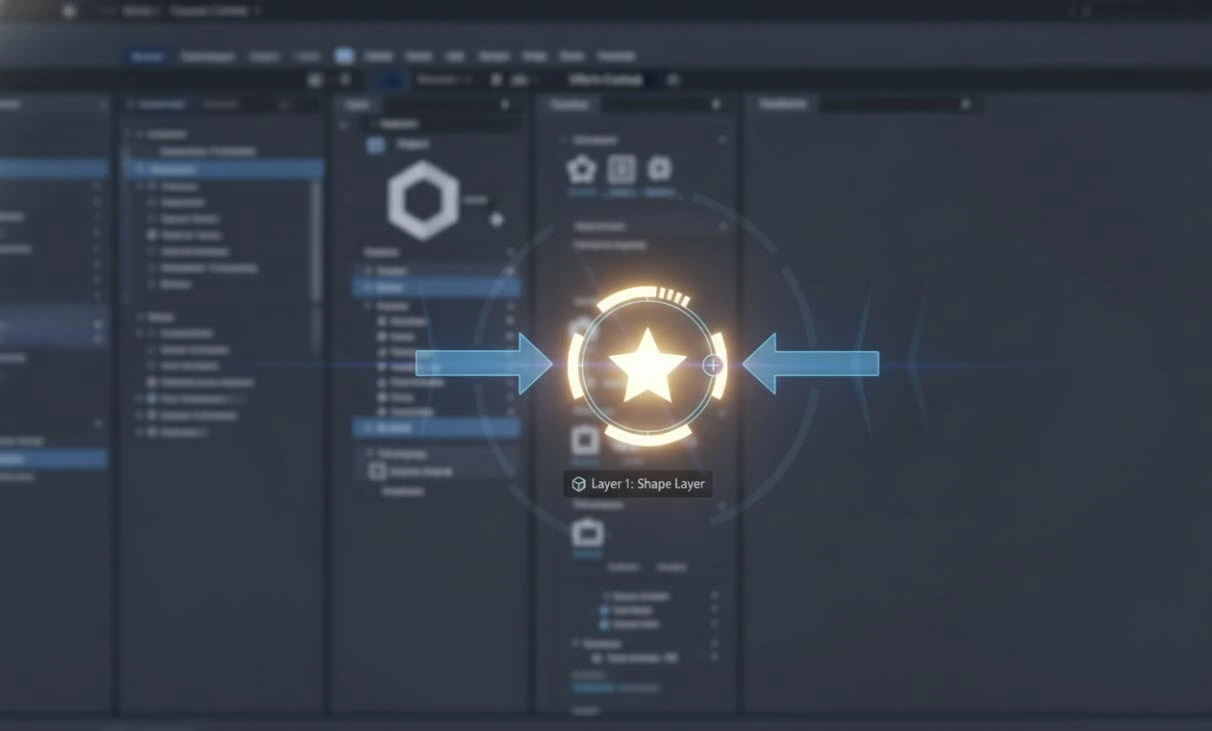
The Point That Controls Everything
Have you played around with the Move Anchor Point 4 Plugin? When you enter the world of motion graphics, you realize that even the smallest details can make a huge difference in the final result. Imagine you want a layer to rotate, scale, or move precisely; you might think that simply moving the layer and playing the animation is enough, but the reality is a bit more complex.
All movements of a layer in After Effects revolve around a central point. This small point is actually the heart of controlling your motions. If this point is not set correctly, even the simplest rotation or scale can appear unnatural and messy. Sometimes a layer may rotate but its position shifts strangely, or it may scale but its axis is off.
This is why control over anchor point placement is crucial—once it’s in the desired position, anything moved, rotated, or scaled will look fluid, in sync, and professionally done. Essentially, getting this one spot right transforms an average animation into a specific and aesthetically pleasing endeavor.

The Anchor Point: The Heart of Your Motion
In After Effects, the Anchor Point plays a very important role: it is the center of all rotations, scalings, and movements of a layer. Simply put, anything you want to rotate, scale, or move happens around this point.
Practical and tangible uses:
- Precise rotation: For example, when you want a clock hand or an arrow to rotate around a specific point, the anchor point determines how and from where the rotation occurs.
- Scaling without repositioning: Sometimes you need to scale a layer without moving it. With the correct anchor point, this can be done easily.
- Natural and coordinated animations: When the anchor point is placed correctly, layer movements look more natural and organized, preventing any unwanted shifts.
This feature gives you complete control over your layers, making your projects look professional and precise. Essentially, the correct anchor point is what differentiates an ordinary animation from a visually impressive one.
You Can Work Without Plugins… But It’s Hard!
Before professional tools like Move Anchor Point 4 Plugin existed, the only ways to change a layer’s anchor point in After Effects were limited and often time-consuming. Typically, you had two options:
- Manual anchor point adjustment: Using default tools, you would move the anchor point with the mouse or numerical input, hoping the layer stays in the right position.
- Moving the entire layer to adjust the point: Sometimes you had to reposition the layer to make the anchor point appear correct.
But these methods had many problems:
- Time-consuming and tedious: Even a simple adjustment could take minutes, especially with many layers.
- High risk of errors: The slightest mistake could make movements unnatural or layers jump out of place.
- Managing large projects was nearly impossible: With hundreds of layers, manually adjusting anchor points becomes a real nightmare.
Without professional tools, you were always dealing with a combination of low accuracy, long time, and high risk of errors.
Smooth Motion, Without the Hassle
In motion graphics projects, even the smallest details can make a big difference. One of these critical points is the Anchor Point of layers—the point around which the layer rotates, scales, and moves. Adjusting this point accurately with After Effects’ standard tools is often time-consuming, tedious, and prone to errors.
This is where Move Anchor Point 4 Plugin comes in: a professional tool designed to move anchor points quickly, accurately, and without moving the layers. With this tool, there’s no need for guesswork or spending hours manually adjusting anchor points.
Key and practical features:
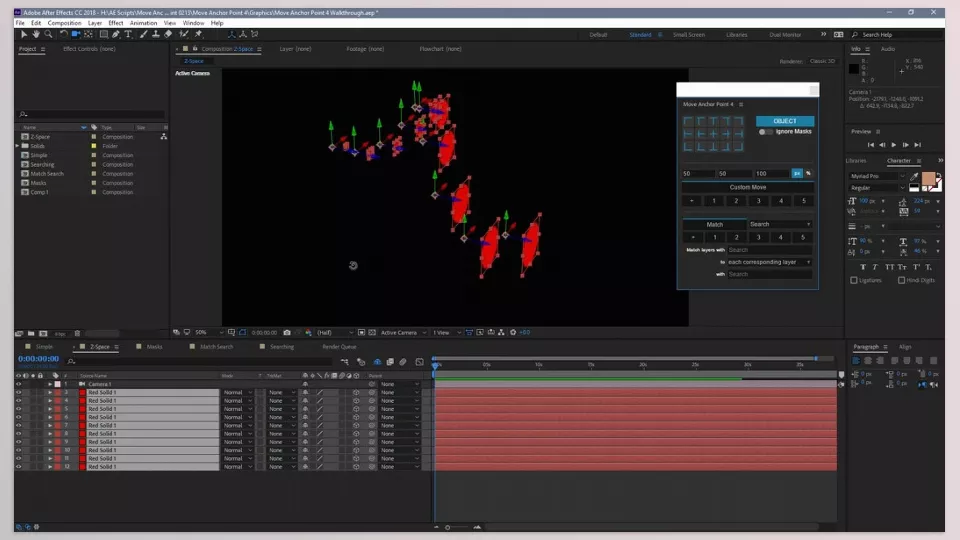
- Simple and modular interface: The plugin workspace is designed so that you only see the tools you need. This means no extra clutter, allowing you to focus entirely on your layers and project.
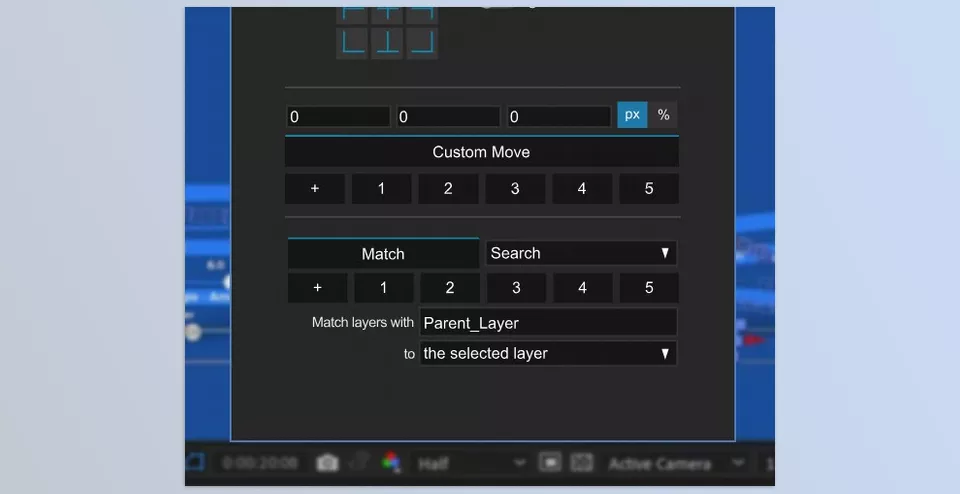
- Grid and precise positioning: You can place the anchor point on a precise grid, ensuring every rotation, movement, and scaling is fully controlled and accurate. This is especially useful for sensitive animations or precise motions.
- Preset saving: If you repeatedly use specific anchor point positions, you can save them as presets and apply them in future projects with a single click, saving time and reducing errors.
- Automatic adjustment based on layer names: In large projects with dozens or hundreds of layers, the Move Anchor Point 4 Plugin can intelligently set each layer’s anchor point according to its name. No need to adjust layers manually, everything happens quickly and consistently.
Why these features matter:
- Speed: Adjustments that once took minutes or hours can now be done in seconds.
- Accuracy: No layer is displaced, and movements remain completely natural and coordinated.
- Flexibility: Complex projects are no longer intimidating; even with hundreds of layers, you maintain full control over animations.
- Increased creativity: When technical details are resolved quickly, your mind is free to focus on creative ideas and design.
In short, Move Anchor Point 4 Plugin acts like a professional assistant for layer anchor points—a tool that makes work easier, faster, and precise, freeing you from exhausting details. Even the most complex animations become easy to control and execute accurately.
Work More Professionally
Using Move Anchor Point 4 Plugin is not limited to quick anchor point adjustments; with a few professional techniques, you can make your work more natural, precise, and efficient.
Pro tips for better use:
- Use the grid for the most precise placement: The grid helps place the anchor point pixel by pixel. This is particularly useful in sensitive projects where movements must be exact and coordinated.
- Save presets: When you save your favorite positions and settings, you can apply them in future projects with a single click, saving time and avoiding repetitive tasks.
- Automatic adjustment by layer names: In large projects with many layers, this feature allows you to set anchor points in a standard and organized way without manually adjusting each layer.
- Combine techniques with real animations: You can use saved anchor points as reference points for rotation, movement, or scaling. This makes animations look more natural and coordinated.
- Teamwork and complex projects: These tips are especially useful for large teams and long-term projects; when all team members use the same standards and presets, project consistency is maintained.
Following these simple tips not only increases your workflow speed but also makes the final result more professional, precise, and visually pleasing.
Final Summary
Precise anchor point control is one of those vital details that separates an ordinary animation from a professional project. The slightest incorrect adjustment can make layer movements look unnatural and unbalanced, but tools like Move Anchor Point 4 Plugin solve this problem easily, allowing fast, precise, and error-free management.
Save time and make mistakes without worrying about being fixed—with this software, there’s no need to reposition every anchor point for every layer nor worry about moving a layer by accident and having it stuck there for good. You can trust your focus will be on design and composition, rotation, scaling, and more, with even the most complicated of designs encompassing hundreds of layers made easy. What used to take forever and be riddled with user error is now quick, guaranteed and professional.
Ultimately, correct anchor point control is the foundation of any harmonious and visually striking animation. Move Anchor Point 4 Plugin gives you this control, making your work faster and more precise, and enabling you to execute projects with full confidence and creativity. This tool creates the difference between ordinary work and a truly professional animation.
Explore the full potential of After Effects and its auxiliary tools with our ultimate guide, packed with practical tips and expert insights.



