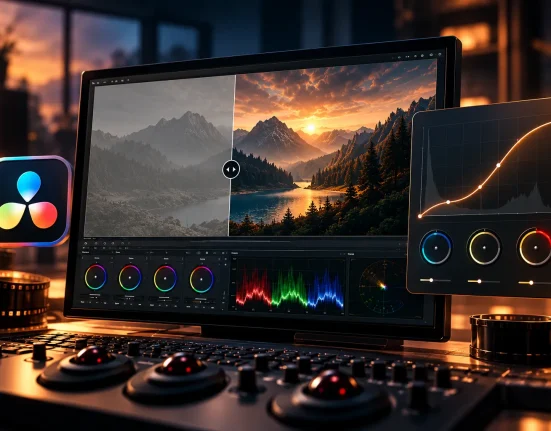
When Your Photos Need a Professional Touch
Have you ever checked out what the WithLuke Presets The Master Collection can do? We all take beautiful photos—from natural landscapes to portraits of friends and family… but sometimes when we look at the image, it feels like something is missing: the colors don’t look right, the lighting is off, and the photo doesn’t have that cinematic and attractive feel we had in mind.
We can spend hours behind the computer adjusting light, contrast, colors, and shadows, yet still not get the result we want. Even professionals sometimes need a lot of time to bring a simple image to that perfect balance of color and light.
Now imagine there was a fast and reliable way to make your photos look cinematic and professional with just a few clicks. A method that saves your time and helps you build your own style more easily. This is where ready-made presets can completely change the editing experience.

When You Do Everything Manually
If you want to work without presets, you basically have to build everything from scratch. Meaning, the moment you open the photo, you have to manually adjust every color, light, and contrast setting to give the photo some life.
In Lightroom and Camera Raw, there are various tools that let you do this, such as:
- Adjusting Exposure, Contrast, Highlights, and Shadows
- Tweaking Colors with HSL and Color Grading
- Using local tools like Brush or Gradient to fix specific areas of the image
But what’s the problem?
It’s time-consuming. You need lots of trial and error to figure out what combination works. You also need a kind of “professional eye” to know which color is oversaturated, which area is overexposed, or which part of the image looks flat.
And in the end, even after all that time, the photo may still not have the professional quality you imagined. Achieving a consistent and attractive result isn’t easy—especially if you want to edit multiple photos with a matching style.
This is when you realize why so many people look for a faster and more reliable method.
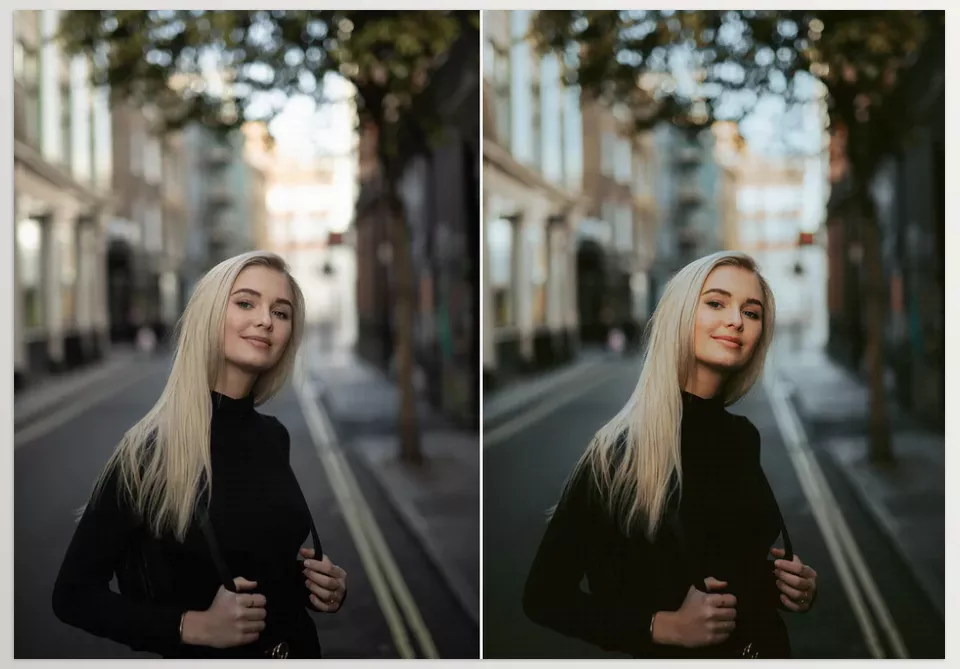
WithLuke Presets: Fast Editing with a Cinematic Look
If you want your photos to quickly achieve that professional, cinematic feel, WithLuke Presets The Master Collection is exactly what you’ve been looking for. This collection includes 150 ready-made presets created for every photography style—meaning it doesn’t matter whether you shoot portraits, landscapes, urban shots, aerial drone photos, or even commercial work; there’s an option ready for all of them.
One of the best things about WithLuke Presets The Master Collection is its compatibility with:
- Lightroom Desktop
- Lightroom Mobile
- Adobe Camera Raw
So it doesn’t matter whether you edit on your phone or use a professional camera—these presets have you covered.
Key Features & Benefits
1. Creating Consistent and Attractive Lighting Adjustments
Presets usually help with:
- Adjusting Exposure for better lighting
- Increasing or decreasing Contrast to create depth
- Fine-tuning Highlights and Shadows so nothing becomes too bright or too dark
- Adjusting Whites/Blacks for overall balance and sharper results
Result:
Your photo comes to life with natural and stronger lighting.
2. Color Correction & Enhancement (Without Looking Artificial)
WithLuke Presets The Master Collection is especially impressive in color design. It usually performs tasks such as:
- Accurate skin tone adjustments (especially in portrait presets) so it’s neither too yellow nor too pink
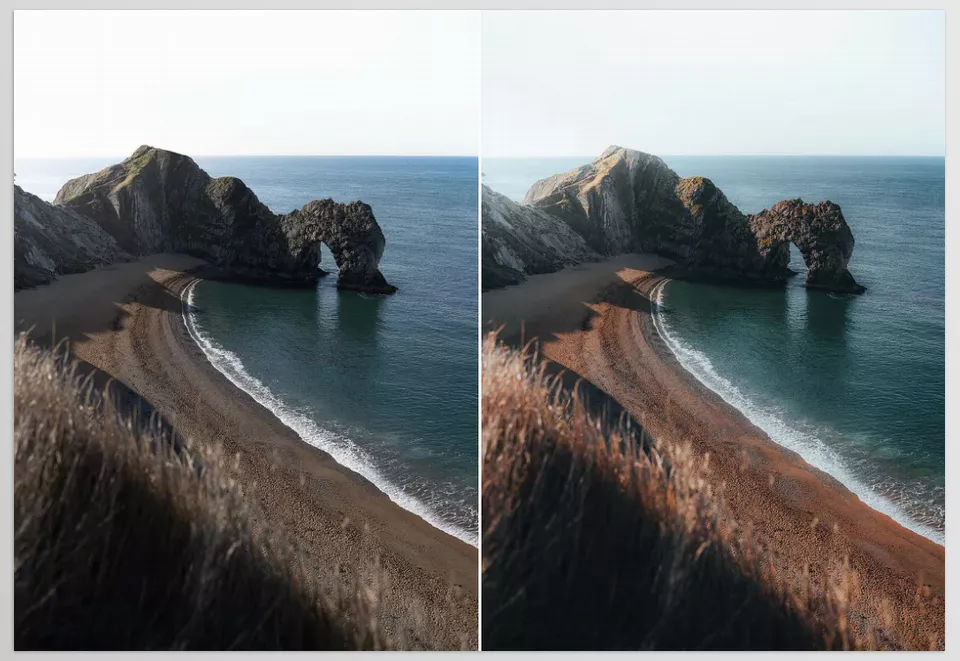
- Enhancing blues and oranges for a cinematic look
- Controlled color saturation to avoid “cartoony or artificial colors”
- Changing the overall temperature (warmer or cooler)
- Adjusting HSL to control each color individually—blue, green, orange, etc.
Result:
Your image gains a strong and recognizable color identity, and your visual style becomes consistent.
3. Adding Cinematic Tones (Professional Color Grading)
One of the most important parts. Presets typically:
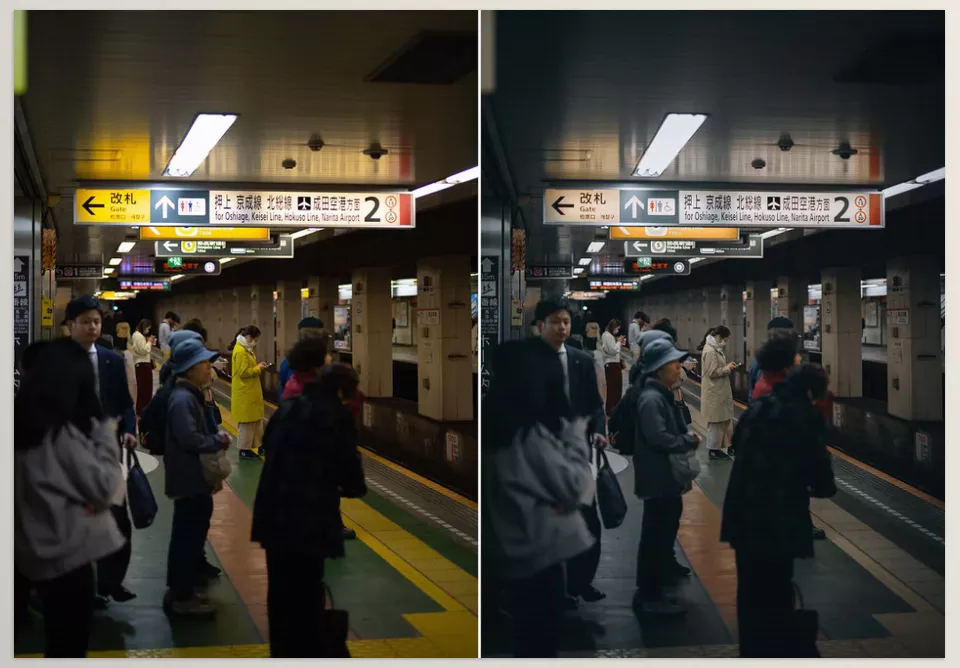
- Shift shadows toward tones like blue or green
- Move highlights toward yellow or orange
- Balance midtones
These adjustments are what give your photos that movie-like, professional feel.
4. Enhancing Structure and Details
Presets also include adjustments like:
- Clarity
- Texture
- Sharpness
But importantly, these are applied in a way that avoids an overly sharp or artificial look.
5. Creating a Specific Mood or Atmosphere
Some presets are designed to create a particular vibe. For example:
- Aerial presets: cleaner blues, more natural greens
- Landscape presets: warmer sunlight, more dramatic skies, stronger nature contrast
- Urban presets: grey-blue tones, deep shadows, clean modern look
Result:
Your photos don’t just look good—they have a mood.
6. Making Multiple Photos Look Consistent
If you have a series of photos (travel, a photography project, or Instagram content),
Presets help make everything look uniform and cohesive.
This is exactly how bloggers and photographers create a “personal style.”
WithLuke Presets The Master Collection is designed to be fast, professional, and easy to use—almost like having a professional editor always beside you.
How to Get the Best Results
Presets Are the Starting Point, Not the Final Step
After applying a preset, some fine-tuning is always necessary. Every photo has unique lighting, colors, and atmosphere, so a single preset can’t be perfect for every situation.
Mix Presets to Create Your Signature Style
You can use one preset for color tone and another for contrast or grain. This helps you create a style that is different from everyone else’s.
Small Adjustments After Applying the Preset
Usually, these three require fine-tuning:
- Exposure (overall brightness)
- Shadows (to reveal details)
- Highlights (to control bright areas)
These three make the final image more natural and professional.
Extra Effects for a Cinematic Feel
- Split Toning to create harmony between warm and cool tones
- Film Grain for an analog and more realistic texture
These tools deepen the mood of your image without making you deal with complicated settings.
Why It’s Worth Trying
WithLuke Presets The Master Collection is not just a preset collection; it’s a smart shortcut to professional editing. Instead of spending hours navigating different settings, you reach a level in one click that usually only experienced photographers achieve.
These presets don’t just save your time—they also train your eye. You start seeing how tone, light, and contrast work together and why a photo feels “right.” Even if you’re a beginner, WithLuke Presets The Master Collection is like a silent teacher guiding you step by step.
In the end, the real value of WithLuke Presets is helping you discover your personal style—a cinematic signature that makes your photos stand out from the rest.
Just try it and see how ordinary images turn into photos that capture attention.
If you’re aiming to understand the art of color grading more thoroughly, we’ve prepared a complete article that covers the essentials in a clear and accessible way. I definitely suggest checking it out—it contains tips that can immediately upgrade your process.