When the Image Is Good, but Still Has Nothing to “Say”
Have you had a chance to try The Creator LUT Collection? If you’ve experienced filming and editing, you probably know this situation well: you nailed the lighting, the framing is precise, the focus is sharp, and even your edit is clean and well-paced. But when you watch the final output, there’s a strange feeling. Everything looks technically correct, yet that deep impact and the atmosphere you expected just didn’t come together. The image is technical — but it still has no personality.
The truth is, a big part of a video’s “identity” lives in its color. Color isn’t just a decorative layer; it builds atmosphere, conveys emotion, and can even strengthen the narrative. Two scenes filmed the same—with two different color styles—become two completely different stories. That’s why color grading isn’t just about adjusting a few sliders; it’s a creative decision that directly shapes the viewer’s experience.

What Exactly Is a LUT, and Why Is It So Important?
If you want to look at it simply and practically, a LUT (Look Up Table) is a color adjustment file that, when applied to footage, changes how colors, contrast, and the overall mood of the image are displayed. But it’s more than just a technical shift; a LUT can give your work a visual signature and transform raw footage into an output with identity.
For example:
- In a dramatic film, cooler tones and controlled contrast create a sense of seriousness.
- In an intimate vlog, warm colors and natural skin tones make the atmosphere feel more friendly.
- In a commercial project, clearer and bolder colors help the product stand out better.
A good LUT like The Creator LUT Collection doesn’t just change colors; it keeps skin tones natural, balances contrast, and presents the image in a clean, professional way. That means you move forward both in emotional impact and in output quality.
Understanding the basics of color grading will make this LUT make a lot more sense — you can read about it in our comprehensive color grading guide.
What’s the Path Without a Ready-Made LUT?
The reality is that you can absolutely achieve professional color without using a ready-made LUT. Many experienced colorists take exactly this route and build their style from scratch. But this path requires time, patience, and high precision.
Without a LUT, you have to build the image step by step.
Tools You’ll Usually Use:
- Curves for precise contrast and tonal control
- Color Wheels for adjusting shadows, midtones, and highlights
- Lumetri Color in Premiere for base corrections and styling
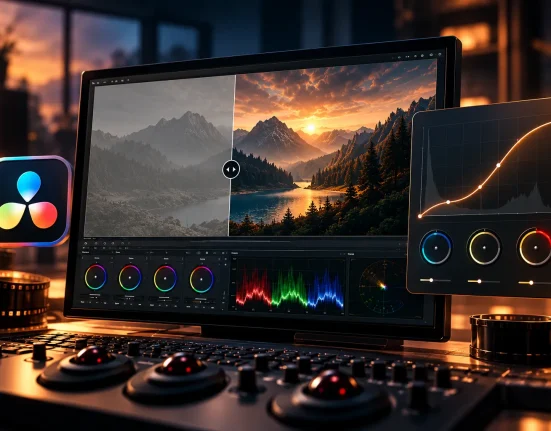
- Color correction nodes in DaVinci to build a professional grading structure
- Secondary Color Correction to isolate and adjust skin tones or specific areas of the image
On the surface, everything is accessible. But the real challenge begins when you try to turn these tools into a specific, repeatable style.
The Real Challenges of This Path
⏳ Extremely time-consuming
Each shot requires individual adjustments. Especially if the lighting changes between scenes, you’ll need to spend time on each one.
🎯 Building a consistent style isn’t easy
You might achieve an excellent result today, but tomorrow you may not be able to recreate that exact same color combination.
😓 Long projects become exhausting
As the number of shots increases, color grading shifts from being a creative task to becoming repetitive and energy-draining.
🔁 Maintaining consistency between shots
Even the slightest difference in lighting or white balance can make one shot stand out awkwardly. Keeping everything cohesive truly demands focus.
The main issue isn’t that this method doesn’t work — in fact, it’s very professional.
But when deadlines are tight or projects come back-to-back, this process can consume your creative energy and pull your focus away from the story and the core idea.
That’s why many filmmakers prefer to have a reliable, ready-made color base and then personalize it — instead of rebuilding everything from scratch every single time.
Introducing a Professional Solution: The Creator LUT Collection
So far, we’ve talked about the challenges of grading from scratch — how time-consuming it is and how hard it can be to maintain consistency. This is where a professional LUT collection can become a smart shortcut — not to remove creativity, but to help you reach the result you have in mind faster and more confidently.
Creator Lut Collection is designed exactly with this approach in mind. A set of 10 diverse color styles, each provided in two versions:
- Rec.709 for standard projects
- DaVinci Wide Gamut (DWG) for more professional workflows
In total, you get 20 .cube LUT files that can be easily loaded into most editing and color grading software.
What Styles Are Included in This Collection?
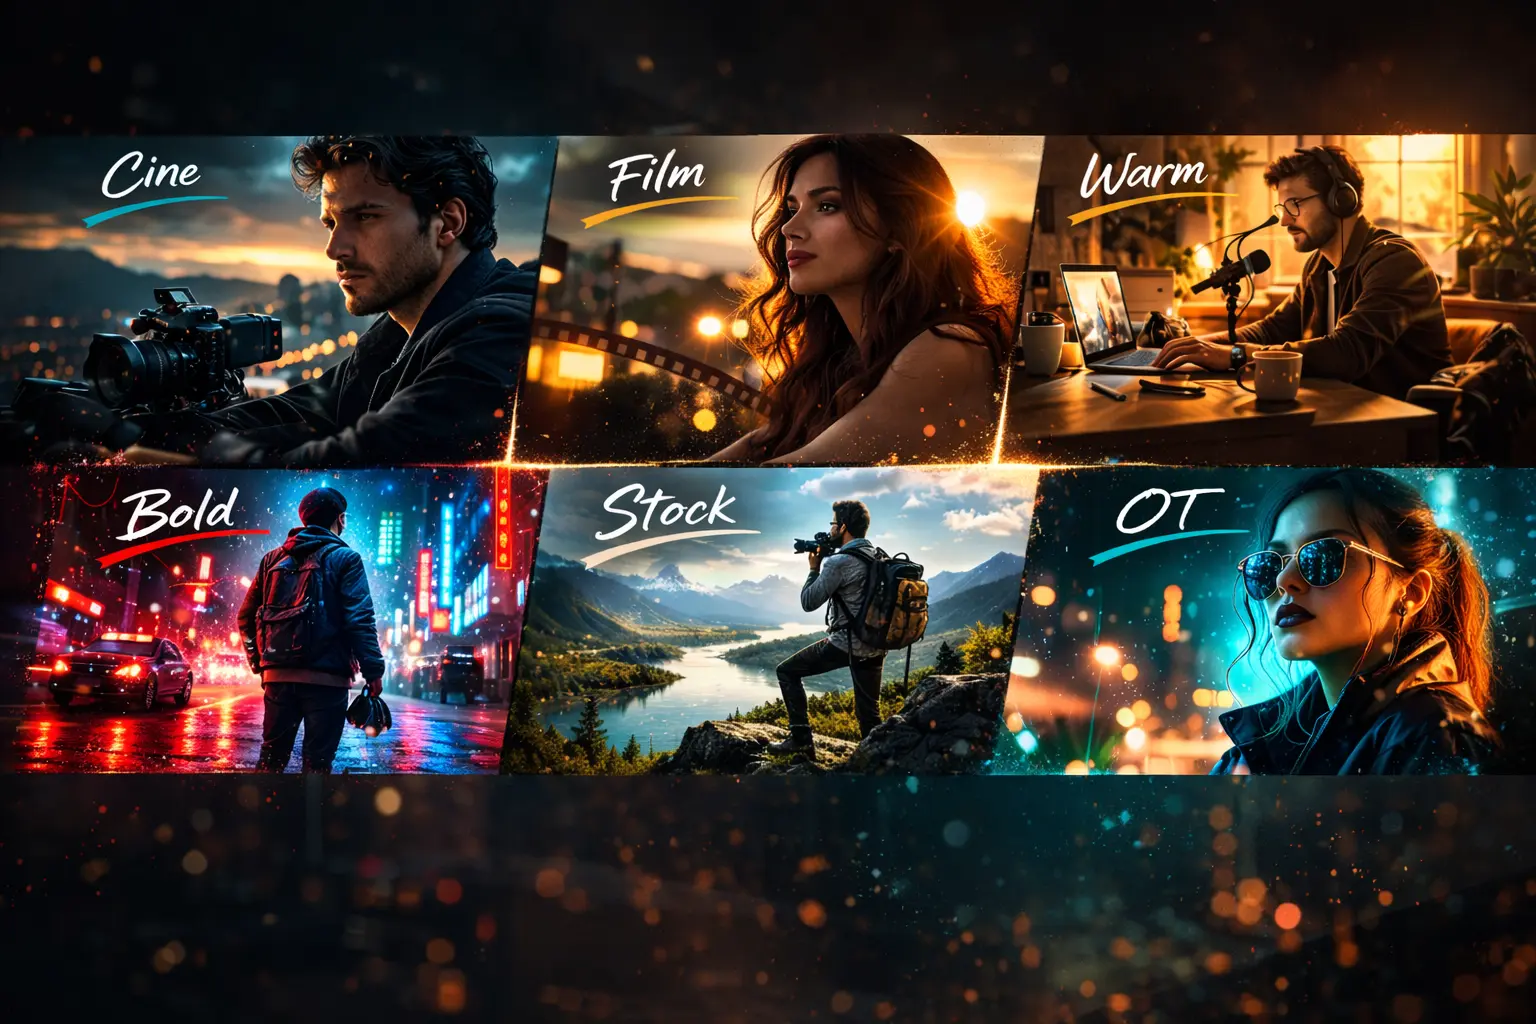
The variety in this set allows you to make a more precise choice depending on your project’s mood:
- Cine → Classic cinematic atmosphere with controlled contrast
- Film → Inspired by analog film colors with natural tones and deeper depth
- Stock → Clean, standard, and suitable for commercial and branding projects
- Warm → Warm and intimate, great for vlogs and personal content
- Bold → Stronger, more saturated colors to grab attention
- OT → More unique and slightly unconventional styles for stylized spaces
This means for any project — from short films to commercials, music videos, or social media content — you have a suitable option.
Why Is This Collection Truly Practical?
What sets this collection apart isn’t just its variety; it’s the build quality.
1️⃣ Focus on Natural Skin Tones
One of the biggest problems with weak LUTs is that they ruin skin tones. This collection is designed to keep skin clean and realistic.
2️⃣ Balanced and Controlled Contrast
Highlights don’t clip, and shadows don’t get crushed. The image gains depth without looking artificial.
3️⃣ Clean Color Separation
Colors don’t blend into each other. The subject separates from the background, making the image clearer and more readable.
4️⃣ High Compatibility
Compatible with most cameras and editing software. Whether you work in Premiere, Final Cut, or DaVinci, the .cube files are easy to use.
5️⃣ Suitable for Log Workflows
If you shoot in Log format, you can first convert the image to Rec.709 or DWG, then apply the main LUT for a more accurate result.
What Role Do These LUTs Actually Play in a Project?
The Creator LUT Collection isn’t here to replace your creativity; it plays the role of a “style foundation.”
What does that mean? Instead of building everything from scratch every time, you start with a professional, well-calculated base. Then you can:
- Adjust the LUT intensity
- Add Curves
- Enhance or control specific colors
- Personalize the final output exactly to your taste
In reality, The Creator LUT Collection is like a solid foundation. You still design the final building yourself — but on reliable ground.
For projects with tight deadlines, for creators who want consistent and professional outputs, or even for someone looking to build a stable visual signature for their personal brand, this is exactly where the workflow becomes simpler and smarter.

How to Use a LUT More Professionally
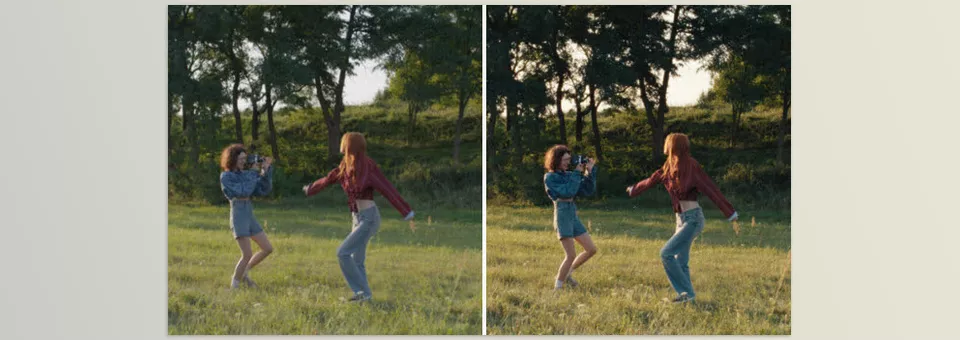
Having a good LUT like The Creator LUT Collection matters — but using it correctly matters even more. To make sure your result looks clean, natural, and professional, follow these tips:
- Fix exposure before applying the LUT.
- Adjust white balance before the LUT.
- After applying it, reduce or increase LUT intensity depending on the shot (it doesn’t always have to stay at 100%).
- If needed, fine-tune contrast or highlights with Curves.
- Choose a consistent style for the entire project to maintain cohesion.
- If you shot in Log, first convert the image to Rec.709 or DWG.
- Apply the main LUT after the color space conversion for a more accurate result.
These simple tips ensure that a LUT becomes more than just a quick effect — it turns into a truly professional tool within your workflow.
Conclusion: More Speed, Stronger Identity
Professional color grading is inherently a time-consuming and detail-heavy process, especially when you want to build a specific, repeatable style from scratch. But having a well-designed LUT collection like The Creator LUT Collection allows you to reach a cohesive result faster instead of getting stuck in endless adjustments — a result that is technically clean and visually distinctive. This means you’ll have more time and energy to focus on storytelling, rhythm, and creativity.
When you have a reliable color foundation, your projects look more consistent, and gradually you build a visual signature for yourself. The audience may not consciously know why your work feels more professional, but they fully perceive that color harmony and cohesive mood. That’s what makes your work recognizable and memorable.
In the end, what stays in the viewer’s mind isn’t just a sharp image or correct lighting; it’s the feeling they get from it. And that feeling, more than anything else, comes from color. 🎬