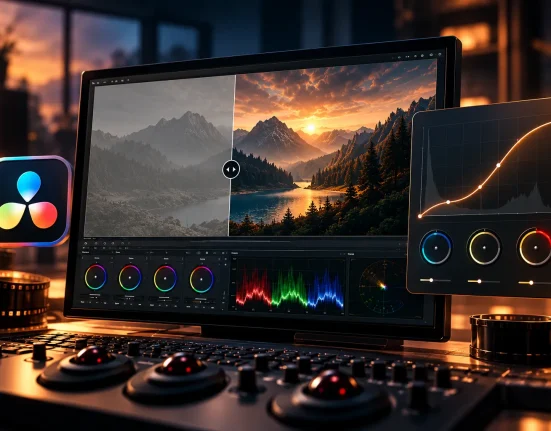
Why Does Color Grading Sometimes Take More Time than Editing Itself? 🎬
Are you someone who has used the Prime Grade DCTL Plugin before? If you’ve been working with DaVinci Resolve Studio for a while, this situation probably feels familiar: the edit is almost done, everything is going smoothly, and you think the project is close to the finish line… but suddenly, you enter a stage where it feels like the real trouble has just begun: color grading!
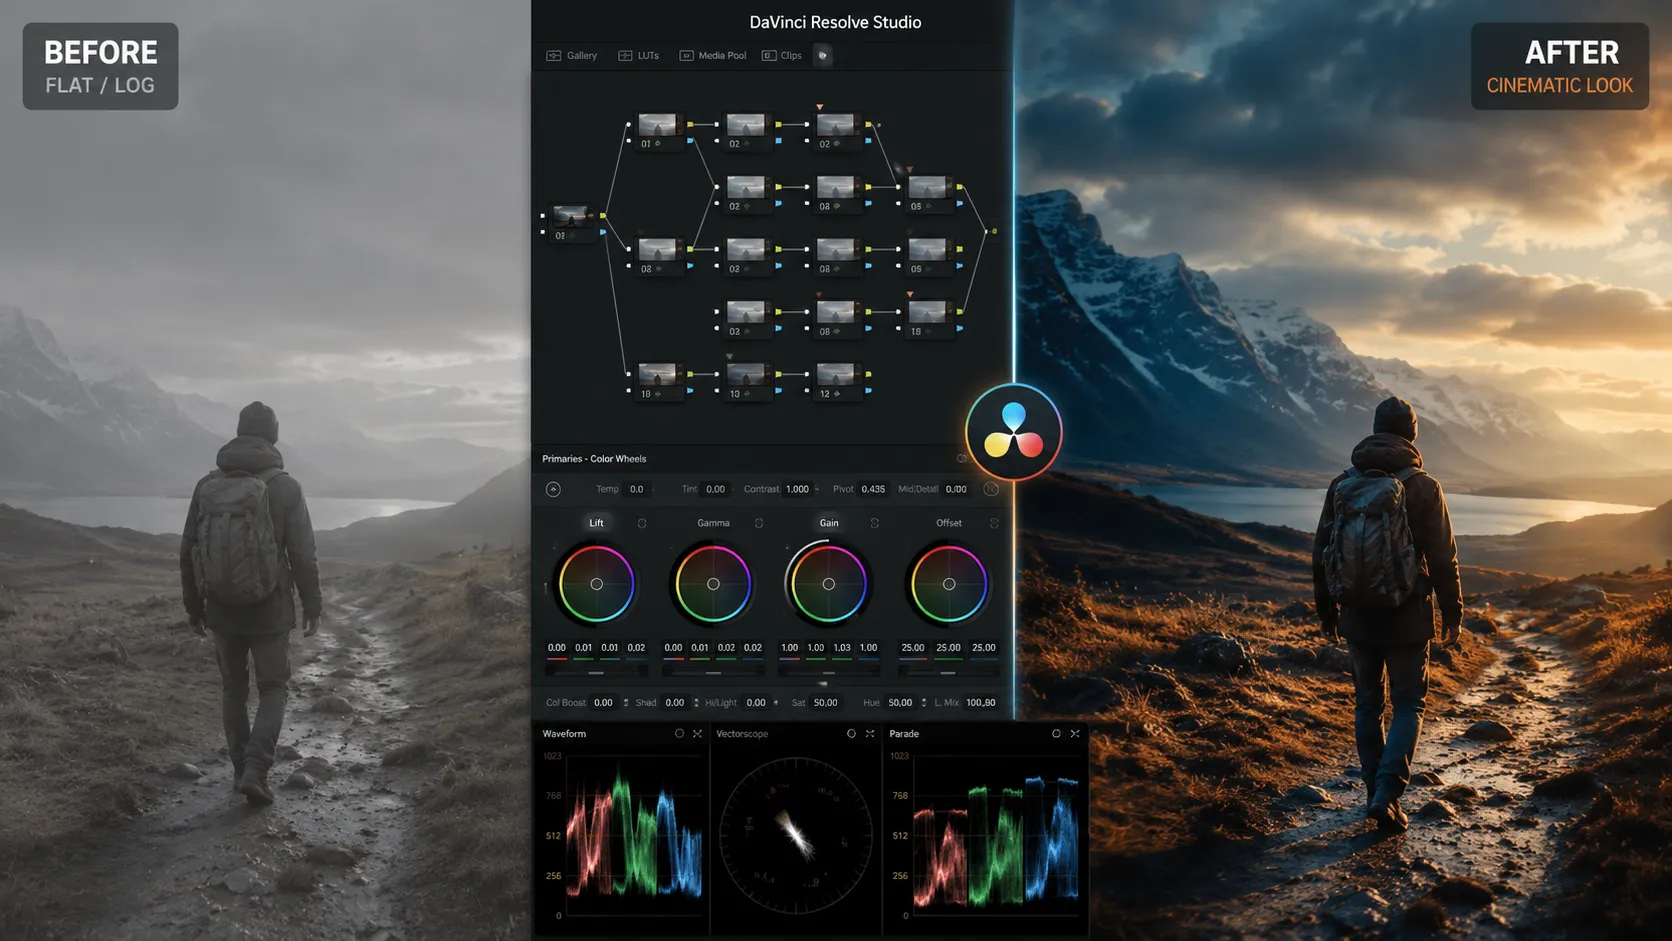
At first, you just want to adjust the lighting of a few shots. Then you notice that the white balance of two clips doesn’t match, the saturation of some shots is too high, the skin tones in a scene don’t look natural, and the nodes gradually start piling up. In the end, you’re left with a project that looks more like a subway map than a clean timeline 😅
The truth is, the problem is usually not a lack of tools. DaVinci itself has almost everything. The issue is that, as projects grow, managing all these adjustments becomes time-consuming and exhausting—especially when you want a consistent, clean image across multiple cameras.

What Do Primaries Actually Do? 🎨
In color grading, there is a section called Primaries, which is essentially the foundation of the image. That means before applying cinematic LUTs or any specific style to the project, you first need to balance exposure, contrast, white balance, and overall color.
For example, imagine part of your project was shot on a Sony camera, a few clips were recorded with RED, and some shots were even filmed on an iPhone. If you go straight to applying style and effects, there’s a high chance the result will look inconsistent and artificial. That’s why colorists first adjust Primaries so all shots reach a common visual baseline in terms of light and color.
In fact, very often the difference between an amateur-looking image and a professional one is not fancy effects, but these basic initial adjustments.
Can You Work Professionally Without Prime/Grade? 🤔
Absolutely. DaVinci Resolve Studio itself has such powerful tools that many major films and series are fully color graded using only DaVinci Color.
Tools like:
- Primaries Wheels
- Curves
- HDR Wheels
- Scopes
- Color Space Transform
are all built exactly for this purpose and are completely professional.
But the story starts when projects become heavier. For example, even for a simple correction, you might need multiple nodes: one for exposure, one for white balance, one for contrast, and several more for checking skin tone or false color. When the number of shots increases, this workflow gradually becomes messy and tiring.
In reality, most colorists don’t struggle with “lack of tools”—they struggle with speed and workflow.
What Does the Prime Grade DCTL Plugin Exactly Make Easier? ⚡
Prime Grade DCTL Plugin is a DCTL plugin for DaVinci Resolve Studio that was built with one clear goal: to make a large part of primary correction faster, cleaner, and more centralized.
If you’ve done color grading in DaVinci before, you probably know that even for a simple correction, you usually have to switch between multiple tools. For example, adjusting exposure in Primaries, then going to Curves or HDR Wheels for contrast, changing saturation separately, and checking scopes or false color at the same time to make sure nothing is going out of control.
The problem is that this process, especially in large projects, gradually becomes exhausting and time-consuming. The more nodes you create, the harder the project becomes to manage, and after a while, the node tree starts looking more like a complex map than a clean workflow 😅
The Prime Grade DCTL Plugin aims to simplify exactly this part of the process.
All Important Controls in One Unified Environment 🎛️
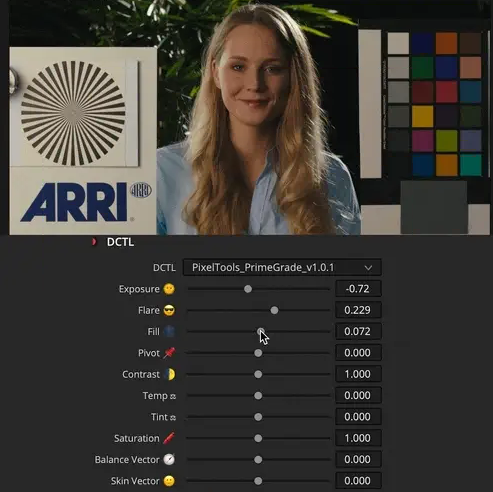
The biggest difference in the Prime Grade DCTL Plugin is that it brings many commonly used primary controls into a single node. Instead of constantly jumping between panels and nodes, most key adjustments are available right in front of you.
Controls like:
- Exposure
- Contrast
- Temp/Tint
- Saturation
- Flare
- Fill
are all placed in a single environment to speed up the correction process.
This might not seem very important on paper, but in real projects, the difference is clearly noticeable. Imagine you’re color grading a music video or an ad with 200 different shots. If you save just a few seconds per shot, it adds up to a significant amount of time.
Why Does One Fewer Node Matter So Much? 🧩
Many colorists eventually realize that the main problem is not just “getting a good result,” but also project management.
When you create multiple nodes for small adjustments:
- The project becomes messier
- Finding settings becomes harder
- Changing corrections takes more time
- The chance of mistakes increases
The Prime Grade DCTL Plugin helps keep many basic adjustments within a single node. As a result, the node tree stays cleaner and more readable, and if you need to make changes later, it’s easier to navigate your workflow.
This is especially important in long projects or projects that need to be revisited later.
Built-in Analytical Tools 🔍
One of the most interesting parts of Prime Grade DCTL Plugin is that it’s not just a color adjustment tool; it also includes several useful analytical tools.
Tools like:
- False Color
- Skin Tone Checker
- White Balance Checker
- Middle Gray Checker
help you identify image issues faster.
For example, False Color quickly shows which parts of the image are overexposed or underexposed. The Skin Tone Checker helps ensure skin tones remain natural and don’t shift toward green, purple, or unnatural orange.
The main advantage is that you don’t need to constantly switch between scopes, windows, and different tools. Everything is integrated into the same workflow, making the process feel smoother.
Smoother and More Natural Image Behavior 🎞️
One reason some colorists like such tools is the behavior of the controls.
Some Prime Grade DCTL Plugin adjustments, especially in contrast and saturation, are designed to make the image feel less digital and artificial. For example, when increasing saturation, colors tend to stay more natural and don’t quickly become overly exaggerated.
Similarly, in contrast control, transitions between shadows and highlights are smoother, giving the image a more cinematic feel.
Of course, this doesn’t mean the plugin is magical; the colorist’s skill is still the most important factor. But this kind of design can make it easier and faster to achieve the desired result.
Why Do Some Colorists Prefer Such Tools? 🎬
In small projects, the difference might not be very noticeable. But in professional projects with hundreds of shots, workflow speed becomes extremely important.
When each shot requires:
- Exposure adjustment
- Color correction
- Skin tone checking
- Contrast control
- White balance check
Even saving a few seconds per shot becomes valuable.
On the other hand, keeping the node tree clean makes the project more manageable, and if you come back to it weeks later, you can more easily understand what each part does.
That’s why tools like Prime Grade DCTL Plugin have become popular among colorists working on heavy, professional projects such as commercials, music videos, documentaries, and cinematic productions. In such projects, it’s not only the final output that matters; workflow speed, organization, and consistency across hundreds of shots are equally important. When deadlines are tight, and every shot needs exposure, color, and white balance correction, having a tool that streamlines part of this process becomes truly valuable. That’s why many colorists use such plugins to spend less time managing nodes and more time focusing on the creative look of the image 🚀
A Few Truly Important Tips for More Professional Results ✨
Before these tips, one important thing: in professional color grading, the main difference doesn’t come from “more complex settings,” but from a few simple yet correct decisions. These are what turn an average result into a professional one.
- Fix exposure and white balance first 🎨
If the base image isn’t correct, any effect or LUT will only make the problem worse. This is the most important step that many people underestimate. - Keep saturation under control 🌈
Too much saturation quickly makes the image look amateurish. In professional work, the goal is usually to achieve natural, believable colors, not just stronger ones. - Make decisions using scopes, not just your eyes 👀
The eye can be misleading during long projects. Waveform and False Color help make decisions accurate and repeatable. - Match all shots before applying the look 🎬
If shots are not consistent in light and color, even the best look will break on some clips. Matching is the foundation of professional work. - Keep the node tree simple and readable 🧩
Too much complexity usually doesn’t improve quality—it just reduces speed and control. The simpler the structure, the more reliable the corrections.
These tools are only assistants; what truly makes the output professional is these basic decisions, made correctly and consistently.
Speed and Organization Matter as Much as the Image Itself 🎬
Tools like Prime Grade DCTL Plugin are not magic buttons for making an image cinematic, but they are designed to solve the part of color grading that takes the most time: repetitive, messy tasks. What often drains creative energy is not color correction itself, but managing these small, scattered details.
For smaller projects, this will not be apparent. However, for commercials, music videos, and projects that use multiple cameras, you’ll quickly see how much time can be saved with a streamlined approach to color grading.
That’s why these tools are made to shorten the workflow, not to change the result. When you have everything in one place instead of multiple nodes and tools, you actually gain more time for creative decisions. And that’s when you start to understand why many colorists prefer to keep such tools as a fixed part of their workflow 🎬
If you’re also a DaVinci Resolve user and want to streamline your workflow, we highly recommend checking out our article on DaVinci Resolve tools.