

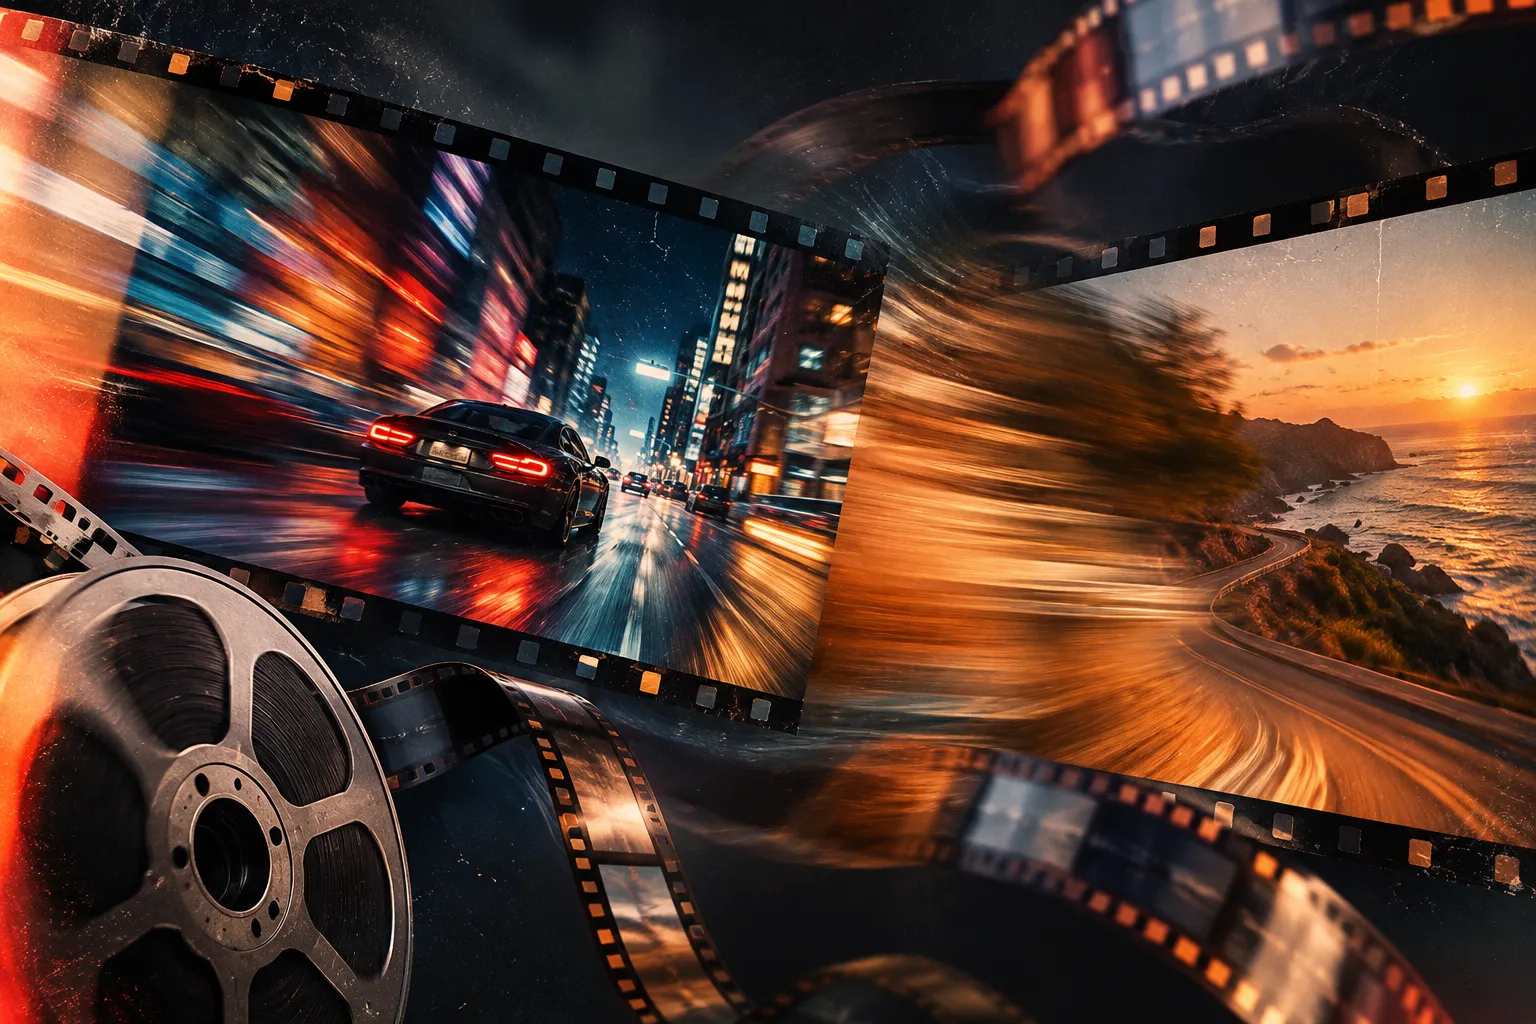
🎥 When Simple Cuts Can’t Convey the Energy of Your Video
Do you know the Film Whip Transitions by Happy Editing? When editing music videos, promotional teasers, or travel videos, a simple cut between two shots may not deliver the movement and excitement you want. For example, if you want to transition from a street shot to a moving car, or connect several nature shots to the music’s rhythm, you may need a transition that makes the scene change more dynamic and engaging.
A simple way to create smoother transitions is by using fast camera movements. These movements add a brief blur between shots, making the cuts feel quicker and more dynamic. They can also give your video a better flow and make transitions less obvious.
Creating these camera movements from scratch can take time. You need to adjust the speed, blur, and timing to make everything look natural. Ready-made transitions make this easier and help you give your videos a cinematic look without spending too much time on each transition.

🌪️ What Is a Whip Pan Transition, and When Can You Use It?
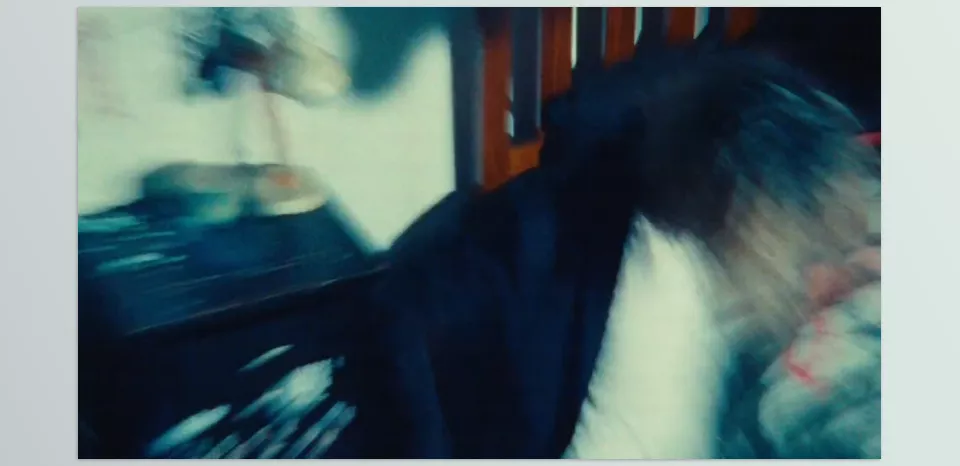
A Whip Pan transition is an effect where the camera moves rapidly in one direction, causing the image to blur briefly. This movement can be horizontal or vertical and is usually used to connect two shots, with the movement and blur at the end of the first shot matching the beginning of the second.
This technique isn’t just about making scene changes more attractive; it can also change your edit’s rhythm and direct the viewer’s attention to the next part of the video.
🎯 Practical Uses for Whip Pan Transitions
- High-energy music videos: Imagine a close-up of a singer that cuts to a shot of the band performing through a fast image movement. This transition helps sync the shot change with the beat.
- Promotional teasers: For example, in a perfume commercial, an image of a bottle on a table could transition with a fast movement to a shot of the perfume bottle under studio lighting. This movement can make the product details feel more dynamic.
- Travel and nature videos: When cutting from a mountain landscape to city streets, or from ocean waves to a beach shot, a Whip Pan can create a sense of movement connecting these images.
- Vlogs and social media videos: When showing several activities in sequence, such as visiting a café, walking around the city, and reaching a destination, you can use this transition to give your video a faster pace.
- Motion graphics and composited videos: Even if part of your project includes typography, logo animations, or computer-generated imagery, you can use Whip Pan transitions to move between different shots and add a sense of camera movement to your visuals.
The important thing is that this transition works best when the image movement matches the rhythm, the direction of the subject’s movement, or the overall mood of the project.
🛠️ How to Create a Whip Pan Effect Without a Ready-Made Transition
You don’t necessarily need a special plugin to create this effect. Video editing software provides the tools you need to create fast movement and image blur, but achieving a good result requires you to adjust several elements yourself.
🎞️ Creating a Whip Pan in Premiere Pro
In Adobe Premiere Pro, you can use the Transform effect to animate the image position. By changing Position rapidly over a few frames, you can move the image in one direction. You can then create motion blur by enabling Shutter Angle in the Transform settings.
To connect two shots, coordinate the movement at the end of the first clip with the movement at the beginning of the second. If the movement direction or blur intensity doesn’t match between the two sections, the transition may look artificial.
🎬 Creating a Whip Pan in DaVinci Resolve
In DaVinci Resolve, you can also use the Inspector, Transform settings, and keyframes to change the image position and zoom. To add motion blur, use the tools available in Fusion.
This method gives you good control over the speed and direction of the movement, but fine-tuning the keyframes, blur intensity, and timing between the two shots may require several attempts.
✂️ Using Motion Tools in Final Cut Pro
In Final Cut Pro, you can create fast image movement using the Transform tools and Position keyframes. To complete the effect, you can also add motion blur or use compatible tools.
However, to make the transition look natural, match the movement speed on both sides of the cut, and set the blur’s start and end points correctly.
🤔 What Are the Limitations of These Methods?
Creating a Whip Pan manually gives you plenty of freedom, but when a project needs multiple transitions with a similar look, adjusting every detail repeatedly can become time-consuming. Also, keyframe-based movements don’t always convey the feel of real camera movement, especially when image blur or changes in lighting and texture matter.
This is where real camera-recorded clips can be a strong option. Instead of building the entire movement from scratch, you can use ready-made footage in which the movement and blur are already captured.
🚀 Film Whip Transitions: Real 16mm Film Transitions for High-Energy Edits
Film Whip Transitions is a collection of 50+ ready-made transition clips, recorded on a 16mm film camera and scanned in 4K ProRes. Filmmaker Connor Pritchard created this collection, which lets you add fast camera movements and natural image blur to your edits without building every transition from scratch with keyframes and digital effects. The main idea behind this collection is to use real recorded movements so you can create more engaging connections between shots and give your edits more energy.
🎥 More Than 50 Diverse Clips for Connecting Shots
One of Film Whip Transitions’ main features is the variety of clips it offers. The collection includes more than 50 transitions with different visuals and locations, from nature to urban environments. This means you don’t have to use the same repetitive movement for every scene change, and you can choose a clip that better matches the visual style of your project.
For example, in a travel video, you can use movements recorded in natural environments to connect mountain and beach shots. In contrast, for an urban video or promotional teaser, you can choose clips that better match the atmosphere of streets, buildings, or moving subjects. This variety helps make transitions part of the overall visual style of your edit rather than just effects used to hide cuts.
🎞️ Authentic 16mm Film Texture and 4K ProRes Output
We shot all clips in this collection on 16mm film and scanned them in 4K. Real film gives movement and image texture the visual characteristics of analog footage, something that may be hard to achieve with simple digital movement and artificial blur. This feature is especially appealing for projects where a film-like look and cinematic atmosphere matter.
On the other hand, the files are provided in ProRes format, which is widely used in professional editing workflows. Combining 4K quality with this format lets you import the clips into different projects and scale them to match your output dimensions. For example, even if you’re editing a project in Full HD, you can still use these files. However, the final result also depends on your project settings and how you use the clips.
⚡ Direct Timeline Use Without a Plugin
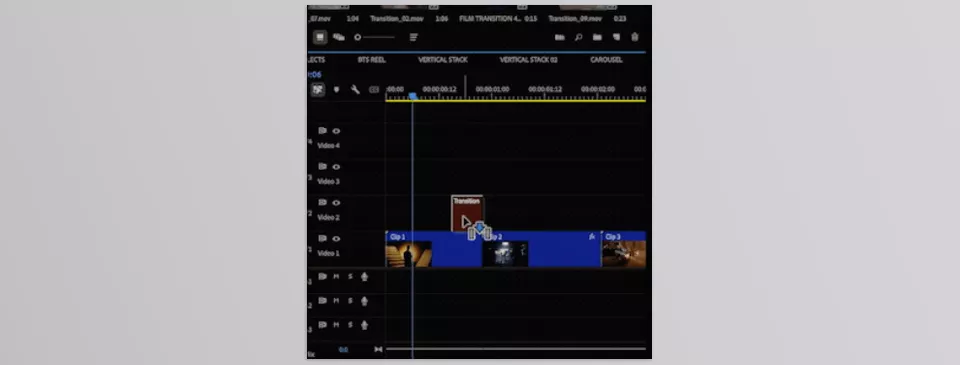
You don’t need a dedicated plugin or complicated settings to use Film Whip Transitions. Import your desired clip into your editing software and place it between two shots at the right point. Instead of manually adjusting fast camera movement, blur intensity, and keyframe timing, you can use a ready-made transition and spend more time coordinating shots and your video’s overall rhythm.
This collection can be used with various editing applications, including Adobe Premiere Pro, DaVinci Resolve, and Final Cut Pro. Since you’re working with ready-made video files, you don’t need to transfer your project to another application or establish a different workflow to use the transitions. However, as with any footage, it’s a good idea to confirm the files are compatible with your software version and project settings.
🎬 Suitable for Music Videos, Commercials, Documentaries, and Social Media
Film Whip Transitions isn’t limited to one editing style. Use it in projects that need fast, dynamic scene changes. For example, in a music video, you can sync the transition movement to the beat to make shot changes more impactful. In a promotional teaser, you can use these movements to connect a wide shot of a product with its details or move between several different environments.
In documentaries and travel videos, these clips can connect shots from different locations. In social media content, you can also use them to create a faster, more engaging rhythm. The key is to choose transitions that match the project’s mood. Too many fast movements in calm, emotional scenes can have the opposite effect.
🎨 Combining Transitions with Film LUTs and Sound Effects
The creator also offers 16mm film LUT packs and transition sound effects (Transition SFX) as complementary products. Use these tools alongside Film Whip Transitions to create a more consistent look and sound in your edits.
For example, you can use film LUTs to bring the color and mood of different shots closer together, then use a suitable sound effect to emphasize the moment of moving from one shot to the next. However, based on the description, these LUTs and sound effects are complementary products and aren’t confirmed to be included in the Film Whip Transitions collection itself.
Overall, with more than 50 real clips, 4K ProRes quality, and direct usability in editing applications, this collection offers a ready-made way to add Whip Pan movements and 16mm film texture to your projects. Its main value is that you can choose from a variety of clips instead of manually creating every movement, and focus on timing, shot coordination, and editing rhythm.
🎬 Matching Movement Direction, Rhythm, and Color in Whip Pan Transitions
Having ready-made transitions doesn’t automatically guarantee an engaging edit. Choosing the right clip and coordinating it with the two surrounding shots plays an important role in making the result look natural.
- Match the movement direction of both shots: If the subject in the first shot moves right, the next shot should start with a compatible movement direction. However, breaking this pattern can also be a creative choice, as long as it’s intentional.
- Time the transition to the music: In music videos and high-energy promotional teasers, a whip pan’s placement can significantly affect the editing rhythm. Position the clip so that the main movement aligns with the beat or a change in the music.
- Use a variety of transitions: Using the same transition between every shot can feel repetitive over time. This variety helps you choose movements that suit each scene’s content.
- Pay attention to differences in color and lighting: Since these clips were recorded in real environments, their colors and lighting may differ from those of your project footage. If the difference is noticeable, adjust the transition clip’s colors as needed to blend better with the surrounding images.
- Don’t use Whip Pan for every cut: This transition generally suits moments that need movement, excitement, or a change in rhythm. In calmer sections, a simple cut or Dissolve may work better.
By following these tips, transitions can become part of your video’s rhythm and visual language rather than just decorative effects.
✨ When Real Movement Makes Editing More Engaging
Film Whip Transitions is a great choice for editors who prefer natural camera movements and the classic look of 16mm film over digital transitions. With over 50 clips in 4K ProRes quality, it’s easy to use in editing software and works well for a wide range of video projects.
The main advantage of Film Whip Transitions isn’t that it makes manually creating a Whip Pan impossible or pointless. Instead, it gives you another way to achieve a different result. Especially when you have limited editing time or want to use multiple transitions with a real film look in one project, an archive like this can help organize your workflow.
Ultimately, if your editing style leans toward fast movements, high-energy cuts, and an analog feel, Film Whip Transitions can give you ready-made options to connect shots more easily and give your video a distinctive visual character.
If you’re also a DaVinci Resolve user and you’re looking for ways to make your editing workflow faster, smoother, and more professional, we strongly recommend checking out our detailed article on the DaVinci Resolve tools and features you shouldn’t miss.