

🎬 When a Simple Fade Between Two Shots Is No Longer Enough!
Have you ever heard of the Amalgam Plugin by aescripts? In video editing and motion graphics, you sometimes want to connect two images so the boundary between them is less noticeable. For example, you might want to blend a cityscape with a character’s portrait or transition from a forest shot to the next scene. In these situations, simply fading one image out and bringing the next one in is no longer enough. You need a more visually engaging combination.
Cross Dissolve is useful for moving from one shot to another, but it can make some details look blurry. This is more noticeable when both images have textures or sharp edges. You want the images to blend smoothly, but you also want to keep their details clear.
To achieve this kind of result, you can use more advanced image-blending techniques. Instead of uniformly fading two images into each other, these methods blend different parts of the images in different ways. They let you create more creative transitions and Double-Exposure effects, giving you greater flexibility to produce a wider variety of visual compositions.

🖼️ What Exactly Are Image Blending and Double Exposure?
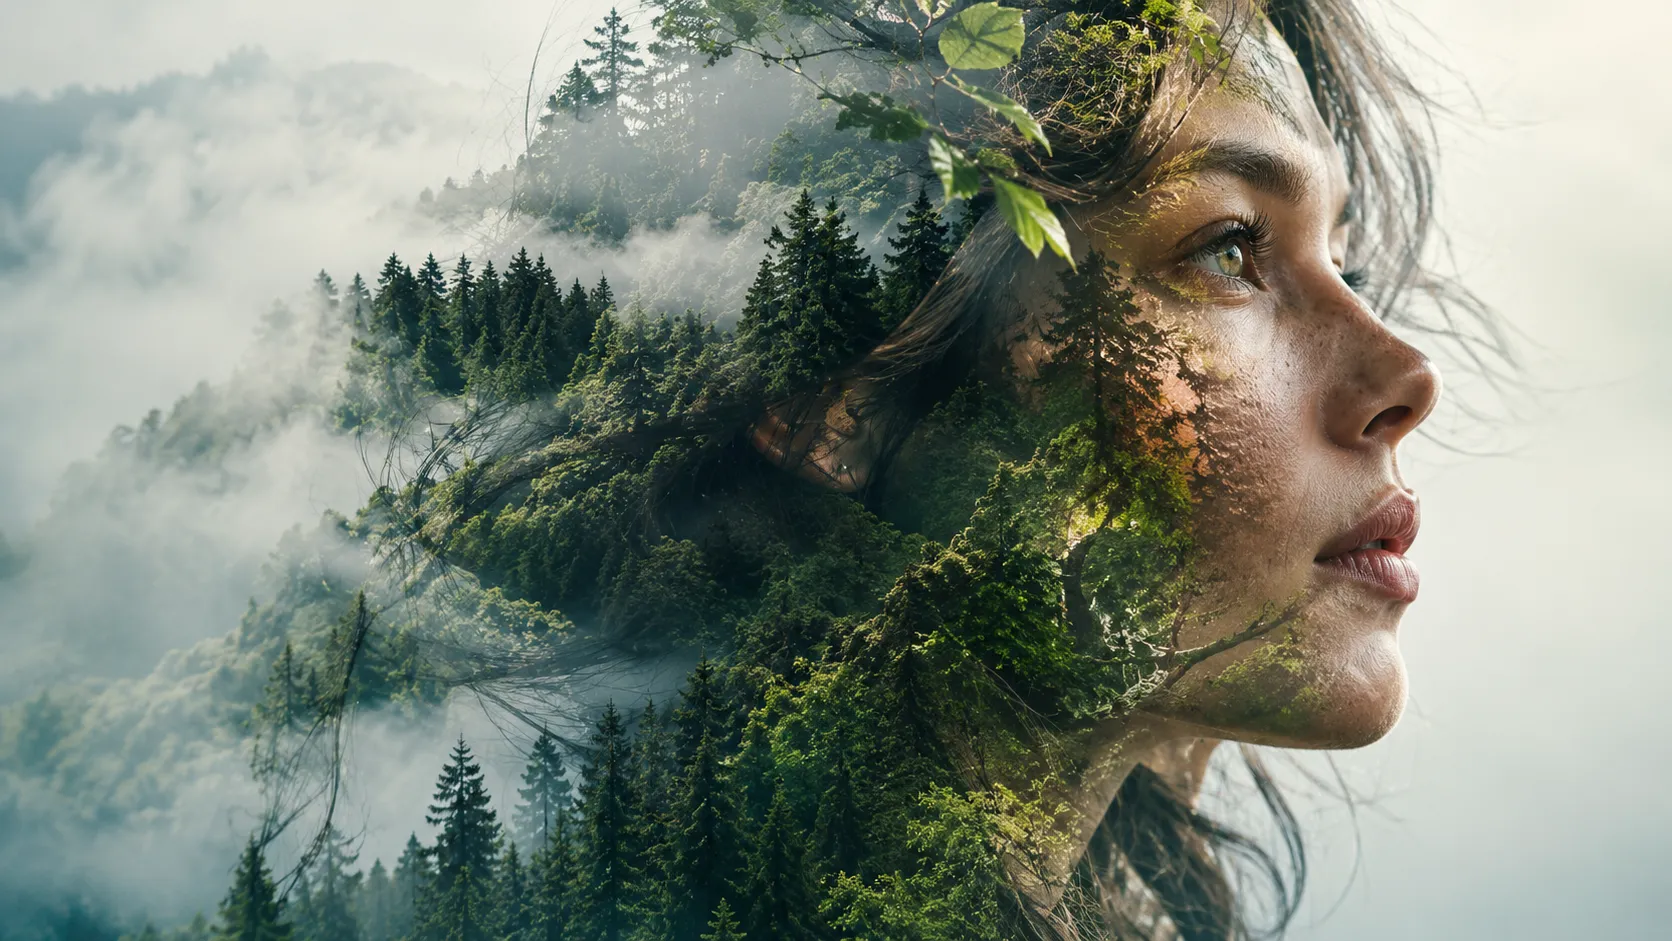
Image Blending means combining two or more images so that parts of each remain visible in the final result. One well-known technique is Double Exposure, an effect that combines two images, such as a person’s portrait and a cityscape, into a single frame.
This technique isn’t just for artistic images; it also applies to video editing and motion graphics.
Creating promotional videos: Blend a product image with a related texture or landscape to create a more engaging visual connection.
Music video design: Combine footage of a singer with cityscapes, nature, or ambient lighting to create a distinctive atmosphere.
Creating transitions between shots: Instead of simply fading from one shot to the next, you can blend details from two images over time.
Motion graphics and title sequences: Combine textures, images, and subjects to create animated backgrounds or transitions between sequences.
A good result depends on more than just choosing two suitable images. The blending method also affects the final result’s clarity, continuity, and overall feel.
🛠️ Common Methods for Blending Two Images in Premiere Pro and After Effects
To blend two images without a plugin, you can use the built-in tools in Premiere Pro and After Effects. Your method depends on whether you want to simply connect two shots or blend parts of them more creatively.
- Cross Dissolve in Premiere Pro: With this transition, the first image gradually fades out and the second image takes its place. This method is useful for simple transitions between shots.
- Opacity and Keyframes: By adjusting layer opacity over time, you can control how much of each image is visible and create an animated blend.
- Blend Modes in After Effects: Modes such as Screen and Multiply change how two layers’ colors and brightness interact, making them useful for Double-Exposure effects and texture blending.
- Masks and Track Matte in After Effects: Masks and Track Matte let you reveal specific parts of images and create more precise blends. For more complex results, you can also use multiple layers and animate the masks.
⚠️ Why Does Professional Image Blending Take Time With Conventional Methods?
Each method has its own limitations. Cross Dissolve mainly fades between two shots and, on its own, cannot intelligently combine their details. Blend Modes can also produce different results depending on the colors, lighting, and contrast of the images, so they don’t always deliver the blend you’re looking for. On the other hand, creating a complex Double Exposure effect with masks and multiple layers requires more manual adjustments and refinements. As a result, when you want a smooth boundary between images while preserving the fine details of both, achieving the desired result can take time and require more trial and error.
✨ Amalgam: Blending Images With Clearer Details and Creating Different Transitions
Amalgam by VFX Tools blends images and creates smoother transitions, helping you go beyond conventional Cross Dissolves. The main difference lies in its image-blending method. Instead of simply changing the opacity of two images, it uses a technique called Laplacian Pyramid Blending to process different parts of an image separately before combining them again. The goal is to create a more seamless blend where overall tones merge smoothly while fine details retain as much clarity as possible.
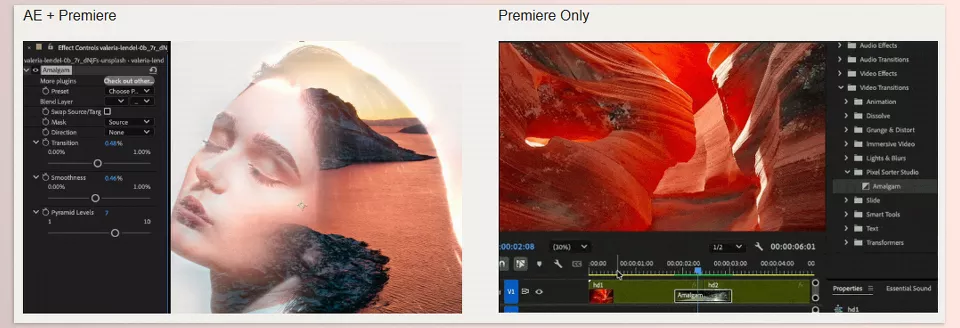
Amalgam has two main tools: Amalgam Blend for blending images in After Effects and Premiere Pro, and Amalgam Transition for creating transitions in Premiere Pro. Each tool serves a different purpose, so choose the one that fits your needs, whether you want to combine two images in a single frame or create a transition between two shots.
🖼️ Amalgam Blend: Combining Two Images Without Uniformly Blurring the Details
Amalgam Blend is designed for situations where you want to combine two images without making the result look like two simple layers placed on top of each other. Instead of relying on Opacity adjustments or conventional Blend Modes, this tool uses frequency-based blending to combine the overall tones and fine details of the images in different ways.
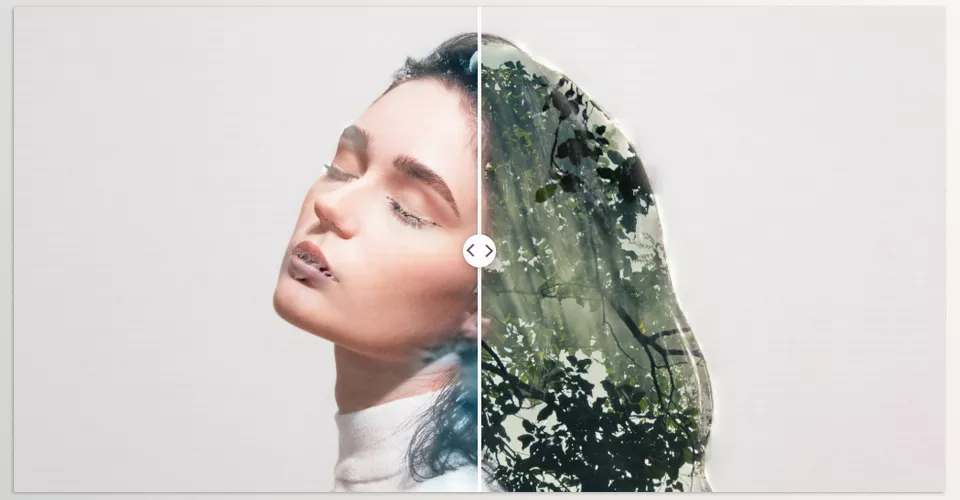
For example, imagine that you want to combine a person’s portrait with an image of a forest. With conventional methods, the tree textures and facial details might overlap, leaving the final image unclear. Amalgam Blend blends the broader elements of the two images more smoothly while preserving details like edges and textures.
This feature is useful in several types of projects:
Creating Double-Exposure effects: Combine a portrait with a cityscape, forest, architecture, or natural elements to create artistic images and creative sequences.
Promotional videos: Blending a product image with complementary textures or shots. For example, combining an image of a perfume bottle with flowers or a landscape that reinforces the advertisement’s mood.
Motion graphics and title sequences: Combining different images to create visually engaging frames or backgrounds that bring multiple elements together in a single image.
Blending textures and details: Combining two images to achieve a distinctive look without turning the entire image into a uniformly blurred blend.
Amalgam Blend is available for After Effects and Premiere Pro and suits projects where the main goal is to combine images rather than simply transition from one shot to the next.
🎞️ Amalgam Transition: Going Beyond Cross Dissolve in Premiere Pro
The second tool, Amalgam Transition, creates transitions in Premiere Pro. It suggests that a transition between two shots shouldn’t be limited to gradually fading one out and bringing the other in. Instead, it connects the images using frequency-based blending.
For example, when editing a travel video, you can transition from a close-up of a subject to a wider landscape shot. In a promotional video, you can move from a detailed product shot to a full view of the product. In situations like these, smoothly blending the overall image tones while preserving details can help create a transition that differs from a conventional Cross Dissolve.
This tool is particularly useful for editors who want an alternative way to connect two shots without manually building a complex effect. However, the final result still depends on the content of the two shots, differences in lighting and color, and how the transition is applied. It’s therefore a good idea to test the effect on actual project footage to see whether it matches your editing rhythm and style.
⚙️ Laplacian Pyramid Blending: The Secret to Smooth Blending and Preserving Details
Amalgam’s most important feature is the technique it uses behind the scenes to blend images: Laplacian Pyramid Blending. In this method, an image is divided into frequency components so its overall information and fine details can be processed separately. After these components are blended, they are brought back together to form the final image.
To better understand this process, consider its three main components:
Low Frequency; Smoothly Blending Light and Form: This component contains the image’s overall information, such as large shapes, broad brightness variations, and the general color mood. Blending this information helps smooth the transition between two images and makes the boundary between them less noticeable.
High Frequency; Preserving Textures and Edges: This component contains finer details such as skin and wood textures, hair, lines, and object edges. Amalgam blends these details separately to achieve greater clarity than simply averaging the two images would.
Recombined; Creating the Final Image: After the different components have been processed, they are combined again to form a single image. The overall tones blend smoothly, while the details from both source images remain visible as much as possible.
The difference between this method and simply blending layers is that the image information isn’t processed all at once. For this reason, Amalgam is designed for situations where smooth image blending matters, but you also want to avoid excessively blurring fine details.
🎯 Tips for More Natural Image Blending and Better Amalgam Transitions
To create a natural, well-crafted blend between two images, the blending method isn’t the only factor. Choosing the right shots and ensuring visual consistency between them also play an important role.
- Choose complementary images: The two images don’t have to look alike, but they should have a reasonable connection in terms of subject matter or composition. For example, combining a portrait with a cityscape can create a more defined concept than blending two completely unrelated images.
- Pay attention to lighting and contrast: A major difference between a very bright image and one with deep shadows can make the blend look unbalanced. Before using the effect, align the lighting and colors of the two shots as closely as possible.
- Check the important details: In a Double Exposure effect, not every part of both images needs to be equally visible. Check that the main subject and important details remain recognizable in the final composition.
- Choose a transition that matches the editing rhythm: A longer transition may suit slower shots, while a shorter one may work better in fast-paced editing. Match the timing to the music’s rhythm and the footage’s movement.
- View the result at full size: When evaluating the blend, don’t rely solely on a small preview. Inspect edges, textures, and fine details at an appropriate size to determine whether the image has actually retained its clarity.
Ultimately, Amalgam is most useful when you want to move beyond simple image blending and create a smoother, more detailed result without significantly changing your project’s structure.
🚀 How Can Amalgam Improve Your Editing Workflow?
If you frequently use Cross Dissolve in your projects or experiment with multiple layers and blending methods to create Double Exposure effects, Amalgam offers a different way to achieve the result you want. This tool focuses on frequency-based image blending, combining an image’s broader elements smoothly while preserving fine details.
You can use this method to connect two shots or blend images without a basic fade. The results also depend on the images you choose, so try to use shots with similar lighting and colors.
Amalgam can be useful for promotional videos, music videos, and motion graphics. You can check out its examples to see how the transitions look and whether they work for your project.
If you’re not sure whether you need a plugin, script, or extension, take a look at our After Effects Tools guide. It explains what each type of tool does and helps you choose the one that works best for your projects.