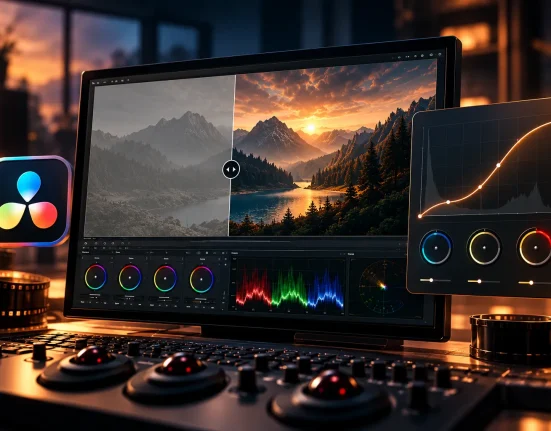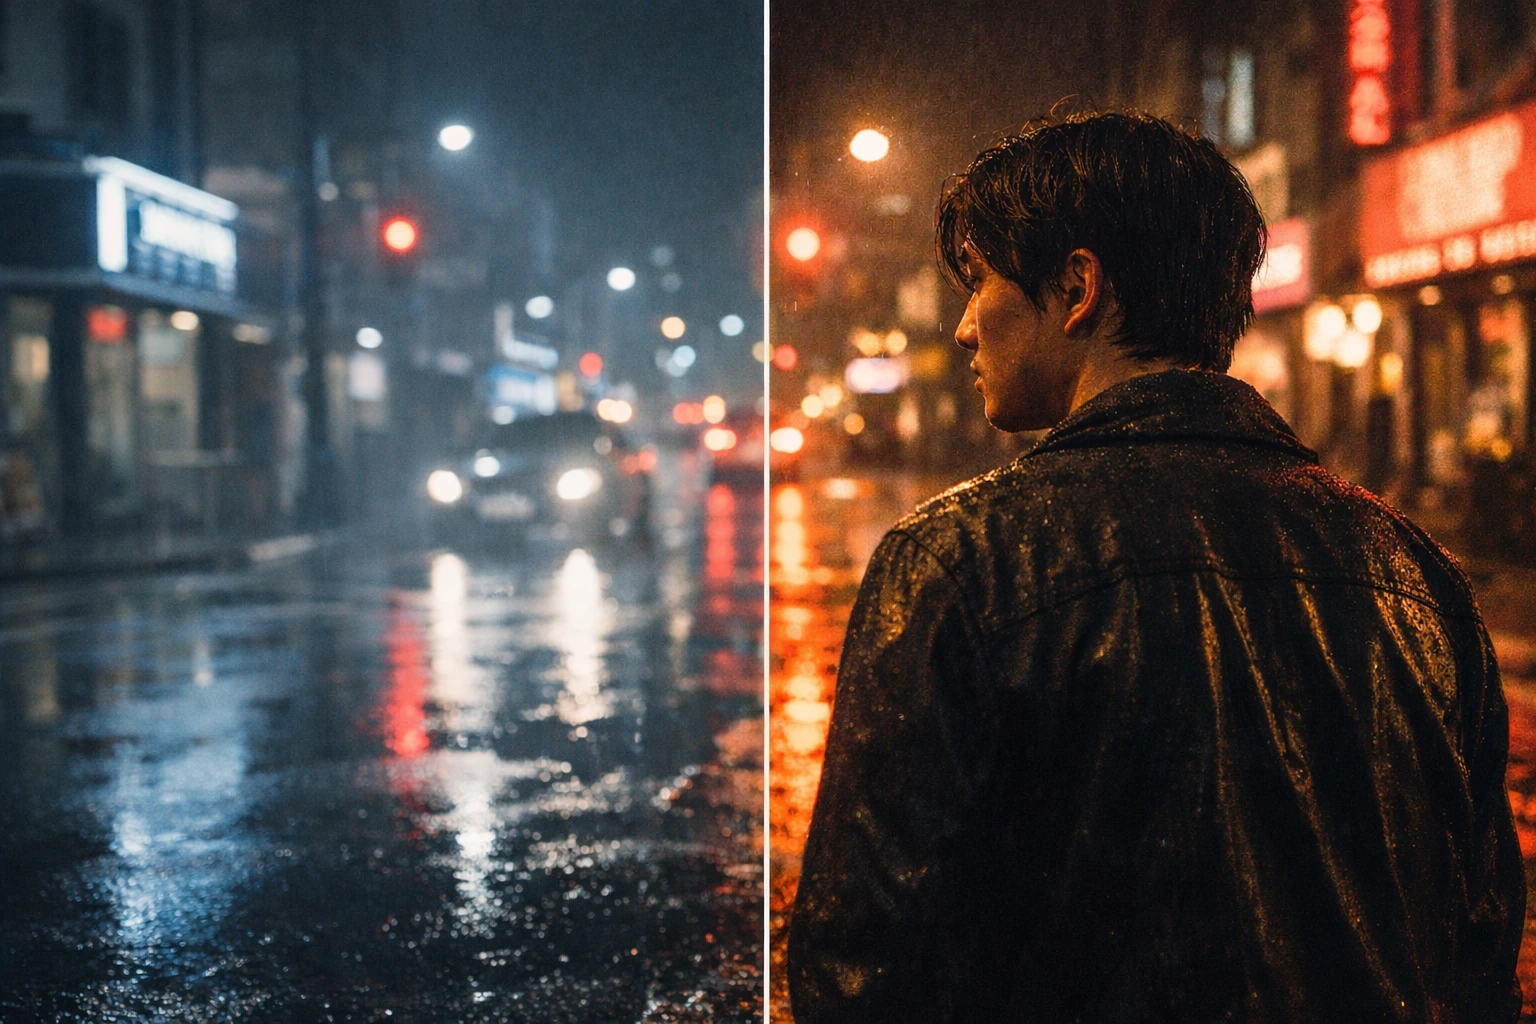
🎬 When Your Footage Doesn’t “Feel Like a Film.”
Do you have experience with the Film Emulation LUTs and Power Grades Pack? Have you ever shot a video where everything looked technically right — the lighting was good, the framing was clean — but when you sat down to edit, something felt missing? The image is sharp, technically correct, perfectly clean… yet it lacks that warmth and cinematic depth you see in classic films. Everything just feels a bit too flat and emotionless.
The truth is, digital footage is inherently very clean and precise. Highlights are sharp, shadows feel dry, and skin tones can sometimes look artificial. That’s why even with a professional camera, your final output might still miss that pleasant, cinematic atmosphere.
This is where you start looking for a way to bring back that analog vibe and soft film texture — a natural, warm feeling that enhances the image without exaggeration — and without forcing you to spend hours tweaking complex settings and going through endless trial and error.

🎞 What Is a Film LUT and How Does It Help?
A LUT (Look-Up Table) is a color profile applied to footage to change its color, contrast, and overall mood. When we say Film Emulation LUT, we mean a profile designed to simulate the look of real film stocks like Kodak or Fuji — that same color depth, soft highlights, and distinctive tonal quality that gives footage a cinematic feel.
Its application is very tangible, whether you’re working on a dramatic short film, a nostalgic music video, or even a simple vlog. A film LUT helps make skin tones more natural, softens highlights, adds a subtle texture to the image, and ultimately gives the entire project a cohesive visual identity — something that makes your work look more professional and believable.
If you’re not fully sure what a LUT actually does, you might want to check out our complete guide to color grading first.
🎛 Traditional Methods for Achieving a Film Look
If you want to achieve a film-style look without using ready-made packs, you’ll need to roll up your sleeves and work with your software’s built-in tools. Typically, the process starts with basic exposure and color correction, then gradually moves into styling. This path is absolutely doable — and many professional colorists started exactly this way.
Tools commonly used include:
- Color Wheels and Curves to build contrast and shape the overall tonal balance
- Manually adjusting Saturation and Temperature to achieve the desired warm or cool mood
- Designing and saving a custom LUT after reaching a suitable color combination
- Adding film grain manually to break the overly clean digital look
- Using multiple nodes in DaVinci Resolve to separately control exposure, skin tones, and highlights
With these methods, you can gradually build a space that feels close to analog film. But it requires precision, patience, and a lot of experimentation.
⏳ Challenges You’ll Face Along the Way
The main issue is that this process is usually time-consuming and sensitive. Achieving a color grade that both carries a film-like mood and keeps skin tones natural requires a delicate balance. A small change in contrast can ruin skin tones, and adding grain without proper control can make the image look noisy and artificial.
On top of that, building a preset that works across different projects requires a high level of experience, since every piece of footage reacts differently to color adjustments. As a result, without specialized tools, reaching a cinematic output often depends more on patience and skill than on speed.
🎬 Introducing Professional Film Emulation LUTs and Power Grades Pack
This is where a professional Film Emulation LUTs and Power Grades Pack comes into play — a tool designed to shorten the gap between digital footage and the feel of analog film. This pack is built to accurately recreate the look of classic film stocks without complicating your workflow. That means faster results, full control over your output, and the flexibility to adapt the style to your project.
🎞 Emulations of Iconic Film Stocks — Each with a Unique Mood
Inside Film Emulation LUTs and Power Grades Pack, you’ll find several popular emulations, each with its own color personality:
- Kodak 2383 Emulation for deep contrast, rich colors, and beautifully cinematic skin tones
- Fuji 3513 LUTs with a distinctive classic 35mm tone that gives footage a more artistic feel
- Fujicolor C200 Style featuring vibrant, natural, slightly nostalgic colors
- 35mm, 16mm, and 8mm styles covering everything from professional cinematic looks to vintage, memory-driven vibes
This variety ensures you’ll have a suitable option for any project — from serious drama to artistic and commercial work.
🎨 Over 20 Customizable LUTs & PowerGrades
Film Emulation LUTs and Power Grades Pack isn’t just a set of locked filters.
It includes more than 20 professional LUTs delivered in .cube format, compatible with most editing software such as Premiere, Final Cut, and Resolve.
For DaVinci Resolve users, it also offers dedicated PowerGrades — meaning you can dive into the nodes, examine the color structure, and adjust it based on your project’s lighting. That’s high flexibility without having to build everything from scratch.
🌾 Grain & Texture — The Details That Bring an Image to Life
One of the key strengths of Film Emulation LUTs and Power Grades Pack is its attention to texture and analog feel. Natural grain, softer highlights, and smoother shadows help your footage move away from that overly digital look.
The result? A warmer, deeper, more believable output that doesn’t strain the viewer’s eyes.
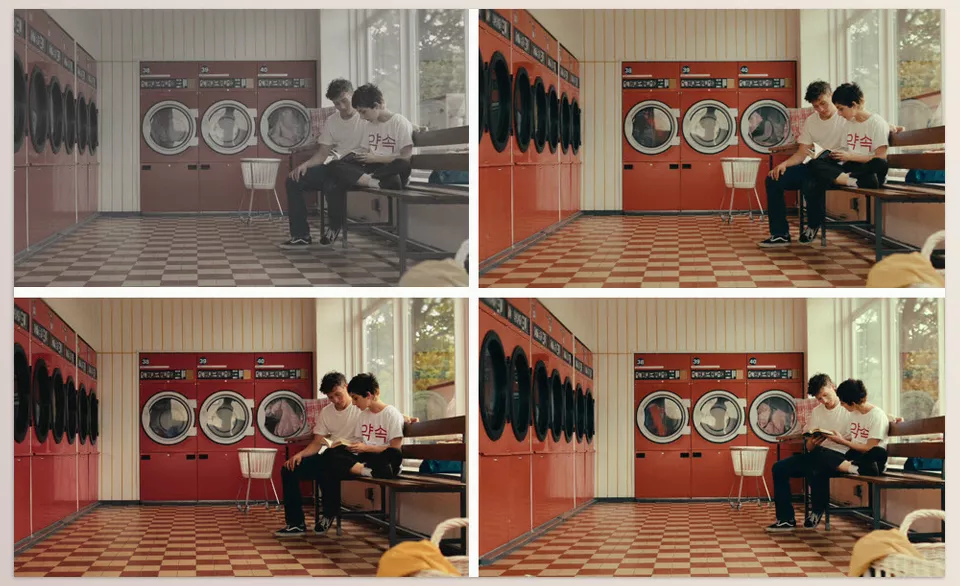
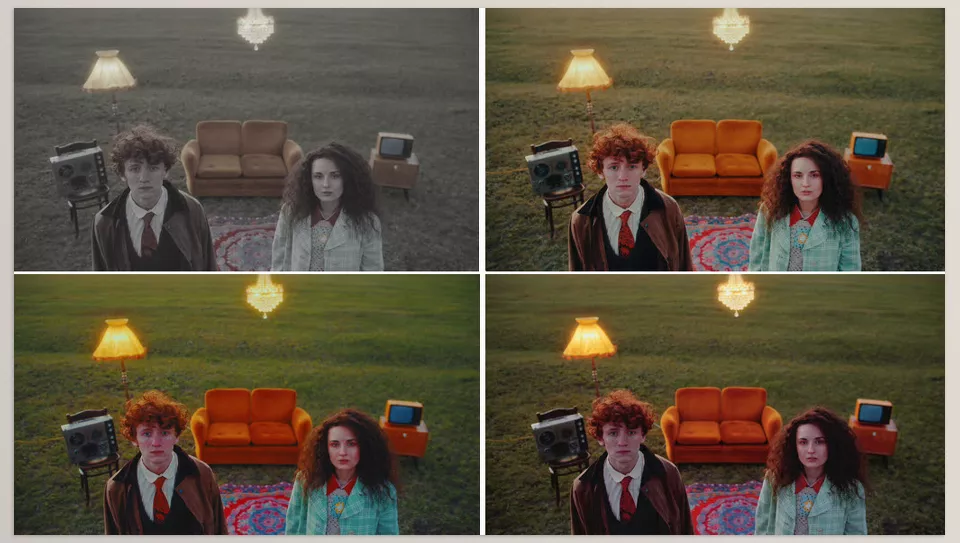
The change these kinds of packs create isn’t just about shifting a few color sliders — they actually transform the feeling of a project. The same footage that once looked ordinary and slightly flat gains depth after applying a proper film style. Colors become more cohesive, contrast becomes more intentional, and the image develops a clear identity — something that subconsciously strengthens the audience’s connection.
You can see the results across different scenarios: a simple music video can take on an 80s cinematic vibe, a student short film can look more mature and refined, a luxury brand commercial can convey a stronger premium feel and trust, and even an ordinary YouTube vlog can gain a more defined visual personality. Ultimately, Film Emulation LUTs and Power Grades Pack helps your footage not just look “correct” — but truly feel something.
🎯 Professional Tips for Better Results
When you apply a film LUT, that’s just the beginning. The difference between an average output and a professional one often lies in the small details. These tips will help your result look more natural and cinematic:
- Control the LUT intensity
Never apply a LUT at 100%. Keep the Opacity or Mix usually between 40% and 70% for a softer, more realistic result. - Correct exposure before adding style
Always adjust exposure, fix white balance, and build a base contrast before applying a LUT. When the image is technically balanced, the film style will sit much more cleanly and professionally. - Don’t overdo the grain
Too much grain quickly makes footage look artificial and messy. A subtle, controlled layer of film texture is usually far more attractive and believable. - Fine-tune each shot individually
Every lighting condition and location reacts differently to a LUT. A single adjustment for the entire project rarely delivers ideal results — so make small refinements for each scene.
If you follow these simple tips, even a ready-made LUT can produce an output that looks completely professional and intentional — not just like a preset filter thrown onto footage.
✨ Conclusion — When Your Image Gains Personality
The difference between an ordinary video and a cinematic piece often isn’t about equipment or even location — it’s about the feeling of the image. When colors sit together with intention, skin tones look natural and pleasing, and a soft analog texture rests over the frame, your work instantly levels up. The audience may not know exactly what changed, but they’ll definitely feel the difference.
The Film Emulation LUTs and Power Grades Pack can help you take a faster and smarter path to achieving this level of quality. You’ll have more freedom to focus on your creativity while also maintaining a cohesive and professional color style.
If it matters to you that your creations have a distinct and exciting visual style, then color grading is more than just a secondary step—it’s part of the overall personality of your project. Once you see the difference that color grading can make, you’ll realize that color isn’t just color, but a vital part of film that carries a powerful emotional language 🎬✨