

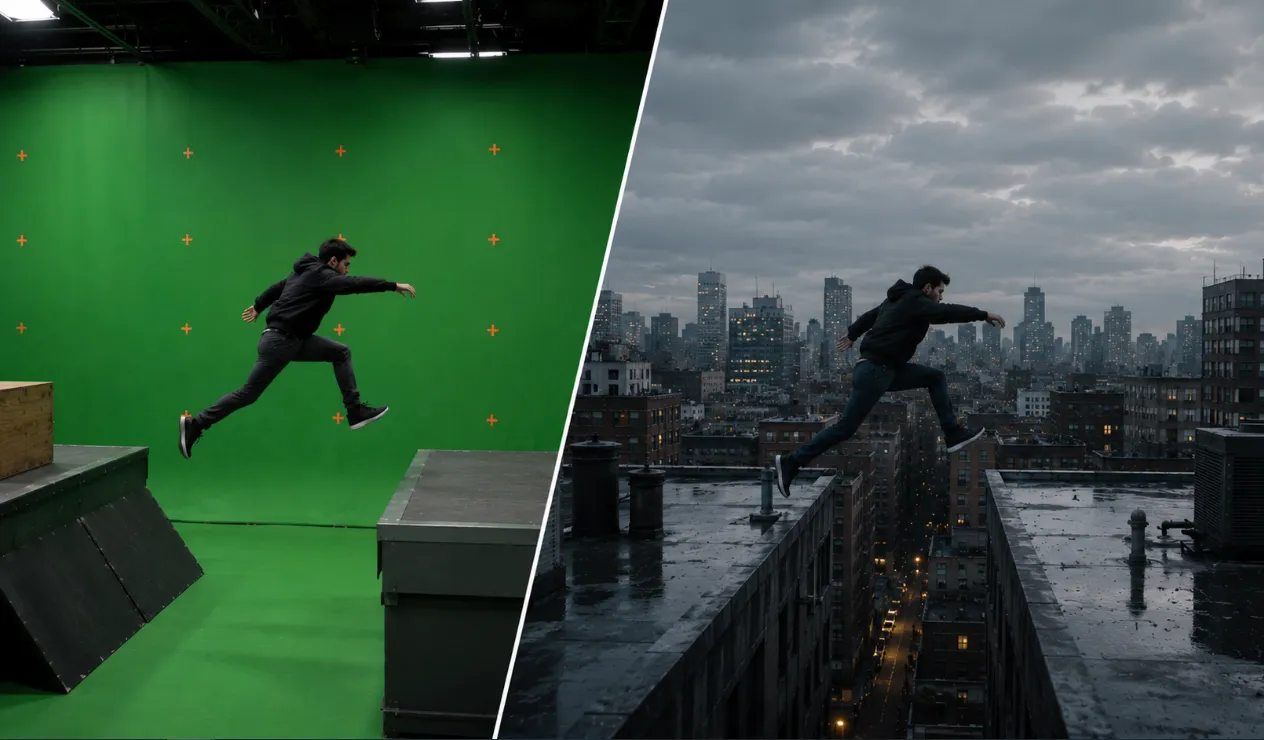
🤔 Why Do Some Composites Still Look Artificial No Matter How Much You Work on Them?
Have you used the Blacklight Composite Suite Plugin by aescripts in any projects? It has probably happened to you: you separated a subject using Green Screen, placed it on a good background, and even adjusted the colors a little, but when you look at the final output, something still feels off. It feels like the subject has simply been pasted onto the image and is not actually part of the scene, even though everything seems technically correct.
The interesting thing is that the problem usually does not come from one specific thing. A slight difference in color, lighting, contrast, subject edges, or Matte quality can be enough to make an image look artificial. These details might not be obvious at first glance, but our brain quickly notices when the subject does not match its surrounding environment. 👀
It is these small details that separate a simple composite from a professionally edited one. However, with a better understanding of the tools available to editors and the principles of creating a visually pleasing composite edit, it is possible to significantly reduce the gap between artificial and professional edits. ✨

🎨 What Exactly Is Compositing?
Many people think compositing means taking a subject from one image and placing it on top of another image. But in reality, the process goes far beyond that.
Compositing means ensuring that no one can tell these two images were not originally created together. 👀
For example, imagine:
🎥 You filmed an actor using Green Screen and want to place them inside a busy street.
🧊 You created a 3D model and want to display it next to a real product.
📺 Or you are creating an advertisement and need all elements to blend together naturally.
To make these scenes look realistic, simply removing the green screen is not enough. The lighting, colors, contrast, subject edges, and even the overall feeling of the image need to work together.
🛠️ Can You Do It Without Plugins?
Yes… Actually, After Effects already includes powerful tools for this.
If you have only worked with After Effects’ built-in tools so far, the good news is that you already have the tools you need for most of these tasks. 🙌
For example:
- 🟢 Keylight for removing Green Screen
- ✂️ Key Cleaner and Refine Hard Matte for cleaning up edges
- 🎚️ Simple Choker for controlling the Matte
- 🎨 Lumetri Color and Curves for color correction
- ☀️ Levels and Exposure for adjusting lighting
- 🖌️ Mask and Roto Brush for fixing problematic areas
With these tools alone, you can create highly professional composites, and many cinematic projects use exactly these techniques.
But there is one thing… 😉
As the number of shots increases, or you have to repeat the same adjustments, you gradually realize that a large part of your time is spent on small, repetitive tweaks. And if you want all shots to have a consistent look, the process becomes even more challenging.
🚀 Professional Compositing, With Less Hassle
This Is Where Blacklight Composite Suite Comes In. Blacklight Composite Suite is a collection of plugins for After Effects that focuses on one specific goal: helping you perform compositing tasks faster, more easily, and in a more unified way. This plugin is not designed to replace your skills or experience, but it handles many repetitive and time-consuming tasks more efficiently so you can focus more on the final quality of your project. ⚡
If you frequently work with Green Screen, CGI, advertisements, music videos, or VFX projects, this suite can probably become one of the main tools in your Workflow.
💡 Comper | Making Composites Look Natural With Just a Few Clicks
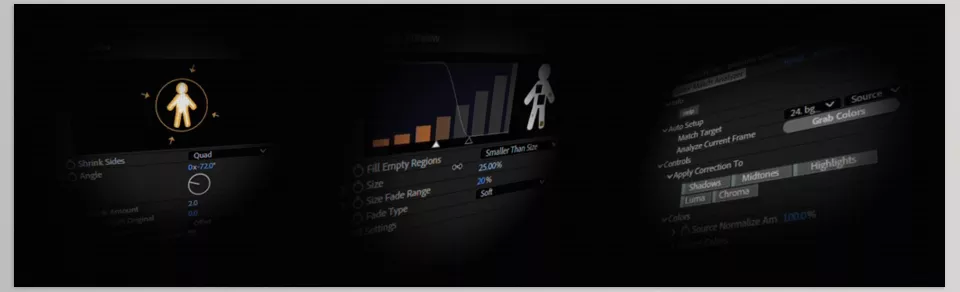
The most important tool in Blacklight Composite Suite is Comper, designed to blend the subject with its surroundings.
Imagine you filmed an actor using Green Screen, and now you want to place them on a street, in an office, or in a 3D environment. Usually, after removing the green screen, the real work begins: you need to match the subject’s color, lighting, contrast, and overall appearance to the background.
Comper is built exactly for this stage.
Its most important features include:
- Matching the subject’s lighting with the environment
- Matching the colors of the subject and the background
- Adjusting contrast and optical image characteristics
- Helping the subject look more natural inside the scene
- Performing all these adjustments without the need to pre-compose layers
One of the interesting features of Comper is that you do not need to place the subject and background inside a Pre-compose before starting, or worry about layer Transform settings. You can freely move or scale the layers, and the plugin will still maintain their connections. This is especially useful in large projects where it can save a significant amount of time.
✨ Smart Matte Choker | Keeping Edges Natural
After Keying, the edges of the subject often become problematic, especially when hair, clothing, fur, or semi-transparent objects are present in the image.
Smart Matte Choker is designed exactly for this purpose.
Unlike regular Chokers, this tool does not simply make the Matte smaller or larger; instead, it aims to preserve the image’s fine details.
Its important features:
- Choking the Matte without losing details
- Preserving fine hair and sensitive edges
- The ability to refine only specific edge areas
- Controlling the Choke direction for different parts of the image
- Creating different Edge appearances through various processing methods
As a result, you do not have to sacrifice the entire Matte just to fix a small area.
🩹 Fill Matte Holes | Saying Goodbye to Matte Holes
It has probably happened to you that after removing the green screen, some parts of the subject are unintentionally removed.
For example:
- Between the hair
- On clothing
- Inside shadows
- Or dark areas of the image
The traditional approach is to fix these areas one by one using Mask or Roto Brush, which can be extremely time-consuming, especially in long videos.
Fill Matte Holes automates this process.
Features of this tool:
- Detecting unwanted Matte holes
- Automatically filling small gaps
- Defining the maximum size of holes that should be fixed
- Using Fade to prevent Flicker between frames
This Fade feature makes sure the corrections are applied smoothly throughout the video and prevents sudden changes between frames.
🎨 Color Match Analyzer | Matching Colors Through Smart Analysis
This tool is included with the Trial version for free, and even if you do not purchase the complete suite, you can still use it.
The purpose of the Color Match Analyzer is to analyze two images and identify the color differences between them.
After that, it can suggest ways to bring the two images’ colors closer together.
Its important features include:
- Matching the subject’s color with the background
- Creating consistent colors across different shots
- Separate analysis of Foreground and Background
- The ability to select only a specific area of the image for color analysis
- Precise control over the results for more advanced adjustments
This last feature is very useful because you do not always need to analyze the entire image. Sometimes only skin tone or a specific part of the background matters, and you can use that area as the basis for Color Match.
🎯 Who Is The Blacklight Composite Suite Plugin For?
Blacklight Composite Suite is mainly designed for users who consider compositing an important part of their projects, not just an occasional task.
If you are part of these groups, you will probably get a lot of use out of this suite:
🎬 Advertising editors
🎥 VFX artists
🟢 People who frequently work with Green Screen
🧊 Designers who place 3D outputs inside real images
📺 Music video and commercial creators
🎞️ Film and television compositors
However, if most of your projects are 2D motion graphics, logo animations, or regular edits, and you only occasionally work with Green Screen, the built-in After Effects tools will probably cover your needs.
📊 If Blacklight Composite Suite Didn’t Exist, What Would We Do Inside After Effects?
| Feature | Blacklight Composite Suite | After Effects Only |
|---|---|---|
| Matching the subject color with the background | Almost automatic with Color Match Analyzer and Comper | Lumetri Color, Curves, Levels, and manual adjustments |
| Matching lighting | Mostly automatic | Exposure, Curves, Levels, and manual corrections |
| Matte refinement | Smart Matte Choker | Refine Hard Matte, Key Cleaner, Simple Choker |
| Filling Matte holes | Automatic with Fill Matte Holes | Mask, Roto Brush, or manual corrections |
| Making edges look natural | Dedicated Edge Processing tools | Combining multiple effects |
| Managing the entire Workflow | All tools inside one suite | Using multiple separate effects and adjustments |
| Project speed | High, especially in repetitive projects | Depends on skill level and time spent |
In the end, Blacklight Composite Suite is not designed to create miracles or add features to After Effects that did not exist before. The real value of Blacklight Composite Suite comes from faster work, a more unified Workflow, and reduced repetitive tasks. If compositing is an important part of your daily projects, you will probably quickly notice how much time it can save you.
💎 A Few Tips That Make Your Results Look More Natural
Good tools can multiply your workflow speed, but what ultimately creates a professional composite is paying attention to the details. If you keep these few tips in mind while working, you can achieve more natural and professional results even without making major changes. 👌
- 💡 Match the lighting with the environment.
Before moving on to color correction, make sure the subject’s lighting matches the background lighting as closely as possible. If the direction or intensity of the light does not match the environment, even the best Color Match cannot make the composite look completely natural. - 🔍 Check the subject’s edges at high zoom.
Many Matte issues are not visible at normal viewing size. Zoom the image to 100% or even higher and make sure there are no halos, jagged edges, or unwanted leftover areas. - 🌫️ Adjust edge sharpness according to the scene.
If the background is slightly blurred, foggy, or low in contrast, overly sharp edges will make the subject look artificial. Sometimes slightly softening the edges creates a better result. - 🎨 Consider Color Match as a starting point, not the final step.
Color matching tools usually create a good foundation to begin with, but it is better to continue refining the colors, contrast, and brightness of the image manually afterward so everything looks more natural. - 📋 If you have multiple similar shots, fully adjust one of them first.
Instead of correcting every shot from scratch, first bring one shot to the desired result, then apply the same settings to the rest. This will make your workflow faster and also ensure that all shots have a consistent look.
In the end, remember that a good composite does not depend only on tools; the combination of experience, attention to detail, and following these simple tips is what makes the final result truly look natural. ✨
🎯 In the End, Who Is Blacklight Composite Suite For?
If you only work with Green Screen occasionally or your compositing projects are very limited, the built-in After Effects tools will probably cover your needs; you may just need to spend more time on manual adjustments to achieve the result you want.
But if compositing is a regular part of your work, the story is completely different. When you have to adjust multiple shots every week in terms of color, lighting, Matte, and subject edges, repeating the same steps over and over gradually becomes tiring and time-consuming. This is where Blacklight Composite Suite truly shows its value. Instead of spending your time on repetitive adjustments, you can reach a clean result faster and put more energy into the creative side of the project. 🚀
In reality, Blacklight Composite Suite is less about being just another tool and more about being an investment in speed and Workflow. The more projects you work on, the more you will realize how much time it can save you. You might be able to achieve the same result using only After Effects’ built-in tools, but the process will likely be longer and involve more manual adjustments. If your time matters and you want to achieve professional compositing with less hassle, this suite can become one of those plugins that, after a while, you will not want to work without. ✨
Are you ready to explore the different types of After Effects tools and learn how they work? In our After Effects Tools guide, we’ll show you the different After Effects tools available to you and how they can improve your projects.



