

🧩 From Animating Characters to Getting Stuck in Tedious Details
Are you experienced in using the BAO Bones Plugin by aescripts? Have you ever wanted to animate a simple character in After Effects, only to realize that most of your time wasn’t actually spent animating? Instead, it went into building controllers, linking layers together, setting up Parenting, and generally dealing with rigging. Rather than focusing on the character’s movement and personality, you end up building the system that’s supposed to enable movement.
This is where a familiar problem begins. The more complex the character or the larger the project becomes, the more time you spend dealing with these technical tasks. Every arm, leg, and joint has to be configured individually, every relationship needs to be carefully organized, and if you make one mistake, the entire structure can fall apart. Instead of making progress on the animation, the project feels stuck in the preparation phase.
And this becomes even more challenging when you’re working with multiple characters. Every new project or every new character means repeating the exact same process from scratch—building controllers again, reconnecting layers, and spending time on something that’s only meant to prepare for the actual animation. Over time, your energy shifts away from animating and gets consumed by repetitive setup work.

🦴 Rigging Is Simpler Than You Think
In 2D animation, making the arms, legs, or any other body part move naturally usually relies on a Bone / IK (Inverse Kinematics) system.
The idea is very simple: instead of rotating and adjusting each section of an arm or leg individually, you simply move the endpoint, and the rest of the chain bends automatically in a coordinated way. This creates movements that look much more natural and much closer to the way the human body actually moves.
In practice, this system makes character control much easier and more predictable, especially when creating smooth or chained movements like walking, waving, or turning the body. Instead of correcting every frame manually, you have a logical structure that automatically maintains consistency throughout the animation.
You can easily see its usefulness in projects such as:
- 👋 Natural arm and leg movement for 2D characters
- 🎭 Character-based animations for commercials and motion graphics
- 🎬 Story-driven scenes featuring animated characters
- 👥 Projects with multiple characters that require fast and efficient control
🧩 Traditional Rigging Methods in After Effects
Without using dedicated rigging tools, you have to build the entire character movement system yourself inside After Effects. Instead of relying on a ready-made solution, you combine several different techniques just to make a simple character move correctly. In other words, you’re building an entire system from scratch—including controllers, layer connections, and movement logic.
The most common methods include:
- 🧩 Creating Controllers with Null Objects
This allows you to create separate controllers for each part of the character, such as the arms or legs, so you can animate them independently. However, every controller has to be created and managed manually. - 🔗 Connecting Layers with Parenting
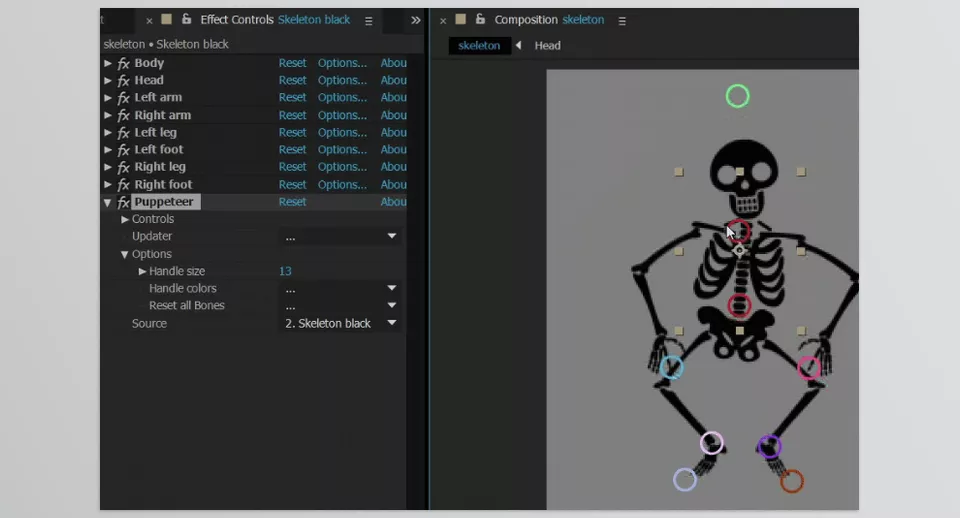
Parenting allows layers to influence one another—for example, attaching the hand to the forearm. But as the rig becomes more complex, managing these connections quickly becomes difficult and confusing. - 🎭 Using the Puppet Tool
This tool lets you bend and deform a layer, but its controls aren’t always precise, and its results can sometimes feel limited or unpredictable. - 🧠 Using Expressions for IK
To create natural chained movements such as arm bending, you’ll need to write Expressions, which require both technical knowledge and careful implementation.
⚠️ What’s the Problem with These Methods?
The biggest drawback is that, even when they produce great results, building them is slow and time-consuming. Since everything is created manually, even a small change can force you to readjust several other parts of the rig. As projects grow, they become increasingly difficult to manage—especially when multiple characters or scenes are involved.
⚙️ This Is Exactly Where BAO Bones Comes In
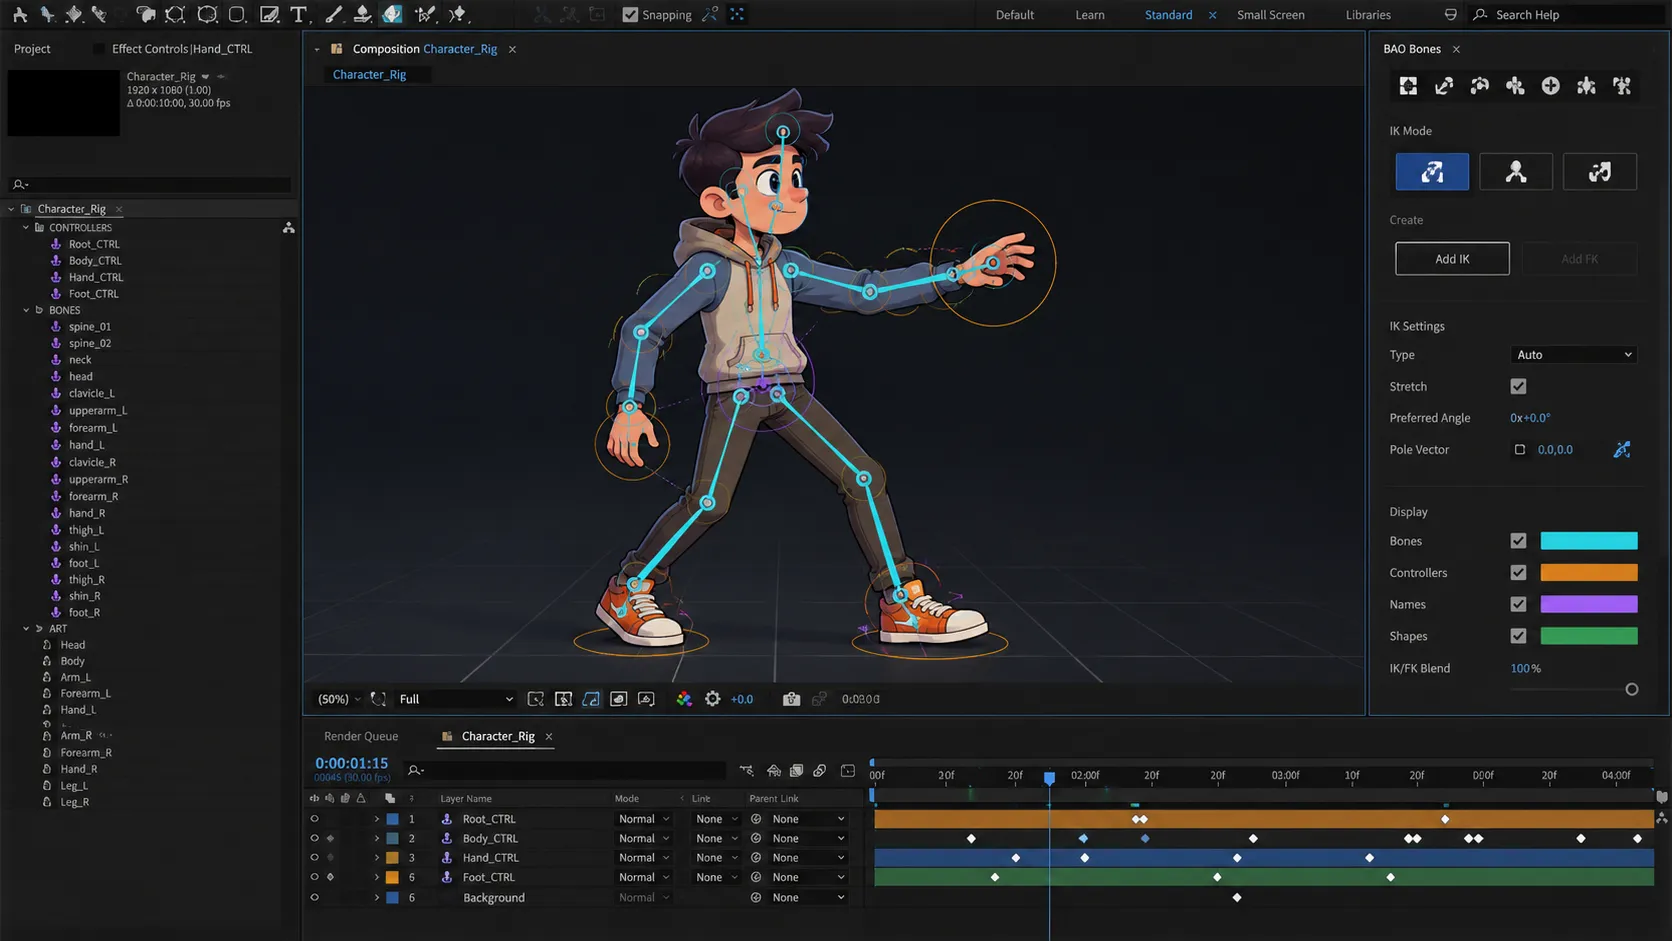
BAO Bones is an After Effects plugin that makes building Bone and IK (Inverse Kinematics) systems much faster and easier. Instead of manually creating controllers, connecting layers, and writing Expressions, the plugin automatically handles much of the underlying structure, allowing you to focus directly on animation.
Its main idea is simple: instead of building a complicated movement system yourself, you work with a ready-made one. As a result, your character becomes animation-ready much faster, and the entire process shifts from being highly technical to simply bringing movement to life.
✨ What Exactly Does the BAO Bones Plugin Do?
- 🦴 Quickly Create Bones for Your Character
Instead of manually creating controllers for every body part, the plugin automatically builds the bone structure—you simply decide which areas to control. - 🔗 Automatically Builds an IK (Inverse Kinematics) System
When you move the end of an arm or leg, the remaining sections bend naturally as part of the chain, without requiring any Expression writing. - 🎯 Creates Smooth and Natural Movement
It helps animations—especially body movements like walking or waving—look much more realistic. - 👥 Makes Multi-Character Projects Easier to Manage
Because the rig structure is cleaner and more lightweight, projects with multiple characters remain organized and manageable. - 🧩 Reduces the Number of Layers and Controllers
Instead of ending up with dozens of Null Objects and controllers, everything stays cleaner and more streamlined.
🎬 How Does BAO Bones Work?
First, prepare your character inside After Effects, usually as separate layers or PNG files. Then open the BAO Bones plugin and define Bones for the areas that need control. The plugin automatically generates the IK structure between those Bones and provides a complete control system.
From there, you simply move the controllers, and the character begins to animate. If needed, you can add keyframes to the system and fine-tune every movement with greater precision.
🎯 The Result in Your Project
Instead of spending your time building the movement infrastructure, you can jump directly into the most important part of the process: animating. Your focus shifts away from the technical setup and toward the movement itself and your character’s personality.
🧠 The Secrets to a Cleaner Rig and Smoother Animation (Before You Start!)
Before rushing into creating Bones and animating, consider these small but important tips to improve the quality of your work. They’re the little details that transform a project from “good” to “professional.”
- 🧩 Organize First, Animate Second
Before creating any Bones, clean up your character, properly separate your layers, and make sure everything is in the right place. The cleaner your initial structure is, the smoother your final rig will be. - 🎬 Smooth Motion Starts with Proper Keyframes
To avoid stiff or robotic animation, use Easy Ease and adjust the speed of your keyframe interpolation. These small details make movements appear much more natural. - 👥 Take Naming Seriously
Whether you’re working with one character or many, poorly named layers and controllers can quickly turn your project into an unmanageable mess. Establish a simple naming convention from the beginning—it will save you a lot of time later. - ✂️ If You’re Using PNG Files, Use Masks
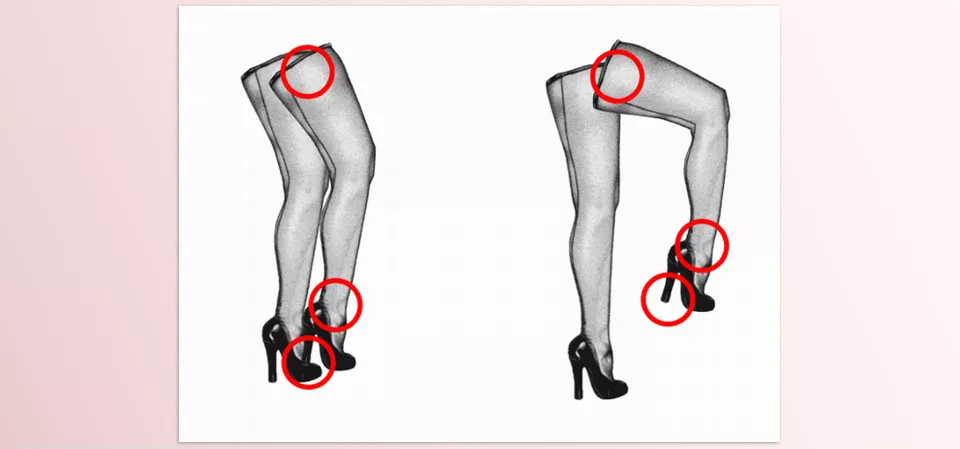
For cleaner arm and leg bending—especially in PNG-based projects—using Masks helps soften the edges and eliminate the harsh “cut-out” appearance.
✨ And Finally, Remember This
A good rig isn’t just a tool—it’s the foundation that allows your animation to truly come to life.
🚀 Where Speed Really Becomes Noticeable
When character rigging becomes faster and simpler, the entire animation workflow takes a significant leap forward. You no longer have to spend half of your project building the technical setup. Instead, your energy goes where it truly belongs: animating characters and bringing your ideas to life.
This is exactly where BAO Bones proves its value. Instead of getting caught up in layers, controllers, and complex technical settings, it gives you a ready-made system that takes you straight to the creative part of the process. The result is a faster workflow, a smoother production experience, and the ability to see your ideas turn into real animation much sooner.
Ultimately, the most valuable resource in any project is time—how quickly you can transform an idea into movement. The shorter the distance becomes, the more productive you are, and the more of your attention stays focused on animation itself rather than on repetitive preparation.
Working in After Effects shouldn’t feel complicated. Learn about simple tools that can help you edit faster and keep your workflow smooth. Check out the After Effects Tools guide now.



