

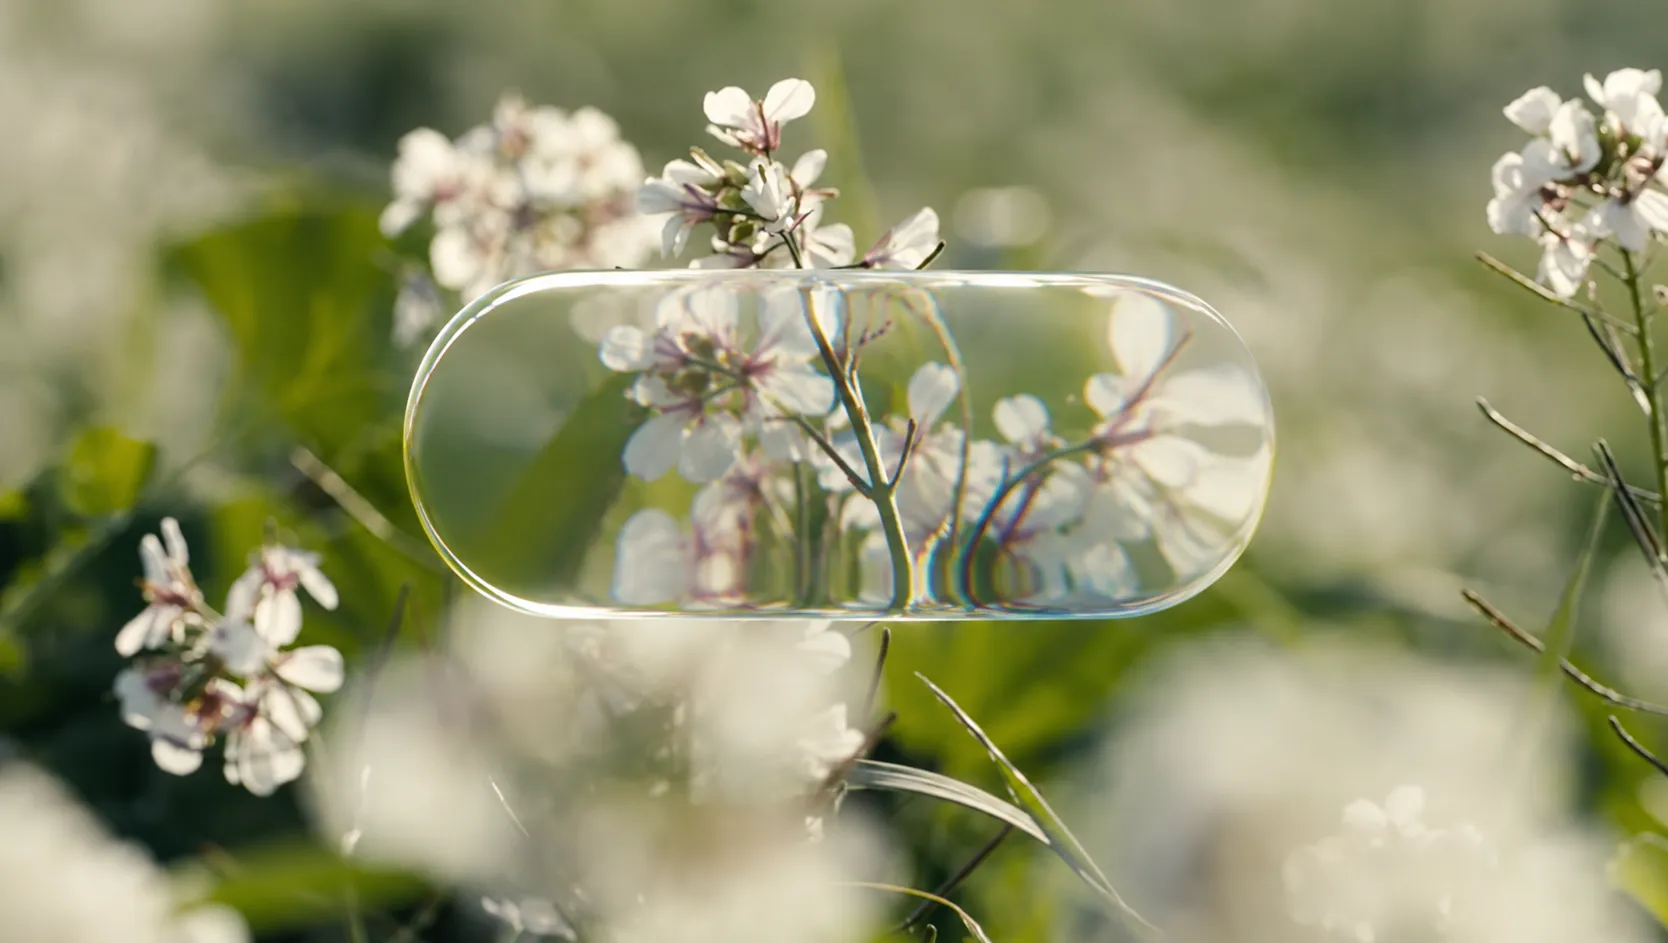
Have You Ever Wanted to Create Realistic Glass Inside After Effects? ✨
Are you someone who has used the MB Liquid Glass Plugin by aescripts before? You’ve probably found yourself working on a project where you wanted to create a glass button, a modern panel, or a transparent UI element. Yet, when you were done creating your element that was supposed to have the look and feel of glass, it was anything but glass-like in appearance. Instead of looking like a realistic piece of glass with a glossy finish, your element likely had only a transparency effect applied, possibly with a blur to enhance the feeling of transparency.
Making an element look like glass isn’t just about lowering the Opacity or blurring the background. What makes glass look natural is the small details that our eyes expect from a transparent surface, such as the distortion of the image behind the glass, light reflections along the edges, subtle shadows, and the colour shifts created as light passes through it.
That’s why creating effects like Glassmorphism in After Effects can sometimes take much longer than expected. Especially when you want to apply the same look to multiple elements such as text, buttons, cards, or animated panels. This is where a faster, more professional workflow can help you spend less time adjusting settings while achieving a more realistic, visually appealing result.

What Exactly Is the Liquid Glass Effect, and Where Is It Used? 💎
Liquid Glass, also known as the modern glass effect, is a design style that gives digital elements a transparent, glossy appearance similar to real glass. It is much more than just a faint, semi-transparent layer—it interacts with whatever is behind it, creating the feeling of a genuine glass surface.
Imagine placing a glass card on top of an image. When this effect is implemented correctly, the image behind the card becomes slightly distorted, light reflects naturally along the edges, and the card itself appears to have depth and thickness. These small details make even a simple design look much more modern and professional.
You’ve probably seen this style in many modern designs—from application user interfaces to technology advertisements and contemporary motion graphics. Some of its most common applications include:
- Application UI design
- Creating glass buttons and panels
- Technology motion graphics
- Product launch and showcase videos
- HUD and futuristic interface design
- Minimalist promotional videos
For example, imagine a simple button introducing an application. If it’s only a white shape with low opacity, it looks quite ordinary. But once light refraction, reflections, and glass depth are added, that same button becomes a polished, eye-catching element that naturally attracts more attention.
Traditional Methods for Creating Glass Effects in After Effects 🎬
Before dedicated glass plugins existed, most designers created this effect by combining several built-in After Effects tools. In practice, multiple layers and effects had to be stacked together to gradually build the appearance of transparent, glossy glass.
Typically, these effects were created using a combination of:
- Gaussian Blur: Blurs the image behind the glass to create a sense of depth.
- Displacement Map: Distorts and bends the image behind the glass.
- Glow: Adds highlights to the edges and bright areas.
- Drop Shadow: Separates the glass from the background by creating shadows.
- Tint: Changes the glass colour to create tinted glass effects.
- Mask and Track Matte: Define the area where the effect should be applied.
By combining these tools correctly, it’s possible to achieve excellent results, and for simple projects, these techniques work perfectly well.
Why Isn’t Building This Effect Manually Always Easy? 🤔
The challenge begins when you want to create truly realistic glass. Every detail has to be adjusted individually, and balancing blur, refraction, reflections, shadows, and colour usually requires a great deal of trial and error. If you also need to apply the same look to multiple text layers, shapes, or design elements within a project, managing all those settings can become extremely time-consuming and take your focus away from the creative process.
MB Liquid Glass: Create Professional Glass Faster Than Ever ✨
MB Liquid Glass is a plugin for After Effects that makes creating realistic glass effects significantly easier. Instead of stacking multiple effects together and spending hours fine-tuning them, this tool brings all the essential components of professional glass creation into a single effect, allowing you to achieve high-quality results much faster.
Its most important feature is Refraction. Rather than simply blurring the image behind the glass, it bends and distorts it the way light behaves as it passes through real glass. This makes the final result appear far more natural, giving the glass genuine depth instead of looking like a simple transparent layer.
✨ Full Control Over Your Glass Appearance with Just a Few Settings
MB Liquid Glass lets you control every key aspect of realistic glass and customise its appearance to perfectly match your project.
Refraction
This setting controls how much the image behind the glass is bent and distorted. Adjusting its value changes both the distortion intensity and the perceived thickness of the glass.
Blur
Controls how blurred the image behind the glass becomes. You can determine exactly how soft or frosted the background appears to achieve different types of glass.
Highlight & Fresnel
These controls create natural reflections on the glass surface. They allow you to brighten the edges, increasing the perceived volume and depth while giving the glass a realistic three-dimensional appearance.
Shadow
Adds shadows that separate the glass from the background. This helps the glass element appear as if it is floating above the image while enhancing depth.
Tint
If you don’t want completely transparent glass, you can adjust its colour to create various tinted glass styles.
Spectral Split
This feature creates a prism-like effect by slightly separating colours, similar to how light passes through real glass or a prism. It is especially useful for creating luxurious or technology-inspired visuals.
💎Easily Create Multiple Glass Styles and Shapes
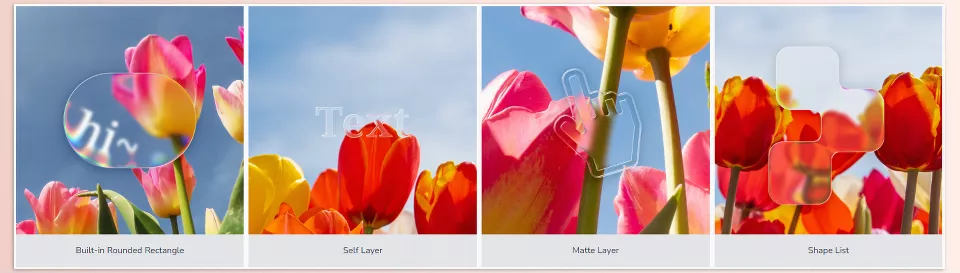
One of MB Liquid Glass’s most attractive features is that it isn’t limited to a single type of glass. The plugin provides several different ways to define the glass shape:
- Built-in Rounded Rectangle: Quickly create glass cards, buttons, and panels with rounded corners.
- Shape List: Use custom shapes to build personalised glass forms.
- Matte Layer: Use any layer as the glass boundary.
- Self Layer: Turn the layer itself into the glass-shape source, including image files with alpha channels, such as PNG and PSD.
The plugin also supports custom paths and complex shapes, allowing you to transform virtually any design into a realistic glass surface.
🖼 Which Layers Can You Apply It To?
One of MB Liquid Glass’s strengths is that it isn’t limited to a single layer type. You can use it throughout different parts of your project.
The plugin supports:
- Text Layers for creating glass text
- Shape Layers for designing buttons, cards, and UI elements
- PNG and PSD files
- Matte Layers for controlling the effect area
- Masks for creating custom shapes
- Bezier Paths for building more complex forms
For example, you can turn a headline into glass text, create a modern application showcase card, or place a transparent glass panel over a video and completely transform its appearance with just a few adjustments.
⚡ Fast Performance with GPU Acceleration
Another advantage of MB Liquid Glass is its GPU Acceleration. Since glass effects are typically computationally demanding, this feature helps maintain smoother performance while working on larger projects and more complex animations.
As a result, you can create more professional glass effects faster, without stacking multiple heavy effects on top of each other, while also making them much easier to animate.

A Few Tips for Getting Better Results with MB Liquid Glass 💡
Now that you’re familiar with the different features of MB Liquid Glass, a few simple tips can help make your final results look much more natural and professional. This effect delivers its best results when the right settings are combined with careful attention to your project’s visual details.
Don’t Make the Effect Too Strong
Real glass is usually subtle and minimalistic. If you push the Refraction or Blur values too high, the result will look more like plastic or an artificial effect rather than real glass.
Pay Attention to the Scene Lighting
Highlights appear much more natural when they match the direction and intensity of the scene’s lighting. If the glass lighting doesn’t align with the overall environment, the artificial nature of the effect becomes obvious very quickly.
Use Glass Tint Carefully
Adjusting the colour with Tint can create an attractive appearance, but if the colour becomes too intense, the sense of transparency is reduced, making the result look more like a colored surface than glass.
Keep Your UI Minimal
In user interface design, simple and clean glass effects usually produce a more professional result. You don’t always need maximum blur, strong highlights, or intense colours. Sometimes, a subtle effect has a much greater impact.
Take Motion Seriously
When glass moves within an animation, changes in lighting, image refraction, and reflections make the effect feel much more alive. Synchronising these changes with the element’s movement makes the final result significantly more engaging.
Ultimately, the best results are achieved when the glass effect isn’t used simply to attract attention, but instead complements the overall style of the project. Good glass should feel like a natural part of the scene, not just an added visual effect.
When Creating Glass Is No Longer a Challenge 🎯
Creating a professional glass effect isn’t as simple as lowering the Opacity and adding a little Blur. What makes glass look realistic and visually appealing are the details that may seem small but have a huge impact on the final result—details such as light refraction, distortion of the image behind the glass, natural reflections, and the depth that allows a simple element to feel like a real material.
MB Liquid Glass makes this entire process much easier. Instead of stacking multiple effects, adjusting each one individually, and spending a great deal of time to achieve a good result, you can do it all in a single tool. This allows you to bring your ideas to life more quickly, make changes more easily, and focus more on the creative side of your project.
If you work in motion graphics, user interface design, digital advertising, or modern visual styles, having a tool that lets you create professional glass effects quickly and with full control can genuinely improve your workflow. MB Liquid Glass is designed for those who don’t want to spend hours building this effect manually and instead want to create modern-looking, high-quality results with just a few simple adjustments.
Are you trying to understand what types of tools are available for After Effects? Our After Effects Tools guide breaks down different categories of tools, from plugins and scripts to presets and templates, with clear explanations to help you work more efficiently.



