When the Food Is Good, but the Photo Doesn’t Convey the Feeling…
Have you ever looked into the 1059 Luts Nourriture Luminar Collection by Perfect Exposure? Sometimes an amazing dish is placed in front of the camera, the lighting isn’t bad either, and the photo is technically acceptable; but when you look at the image, it still doesn’t convey the appetizing, appealing feeling you expect. The colors are a little lifeless, the food doesn’t stand out as much as it should, and the whole photo may look a bit too ordinary.
This is where the image’s color and mood become important. A small change in color tones, contrast, or image warmth can completely change the look of a food photo. The problem is that if you have to make these changes manually every time, especially when you’re dealing with a large number of photos, color editing can become one of the most time-consuming parts of the workflow.

What Is a LUT and How Does It Help With Food Photography? 🎨
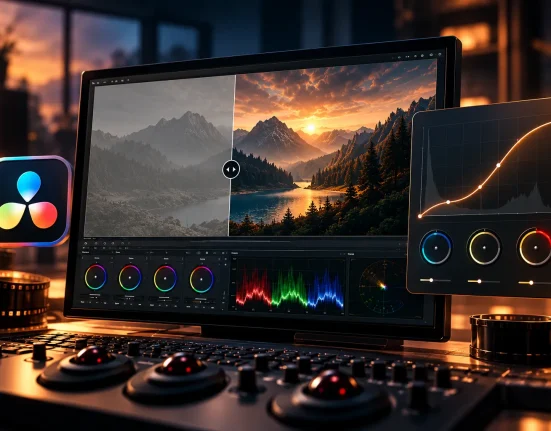
You can think of a LUT, or Look-Up Table, very simply as a ready-made instruction for changing the colors of an image. Instead of changing each color setting yourself, a LUT can bring a photo’s overall look closer to a specific style in a short amount of time.
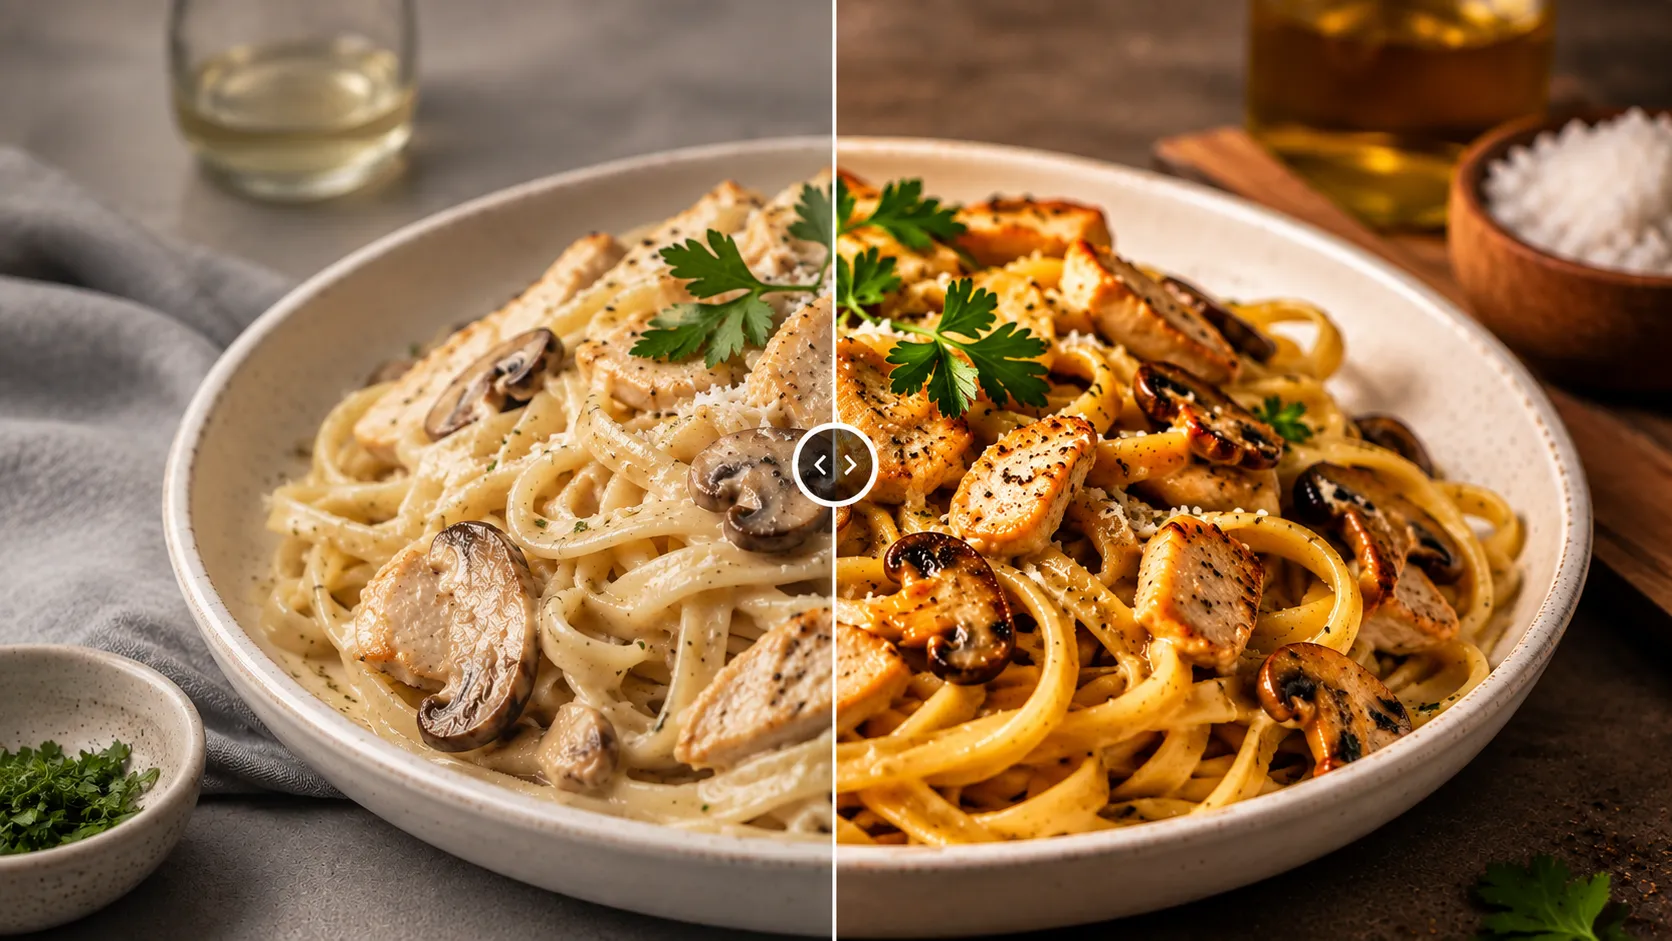
This can be especially useful for food photography. For example, you might want a pasta photo to look warmer and more appetizing, the colors of vegetables to appear more natural and vibrant, or a collection of photos from a restaurant menu to have a more consistent look. A LUT can be a great starting point for achieving that result.
Of course, its use isn’t limited to just one type of photo. You can use different LUTs for restaurant photography, food blogs, food advertising, product photography, or even social media content, and choose a more suitable style depending on the project’s atmosphere.
Common Methods for Color Grading Food Photos 🎨
Even without LUTs, you can achieve a professional look, and most photo editing software provides the necessary tools. The workflow usually starts with correcting the lighting and white balance, and then moves on to color and contrast:
- Curves and Levels: For precise control over brightness, contrast, and the tonal range of the image.
- HSL: For separately changing the hue, saturation, and luminance of colors such as red, green, and yellow.
- Color Balance: For making the colors in the image warmer, cooler, or more balanced.
- Temperature and Tint: To correct White Balance and adjust the overall color feel.
- Shadows and Highlights: To control dark and bright areas and bring back details.
These methods give you a great deal of control over the final result, and if you want to change the color of a specific food or part of the image, you have complete freedom to do so. You can even apply these adjustments manually to each photo and create results exactly to your preferences.
The Main Problem: When the Number of Photos Increases ⏱️
The trouble starts when you’re dealing with dozens or even hundreds of photos. For each image, you have to review and adjust some of the same settings again, and because of differences in lighting, White Balance, and shooting conditions, settings that worked perfectly on one photo may not produce a good result on the next. As a result, creating a consistent color style can take a lot of time, with a significant portion of the editing process being spent on repetitive tasks.
1059 LUTs Nourriture for Luminar; A Complete Toolbox for Color Grading Food Photos 🍽️
1059 LUTs Nourriture for Luminar isn’t just a few simple color presets; it’s a very large collection of 1,059 LUTs designed for different shooting and lighting conditions. The main idea is that you don’t have to build colors from scratch for every photo; you can choose from a wide range of ready-made looks, find an option that better matches the photo’s atmosphere, and then customize the result if needed.
🎨 1,059 Different Styles for More Freedom of Choice
1059 LUTs Nourriture for Luminar’s most important feature is its large number of LUTs. When you have more than a thousand different options available, you aren’t limited to a single look for a particular photo, and you can try multiple styles until you reach a result that matches the lighting, food colors, and feeling you’re looking for.
This variety is especially useful for photographers who work on different projects and don’t want all their photos to have the same repetitive look. One photo can look warmer and more appetizing, another can look more natural, and for an advertising project, you can go for different, more striking styles.
⚡ Fast Editing With Just a Few Clicks
One of the most important advantages of a LUT like the 1059 LUTs Nourriture for Luminar is that you don’t have to build the color settings from scratch every time. Instead of adjusting Curves, HSL, Color Balance, Temperature, and Contrast one by one to achieve a specific look, you can apply a suitable LUT and quickly change the image’s overall appearance.
This becomes even more valuable when you’re dealing with a large number of photos. Instead of spending hours repeating similar adjustments on every image, you can choose a suitable style, apply it to different images, and ultimately make only the minor corrections that are needed.
💡 Suitable for Different Shooting and Lighting Conditions
According to the product description, the LUTs have been developed for various types of photography and lighting conditions. This means the 1059 LUTs Nourriture for Luminar aren’t intended to be useful only for one type of photo or one specific lighting situation.
In food photography, this is particularly important because one photo might be taken in natural light, another under artificial light, and another with studio lighting. Having a variety of options makes it easier to find a LUT that is better suited to the conditions of that particular image.
🍔 Designed for Food Photography
1059 LUTs Nourriture for Luminar focuses on food photos; the main goal of the LUTs is to make food images more attractive and eye-catching. You can use this variety for restaurant photos, food menus, food blogs, social media, advertising photography, and food-related projects.
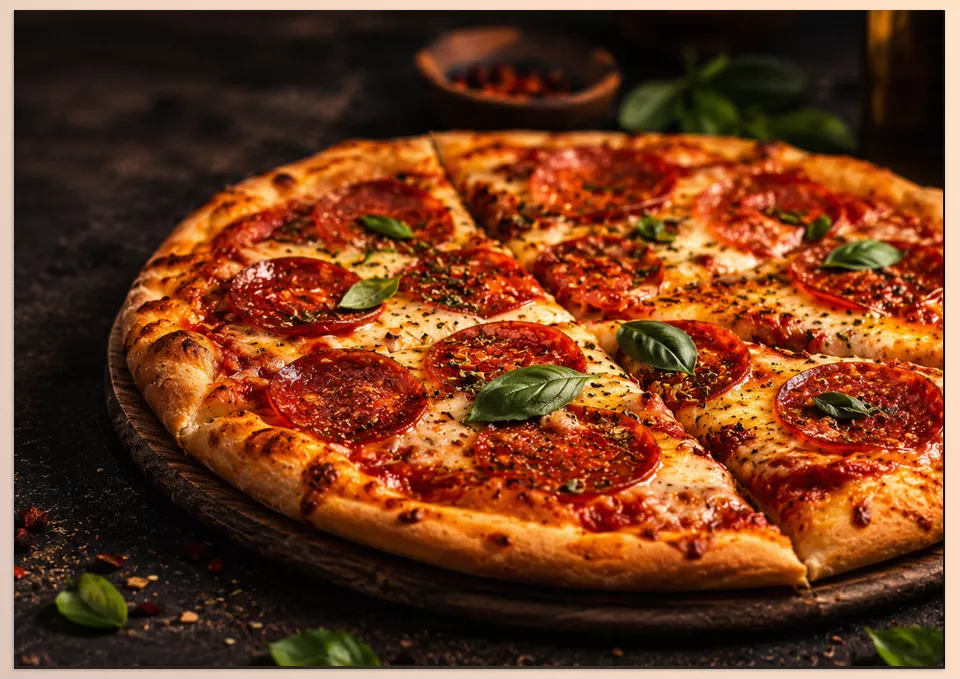
For example, if you have a photo of a warm dish, you can choose a style that gives the image a warmer feel; for a salad or fresh dish, you can choose a look that makes the colors appear more vibrant and appealing.
🎬 Creating a Cinematic Look for Photos
Another capability that the product emphasizes is creating a Cinematic Look. This means the LUTs aren’t just for simple color correction and can also change the overall mood of an image.
This feature is appealing when you don’t want a photo to simply look “corrected” and are instead looking for a specific visual style; for example, when creating food content with a particular atmosphere, an advertising campaign, or a collection of photos that are supposed to have a distinct color identity.
✨ Creating a Personal and Unique Look
Because you have a large number of different LUTs available, you don’t have to limit yourself to one fixed look, and by combining the right LUT choice with manual adjustments, you can achieve a more personalized result. In fact, a LUT can be a starting point, after which you can adjust color intensity, contrast, or other settings to suit the photo.
This flexibility means the final output doesn’t have to look like a ready-made, repetitive filter; instead, you can adjust the photo’s appearance to your preferences and workflow.
📸 Suitable for Beginners to Professional Photographers
1059 LUTs Nourriture for Luminar isn’t designed only for professional photographers. If you’re new to photo editing, LUTs can provide an easier way to try different looks and help you see the differences between various color styles without having to deal with dozens of complex settings.
For professional users, the main advantage is speed and variety; they can use a LUT as a starting point, refine the result with manual adjustments, and spend less time creating a Look from scratch.
⏱️ Saving Time and Speeding Up the Workflow
Ultimately, all of these features lead to one important advantage: a faster Workflow. When you don’t have to build the color settings from scratch for every photo, you have more time left for the photography itself, selecting images, and the creative parts of the project.
Especially for projects with a large number of photos, a collection of 1,059 LUTs gives you plenty of options to start with and helps you reach your desired look faster, without losing final control over the image.
How to Get More Professional Results From LUTs? 🎯
LUTs can make the editing process much faster, but to ensure that the final result looks natural and well-colored, it’s better not to simply settle for the first LUT that looks appealing to you. A few simple tips can help make the final output much cleaner and more professional.
- First, correct the lighting and exposure. Before choosing a LUT, make sure the photo is in a good state in terms of exposure and White Balance. When the color and lighting foundation is correct, the LUT will usually produce a more controllable result.
- Find the right LUT for the photo. Not every LUT is going to work well on every photo. If the result becomes too warm, too cool, or too contrasty, try a few other options until you find a style that better matches the lighting and colors of that particular photo.
- After applying the LUT, make some manual adjustments. Consider the LUT a starting point, not the end of the process. If the colors become too strong, reduce the LUT’s intensity or adjust Contrast, Highlights, and Shadows to match the image.
- Keep a consistent style across photos from the same project. If you’re editing several photos for a restaurant menu or an advertising campaign, it’s better to use LUTs that are close to one another so that there isn’t too much color variation when the images are placed next to each other.
- Always compare the before and after. A LUT may look very appealing at first glance, but after comparing it with the original photo, you may realize that the colors have changed too much. Checking the before and after helps prevent over-editing.
Ultimately, the best result usually comes from using a LUT as a quick starting point for color grading, rather than a ready-made filter that stays on the photo without changes. These few small adjustments can make the difference between an ordinary edit and a more professional-looking output.
When Good Color Is Half the Appeal of a Photo 🍴✨
A good food photo doesn’t depend only on the camera and lighting; proper color grading can make the food look more appetizing, the image more attractive, and the entire project more professional. If you have to start all the settings from scratch every time you want to achieve a particular color style, you’ll quickly spend a lot of time on repetitive tasks.
The 1059 LUTs Nourriture for Luminar gives you 1,059 LUTs to choose from to experiment with different color styles and find the perfect one for your project. This is ideal for anyone who works on food, restaurant, blog, or advertising projects.
At the same time, the 1059 LUTs Nourriture for Luminar isn’t meant to limit your creativity and control; on the contrary, it can give you a faster starting point for editing, after which you can fine-tune the result yourself. If you have a large number of photos to edit and want to both save time and have more options for creating an appealing look, this collection can be one of those tools that quickly finds its place in your editing Workflow.
For a deeper understanding of how LUTs function within a grading workflow, refer to our full color grading article.