

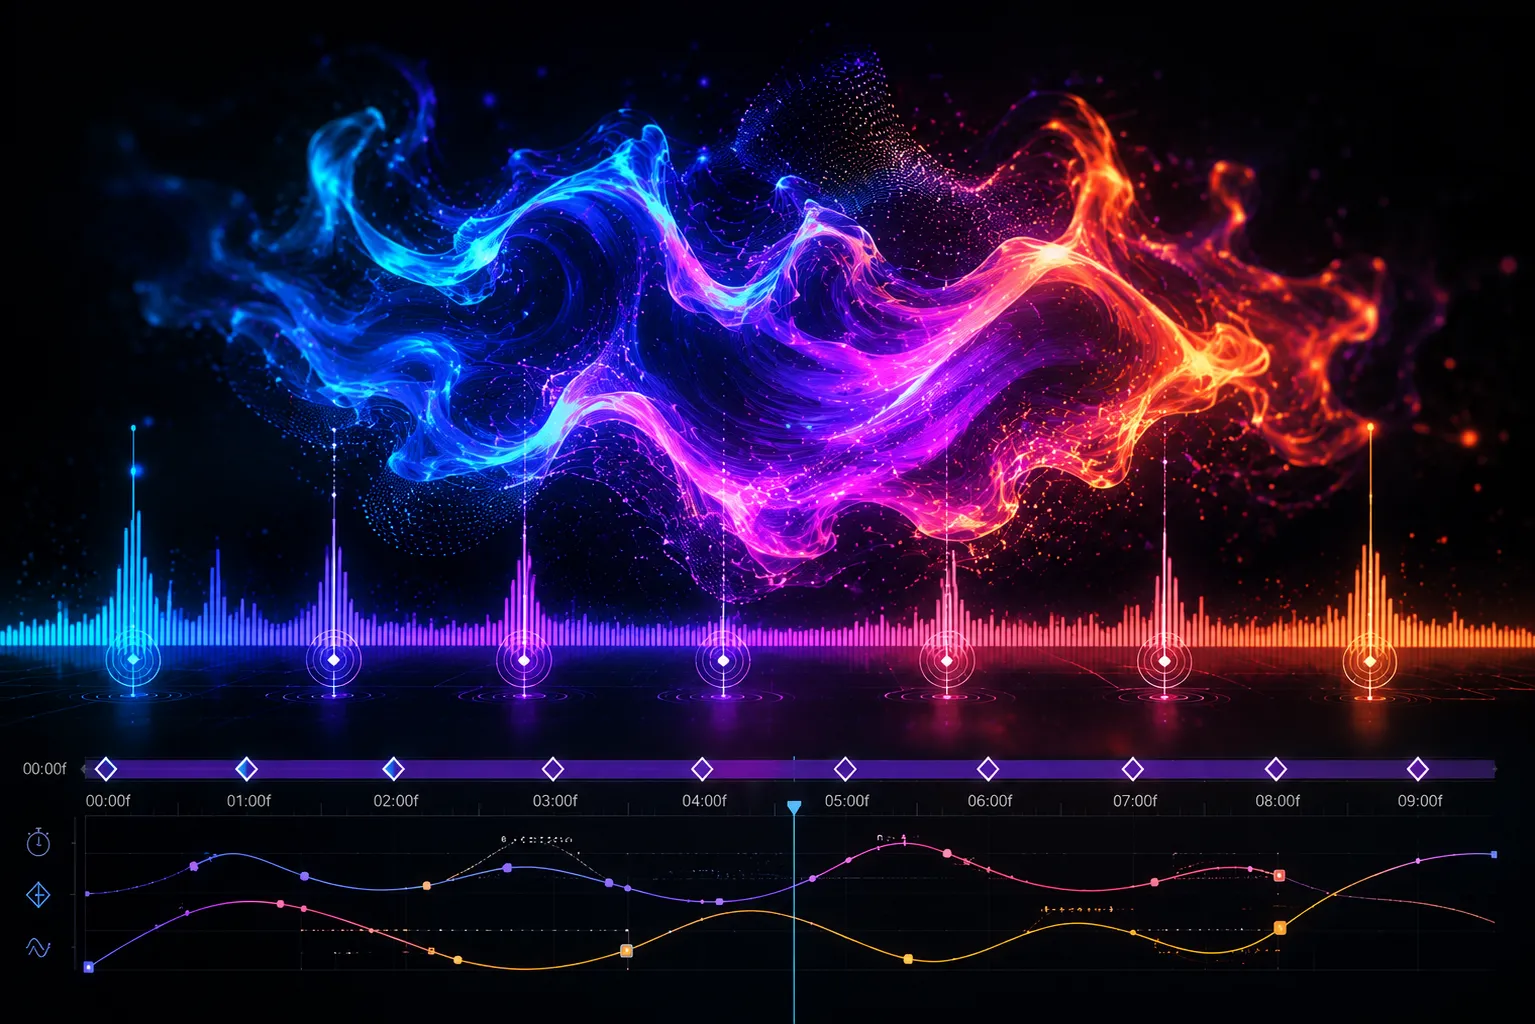
A Ton of Effects Just to Create One Simple Motion? 😵💫
Are you familiar with the VKO Shader Plugin by aescripts? If you’ve worked with After Effects, you’ve probably had moments when you wanted to create an animated background, an interesting pattern, or an abstract effect, only to quickly realize that achieving a relatively simple result requires combining several effects, adding a bunch of Keyframes, and ending up with multiple Pre-composes!
Things get even more complicated when you want those movements to sync with music. Then you have to deal with Expressions, Audio Amplitude, and a bunch of other settings just to make the visuals actually react to the Beat of the music. And if you later want to change the Timing or appearance of the effect, you have to go back and modify parts of that system again.
While a lot of the time, all you really want is an engaging, dynamic Visual that you can easily control on the Timeline—not something that requires setting up an entirely separate project just to create it!

What Exactly Is a Shader, and What Is It Used For? 🧩
Simply put, a Shader is a graphics instruction that tells the graphics card how to create or modify an image. With it, you can create Patterns, Textures, Distortions, Noise, and all kinds of abstract and animated effects.
For example, imagine a background that constantly changes shape, with colors slowly shifting and lines inside it flowing like waves. Now, if those movements also sync with the beat of the music, you no longer have just a simple background; you have a living Visual that conveys part of the feeling of the project 🎵
These types of effects are widely used in Motion Graphics, music videos, concert Visuals, Intros and Outros, Motion Posters, and even short-form social media videos.
Common Methods for Creating These Effects 🛠️
Before moving on to specialized tools, After Effects itself offers various ways to create animated and Generative Visuals. Depending on what you want to create, you can combine several effects and animate them using Keyframes and Expressions.
For example, these tools are among the most useful:
- Fractal Noise: For creating textures, Noise, and animated backgrounds.
- Turbulent Displace: For creating waves, twists, and image distortions.
- Wave Warp: For creating wavy and fluid movements.
- Blend Modes: For combining multiple layers and achieving more complex looks.
- Audio Amplitude: For converting audio information into Keyframes and using them in animations.
- Expression: For linking parameters such as Scale, Opacity, or other controls to audio or other parameters.
For example, you can create an animated texture with Fractal Noise, add movement with Turbulent Displace, and then combine several layers using different Blend Modes to achieve an interesting Visual. For audio-reactive effects, you can also use Audio Amplitude and connect certain parameters to the music.
What’s the Problem With These Methods? 😵💫
The main problem starts when the project becomes larger and more complex. To achieve a professional Generative Visual, you usually need to coordinate several effects, multiple layers, Expressions, and a large number of Keyframes. As a result, something that was originally supposed to be a simple effect can gradually turn into a cluttered system where changing one part affects other sections. Especially with Audio Reactive projects, if you want the reactions to be precise and synchronized with the Beat, you’ll need even more manual adjustments, which can take up a lot of your time.
VKO Shader: Bring the World of Shaders Directly Into After Effects 🚀
This is where VKO Shader really shows what it can do. This tool is a Native Effect for After Effects that brings a GPU Shader engine directly into the After Effects environment. This means that to create Generative Visuals, you no longer need to constantly switch between different applications, create multiple Pre-composes, or stack several effects on top of each other.
All you have to do is apply VKO Shader to a Layer, choose the Shader you want, and start controlling it directly from the Timeline. What you create actually runs live on the Timeline; you can scrub the Timeline, change the timing of the motion, Keyframe parameters, and see the result instantly. In other words, the Shader is no longer a separate file or render outside your project; it becomes part of your Composition itself.
You also don’t necessarily need to know how to create Shaders to get started. VKO Shader includes a visual Browser for exploring ready-made Shaders, allowing you to quickly preview different looks, select them, and try them in your project. According to the product description, the current version includes dozens of ready-made Shader options, along with the ability to add unlimited Custom GLSL.
Everything Inside a Visual Browser 🎨
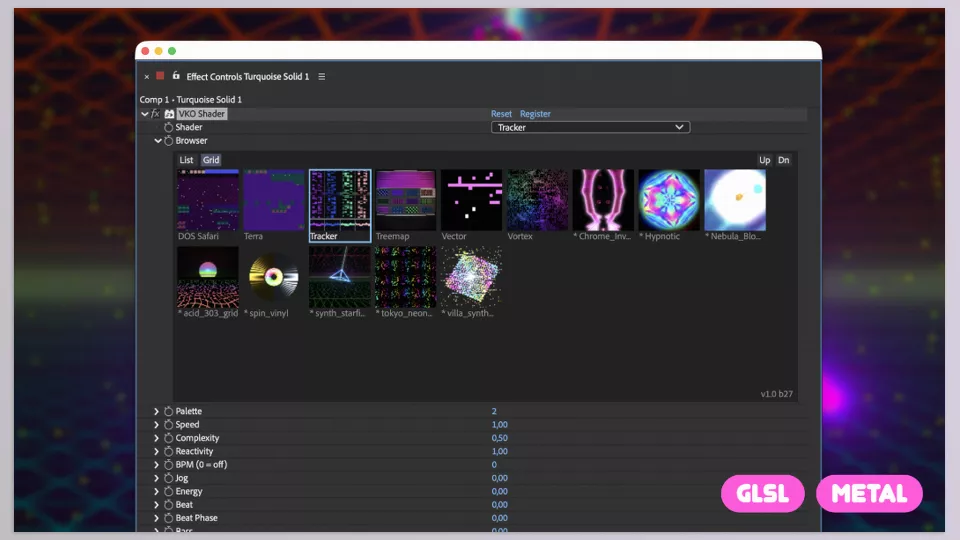
One of the things that makes VKO Shader easy to use is its Live Thumbnail Browser. Instead of reading the names of multiple Shaders and testing them one by one on a Layer, you can preview them and find what you’re looking for much faster.
This is especially useful when you don’t know exactly what kind of effect you want. You can browse through the options, experiment with different looks, and get ideas directly from there.
After selecting a Shader, you also get access to various controls, ranging from Palette and Speed to Complexity, Position, and Scale. So you’re not simply dropping a ready-made effect onto a Layer and calling it done; you can fully adapt its appearance and behavior to your own project.
Control Every Parameter Like a Regular Animation 🎬
One of the major advantages of VKO Shader is that its controls are Keyframeable. For example, you can keep the Speed low at the beginning of the Composition, gradually increase it, and then reduce it again toward the end.
You can do the same with color, Complexity, Position, Scale, and other available controls. So instead of a static, uncontrollable Shader, you have a Visual you can animate and modify throughout the Timeline.
The tool even includes a Jog Wheel among its controls, which can be useful for navigating and controlling Shader motion. This makes the workflow feel more like working with a real effect inside After Effects, rather than using a ready-made file you simply have to render.
Everything Happens on the GPU ⚡
VKO Shader uses the GPU to run Shaders. On macOS, it uses Metal, while on Windows, it uses Direct3D 11.
This means the Shader engine runs directly inside After Effects, so you don’t have to leave your project, open a separate VJ application or Generative tool, export a result, and then import that file back into After Effects just to create and test Visuals.
The developer specifically emphasizes this Workflow: no Pre-compose, no external software, and no back-and-forth between applications. The Shader sits directly on the Timeline, where you can see and modify the result.
VKO Shader also supports a 32-bit Float Color Pipeline, which is an important feature for graphics work and more precise color processing.
Sync Your Visual With Music 🎵
Probably the most exciting part of VKO Shader for many motion designers is its audio-reactive capability.
The tool can directly analyze the Audio Track in your Composition and change the Visual based on the music’s behavior. Instead of manually creating multiple Keyframes for every Beat, the shader can react to the music’s rhythm.
For example, you can make the Pattern movement become more intense with each beat, change the colors, or increase and decrease the intensity of a Visual. This feature is especially useful for Music Visualizers, music videos, live performance Visuals, and projects where the visuals need to stay synchronized with the music.
The key is that the tool’s Audio-Reactive system isn’t just a simple Audio Meter. According to the developer, VKO Shader uses FFT Spectral Analysis and Beat/Onset Detection, meaning it analyzes audio frequencies and can detect the beginning of beats and Beat events.
You Can Have a Beat Even Without Audio 🔊
If the music for your project isn’t ready yet, or if you don’t plan to have any Audio inside the Composition at all, you can still use VKO Shader’s rhythmic system.
All you have to do is specify the BPM value. Based on that Tempo, the tool moves the Shader according to a defined rhythm. This means you can have a Beat-Synced Visual even without an audio file inside the project.
On the other hand, the Audio Amount control lets you determine how much influence the Audio has on the movement. For example, you can control part of the motion yourself using Keyframes while letting the Shader handle only a certain amount of the reaction to the music.
This combination is very useful because you don’t have to choose between “completely manual” and “completely Audio Reactive”; you can combine both methods. 👌
Build Your Own Shader With GLSL 👨💻
If you’re familiar with GLSL, VKO Shader doesn’t limit you to its ready-made Shaders. You can directly import your own .glsl files into the tool and run your custom Shader inside After Effects.
Importing is also designed to be simple: you can import a file with a single click or place your files in the VKO Shaders folder. Once added, the Shader appears in the Browser, and you don’t need to restart After Effects when adding a new Shader.
Even if you’re actively developing a Shader, every time you save the file, the Shader is recompiled. So you can modify the code, save it, and quickly see the result inside After Effects without having to interrupt your Workflow every time.
One Codebase, Two Operating Systems 💻
One of VKO Shader’s most useful features is for people who work across different systems. You create your Shader using GLSL, and the tool automatically prepares it for the target system.
On macOS, the Shader is converted to Metal, while on Windows, it is converted to Direct3D 11. As a result, you don’t need to create separate versions of the same Shader for Mac and Windows.
This is also useful for teams whose members work on different operating systems, since the Shader logic remains the same.
Not a Programmer? You Can Still Build Shaders 😎
If you’re not familiar with GLSL, you’ll probably like this part even more.
VKO Graph Editor is a free web-based tool that allows you to build Shaders in a Node-Based environment. Instead of dealing with coding from the very beginning, you can arrange different Nodes, add Modifiers, change combinations, and visually build the result.
Once you’re happy with the result, you can export the Shader you’ve created as a .glsl file and import it into VKO Shader in After Effects.
The plugin even includes a button to open the Graph Editor, making the path from creating a custom Shader to bringing it into your project much shorter.
You Can Even Use AI to Help Build Shaders 🤖
Another interesting feature mentioned in the product tutorial is AI-assisted shader coding.
For this Workflow, VKO Shader provides an LLMs.txt file so you can use language models such as ChatGPT or Claude to help write Shaders.
This means that if you have an idea for a Shader but aren’t confident about writing all of its code yourself, you can use AI to help create or modify the GLSL code and then test the result inside VKO Shader. This feature can be especially interesting for experimenting and turning visual ideas into Shaders.
Ready for Mac and Windows 🖥️
In terms of compatibility, VKO Shader is available for both major platforms:
- macOS 14 and later: Including Sonoma and newer versions, with Universal support for Apple Silicon and Intel.
- Windows 10 and 11: 64-bit version with Direct3D 11 support.
- After Effects: Compatible with the 2025 and 2026 versions.
- Color Processing: Features a 32-bit Float Pipeline for more precise image processing.
So if your main Workflow is based on a recent version of After Effects, you can use VKO Shader directly within the same environment.
What Can You Create With VKO Shader? ✨
Now that we’ve looked at its features, its applications become much easier to understand. For example, imagine you’re looking for a dynamic background for a music video that moves with the music. You choose a Shader, adjust the Palette and Speed, and enable Audio Reactive so the Visual responds to the Beat of the song.
Or for a Motion Poster, you can create an animated Pattern that changes throughout the Timeline and use manual Keyframes to precisely adjust its intensity and appearance at important points in the Composition.
For concert Visuals and VJ work, the combination of BPM and Audio Reactive can also be very interesting, especially when you want the Visuals to stay synchronized with the rhythm of the music without relying on a large number of manual Keyframes. You can use the same Workflow for Intros, Outros, Generative backgrounds, music videos, Motion Graphics, and social media content.
In fact, VKO Shader’s strength is that it doesn’t just give you one specific “effect”; it gives you a system that lets you start with a ready-made Shader, modify its parameters, sync it with audio, or even eventually build a completely custom Shader of your own.
A Few Tips for Getting Cooler Results 🎯
To get professional results from VKO Shader, you don’t need to use every feature at the same time. A few practical tips can help you stay in control while keeping your Visual from becoming cluttered and directionless.
- Combine Audio Reactive with Keyframes. Instead of letting the music control the entire motion, use Audio Amount to control the intensity of the reaction to the Beat and Keyframe the important parts of the movement yourself.
- Use BPM for designing before the music is finalized. If the Audio isn’t ready yet, you can set the BPM to establish the rhythm of the Visual in advance and later synchronize only the details with the final music.
- Don’t make the Shader overly complex. A high Complexity value doesn’t always produce a better result; for backgrounds or music-driven Visuals, simple and controlled motion usually looks clearer and more professional.
- Use ready-made Shaders as a starting point. Instead of building everything from scratch, choose a Shader that’s close to your idea and adjust the Palette, Speed, and Complexity to create your own unique look.
- Add your custom Shaders to your Library. If you create useful Shaders with GLSL or the Graph Editor, keeping them in your Library will help you get results faster in future projects.
Ultimately, VKO Shader’s strength lies mostly in combining these capabilities. You can take a ready-made Shader, customize it, sync it with music, and, if needed, even create your own custom version. 🎨
A Tool for Playing With Visuals 🎬
VKO Shader is more than just a collection of ready-made effects; it’s a way to bring the world of Generative Visuals directly into After Effects. You can choose a ready-made Shader, Keyframe its parameters, change its speed and colors, or even make it react to music.
On the other hand, if you enjoy creating custom things, support for GLSL and the VKO Graph Editor gives you much more freedom. This means that over time, you’re not limited to simply using ready-made Shaders—you can create your own unique Visuals as well.
Ultimately, if you frequently work with Motion Graphics, music videos, abstract Visuals, or audio-reactive projects, VKO Shader can be a very interesting tool for adding variety and movement to your projects, especially when you want to achieve results faster instead of spending hours building complex systems and devoting more of your time to ideas and design. 🚀
Are you interested in learning more about the different types of After Effects tools? Our After Effects tools guide gives you a simple overview of various tool categories and explains how each one can support your creative workflow.



