

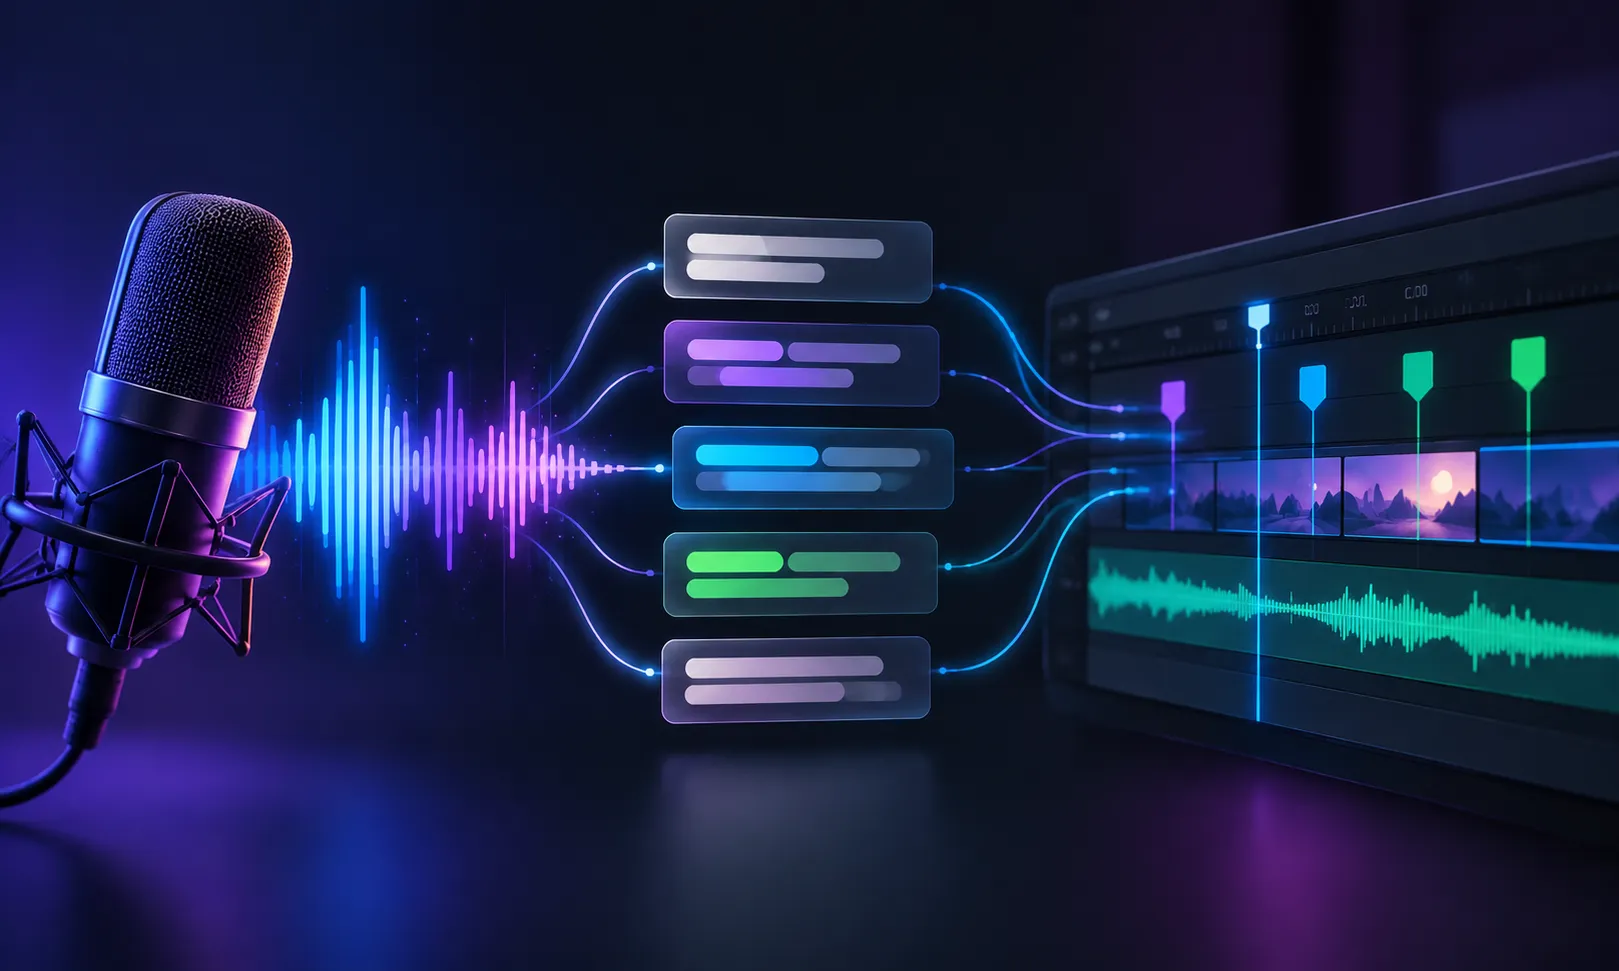
Every Time You Search for a Sentence, You Lose a Few Minutes of Your Project 🎙️
Do you know how the VoxMark Plugin by aescripts works? If you’ve ever worked on a motion graphics project with voiceover, this scene is probably familiar: you play the audio, search for the sentence you need, pause it, and place a marker on the timeline. Then, for the next sentence, you repeat the same process all over again. For a short video, this might not seem like a big deal, but in longer projects, it quickly becomes tiring and time-consuming.
Now, if you want text animations, cuts, or effects to be perfectly synchronized with every word and sentence, things get a little more difficult 😅. You have to constantly move the playhead back and forth and listen to the audio again to find exactly the moment you need.
But you really don’t need to do all of this manually. If the text and the exact timing of spoken sentences are already marked on the timeline, you can move much faster to the exciting part of the project: design and animation. 🎬

What Are Precise Audio Markers and What Are They Used For? 🎯
Audio markers mean marking the exact time each word or sentence is spoken on the timeline. Instead of constantly playing and pausing the audio to figure out exactly where a sentence was spoken, you can find that point directly on the timeline.
This feature is very useful for tasks such as synchronizing text with audio, creating text animations, adjusting video cuts, and creating subtitles. For example, if you want each word to appear on screen at the exact moment it is spoken, the timing of every word is already defined, making it much easier to synchronize the animation with the audio. 🎬
For tutorials, advertisements, interviews, and podcasts, this also makes it much faster to find different sections of the audio. Especially when multiple people are speaking, clearly identifying each speaker’s sentences makes it easier to understand who spoke where and what should happen on screen.
How Can You Do This Without a Plugin? 🛠️
If you don’t want to use third-party tools, there are still ways to convert audio to text and synchronize it with video. In Premiere Pro, you can use the Speech-to-Text feature to analyze the audio, get a transcription of the speech, and then use it to create subtitles or export an SRT file. In After Effects, you can also process the audio file separately using speech-to-text services such as Whisper and then import the result into your project.
Typically, this workflow involves several steps:
- Exporting the project audio or audio file
- Converting the audio to text using a transcription tool or service
- Receiving the text or SRT file
- Importing the result into the project
- Manually adjusting markers or text timing if needed
What Problems Do Traditional Methods Have? 😅
The main problem is that these workflows usually aren’t a one-step process. You have to separate the audio file, process it in another tool, and then bring the result back into the project. On top of that, the text timing may not align perfectly with the timeline, forcing you to move certain sections manually. If the project audio changes later or a sentence is added, you’ll probably have to repeat some of these steps. That’s why this method can quickly become time-consuming in longer projects.
VoxMark: Turn Project Audio Into Markers and Subtitles in a Few Clicks 🚀
This is where VoxMark enters the workflow. This tool is built for After Effects and Premiere Pro and can convert project audio into text, precise timeline markers, and subtitle files. The important point is that you don’t need to export the project audio separately first; VoxMark analyzes the composition or sequence itself, finds the audio layers, and prepares the project’s actual audio mix for transcription.
It Analyzes the Project’s Actual Audio 🎙️
VoxMark doesn’t just analyze a simple audio file; it can find all audio layers in the composition, including audio located inside nested precomps. It then renders the actual audio mix, so if the voiceover is layered over music or other audio, it uses exactly what you hear in the project for transcription.
The audio is prepared as 16 kHz Mono for processing, reducing the file size for uploading and making even long projects easier to process. In After Effects, a dedicated VoxMark audio output handles this process and only needs to be configured once.
Markers Are Placed Precisely on the Timeline 🎯
After transcription, the text is converted into markers whose timing comes directly from the project timeline. This means you don’t need to import a separate file and then resynchronize everything with the project.
You can choose whether markers are created for sentences or for individual words. Sentence mode is suitable for editing, subtitles, and identifying different sections of a video, while word mode is especially useful for text animation—for example, when you want each word to appear on screen at the exact moment it is spoken.
Even for long sentences, you can set a maximum character count so the text doesn’t become too long or cluttered. Also, if previous markers already exist on the timeline, you can delete them before creating new markers to keep the project organized.
It Supports 99 Languages 🌍
VoxMark uses the Whisper model for transcription and supports 99 languages. You can let the tool automatically detect the language from the audio, or select your preferred language from the list.
This means you won’t have problems with projects in different languages either; text in languages such as Persian, Arabic, English, Japanese, Chinese, Russian, and Hindi is displayed properly on markers and in SRT files. Non-Latin text is also supported, and SRT files are saved in UTF-8 so the text doesn’t become corrupted when transferred between applications.
Multiple Speakers? Give Each One Their Own Color 🎨
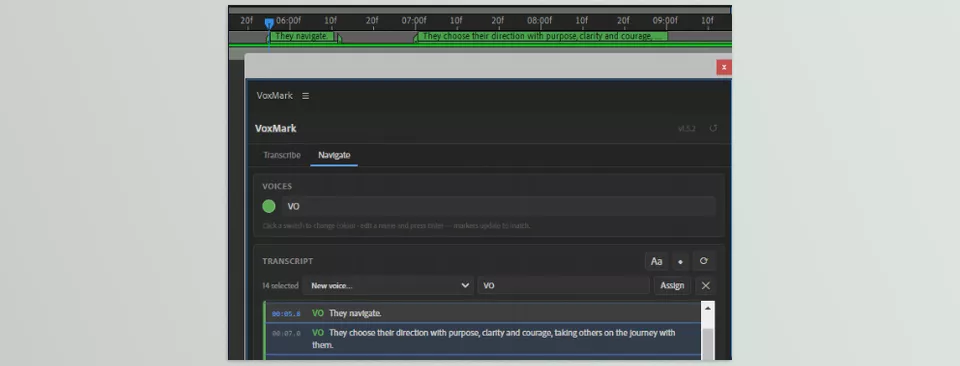
If the audio file includes multiple people, VoxMark can separate the speakers. Using AssemblyAI, it assigns each speaker a specific color, and that color appears in the panel and on the timeline markers.
You can even rename generic labels such as “Speaker A” and “Speaker B” to the people’s actual names, and all markers related to that person will update at the same time. If you use services that don’t provide automatic speaker detection, such as Groq or OpenAI, you can still manually identify and color-code speakers from within the panel.
Text Isn’t Just for Reading; It Becomes a Search Tool 🔎
After the project is transcribed, the text appears inside the VoxMark panel, and you can click any sentence to move the playhead directly to that exact point on the timeline. So if you’re looking for a specific sentence in a long video, you don’t need to search through the entire timeline.
As you move through the timeline, the sentence being spoken at that moment is also highlighted. In Premiere Pro, this text even follows the video during live playback. The tool also includes dedicated controls that let you move from one marker to the next or previous marker, allowing you to navigate different sections of the audio more quickly.
Is the Timeline Getting Cluttered? Organize It 🧹
If there are a lot of markers, VoxMark provides several tools to keep the timeline organized. You can hide marker text to clean up the timeline without losing the transcript. You can also convert duration markers into single-frame markers.
Another useful feature is Save & Clear and Restore. With Save & Clear, you can temporarily set aside the current composition markers and clear the timeline; later, you can bring them all back with Restore. Each composition has its own marker memory, and even if you rename the composition, it preserves that information.
Import or Export SRT Files 📄
VoxMark isn’t just for creating markers; it can also import and export SRT files. If you already have an SRT file, you can import it and create markers without transcribing the audio again. In this case, you don’t even need an API Key.
For exporting, you get a standard SRT file that also includes the project’s Frame Rate and speaker information. This helps keep dialogue timing as close as possible to the original project when moving the file between different applications.
Integration With Premiere Pro and Cinema 4D 🎬
In Premiere Pro, you can convert the generated markers directly into a Caption Track, so you don’t necessarily need to go through the SRT workflow to create captions. Premiere also supports speaker color-coding, hiding marker text, and marker management.
VoxMark even lets you transfer information to Cinema 4D. This means you can prepare the text and timing in After Effects and then have the same frame rate, speaker names, and color information available when working on the project in Cinema 4D.
You Choose the AI Service 🤖
VoxMark doesn’t have its own separate transcription service or monthly subscription. To convert audio to text, you can use your preferred service and enter your own API Key. This key is stored locally on your system, and communication takes place directly between the panel and the selected service.
You have three services to choose from:
- Groq: A good option for getting started; it uses Whisper and also offers a free plan.
- OpenAI: If you already have an API Key, you can use Whisper, with costs calculated based on usage.
- AssemblyAI: In addition to transcription, it also provides automatic speaker detection, making it a suitable option for projects with multiple speakers.
As a result, whether you’re creating motion graphics or editing video, the core workflow is the same: scan the audio, transcribe it, and receive the text and timing directly within your project.
A Few Tips to Get More Professional Results ✨
VoxMark automates much of the workflow, but the right settings can still affect the final result. Depending on whether your goal is subtitles, editing, or text animation, consider a few simple points before you start.
- Use Sentence Mode for subtitles: Text readability is much better than with single-word markers.
- Choose Word Mode for text animation: Each word gets its own independent marker, making it easier to synchronize effects.
- Customize colors when you have multiple speakers: Identifying each person’s dialogue on the timeline becomes faster.
- Review the text once before exporting SRT: No AI tool is completely error-free, and correcting a few words can make the final result cleaner.
- Use the transcript click feature: Instead of scrubbing through the timeline, simply click the sentence you need and jump directly to that section.
With these simple tips, you can use VoxMark’s features based on your project type and more easily connect audio, text, and visuals without complicating your workflow. 🎬
Less Time Searching for Dialogue, More Time Creating 🎬
A large part of the time spent on motion projects isn’t spent designing; it goes into finding sentences, syncing text with audio, and creating accurate markers. Especially in long projects, these repetitive tasks can significantly slow down the workflow.
VoxMark automates this exhausting part to a great extent: it converts project audio into text, creates frame-accurate markers, detects speakers, and lets you create or import subtitles. Everything happens directly in After Effects and Premiere Pro.
If you frequently work on projects involving voiceovers, presentations, interviews, or kinetic typography, VoxMark can help you get back time on a project. You’ll have less time searching for dialogue and fine-tuning timing and more time spent on what really matters: creation and design. 🎬
Wondering which After Effects tools are worth exploring? Our After Effects tools guide introduces you to the different types of tools available, including plugins, scripts, extensions, presets, and more, with simple explanations of what they do and how they can improve your workflow.



