Your image looks good, but is something missing? 🎞️
Are you familiar with using the ARRI Film Lab Plugin by revisionfx? Have you ever had clean, high-quality footage, corrected the colors, and adjusted the lighting and contrast to get it exactly where you want, but when you look at the final result, it still feels completely digital? As if there’s technically nothing wrong with the image, but it doesn’t have that particular feeling and character you see in some cinematic films. 🎥
This has a lot to do with the nature of digital cameras. Modern cameras capture an incredible amount of detail and deliver images that are extremely clean, sharp, and precise, but sometimes that same cleanliness can make the image feel a little cold and lifeless. Especially in projects where you’re looking for a warm, soft, organic, or even slightly nostalgic look, color grading alone may not be enough to achieve that feeling.
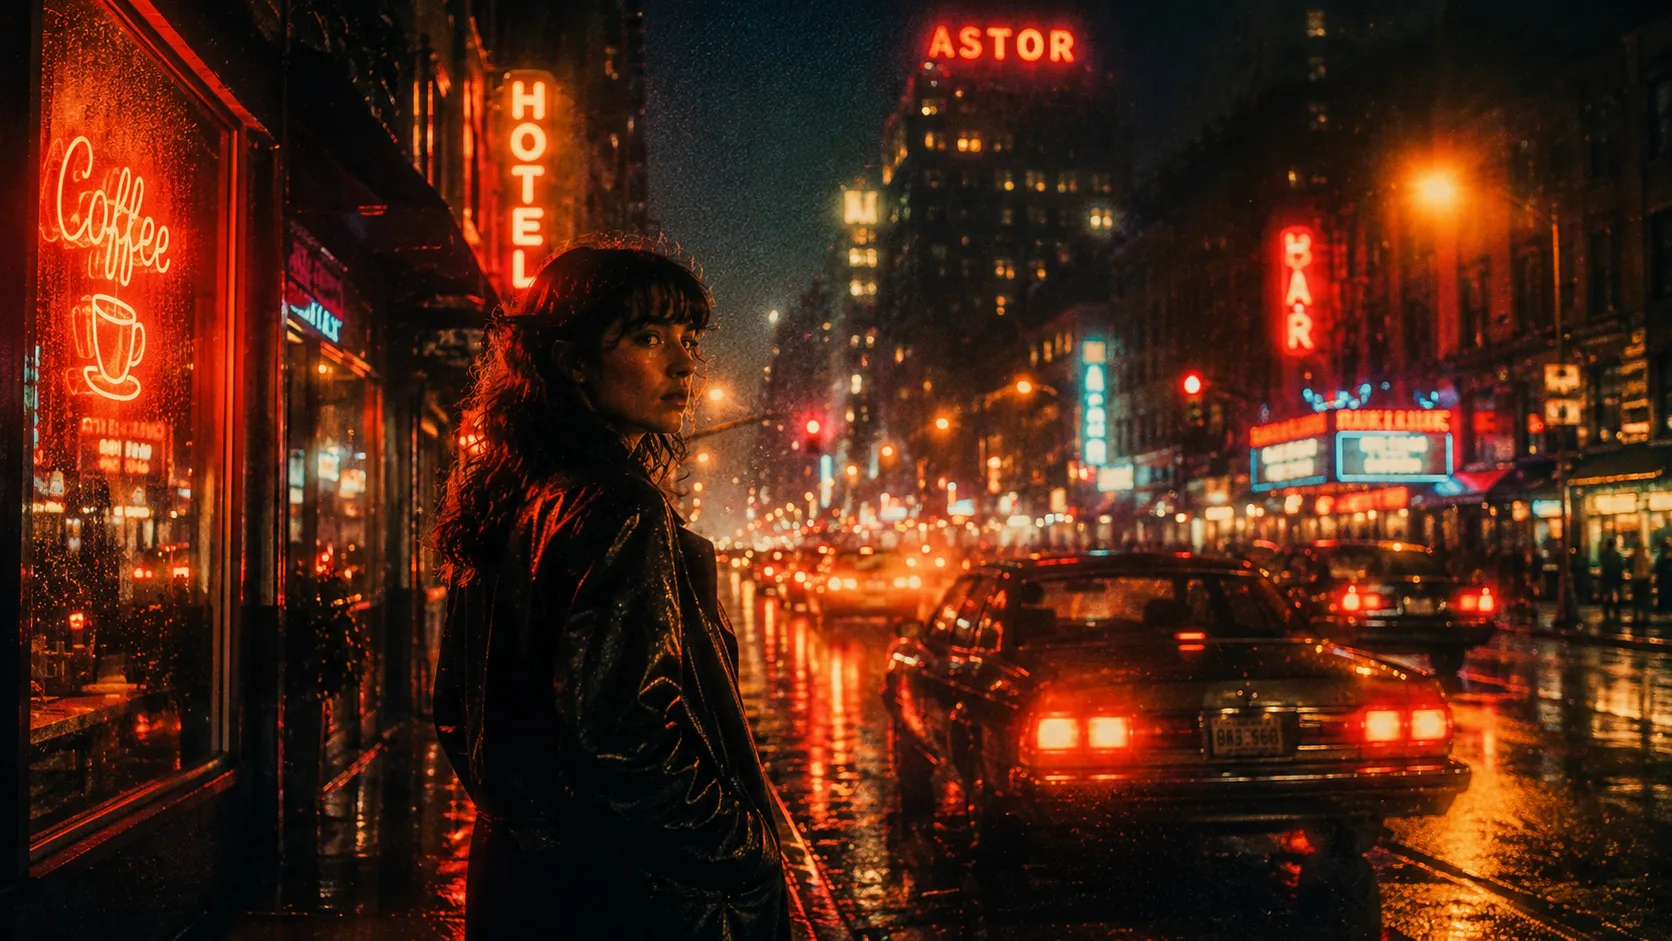
This is where film emulation comes into play in post-production digital filmmaking and editing software. 🎬 Film emulation is the process by which filmmakers attempt to recreate the look and feel of analog film cameras in digital footage. Parameters for film emulation may include film grain, halation, and even subtle frame movement. Each of these features contributes to the natural look and feel of analog film that should be featured in a project rather than the digital footage on which it’s based.

What Exactly Is Film Emulation? 🎞️
Put very simply, Film Emulation means making a digital image simulate the look and behavior of analog film. In other words, instead of only changing the color of the footage, we also adjust things like image texture, highlight behavior, contrast, and color response so the result feels more natural and cinematic. 🎥
Real film isn’t just an image filled with tiny grains. Film Grain, the way light interacts with the film, highlight behavior, contrast, and even the halos that appear around strong light sources all affect the final look. For example, Halation is that soft, subtle glow that can sometimes appear around lights or very bright areas of an image, making the lights feel more organic. ✨
On the other hand, Gate Weave is a subtle, controlled movement that can be seen in film frames, making the image feel less completely static and digital. When used together and at the right intensity, these characteristics don’t just make an image look “old”; they add texture, depth, and character to digital footage. 🎬
Manual Methods for Creating a Film Look 🎬
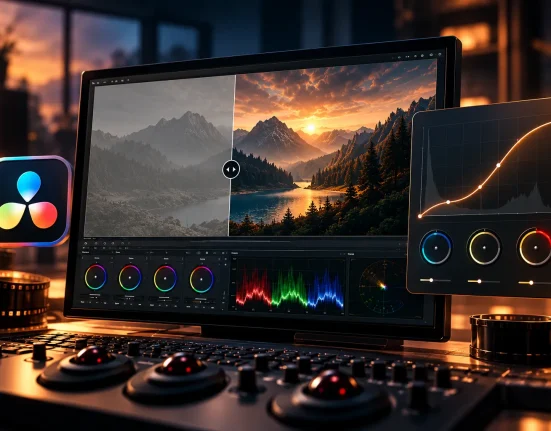
Yes, you can get fairly close to a film look without a plugin. In software like DaVinci Resolve, you can combine various tools to create a handmade Film Look. For example, you can start with color grading to adjust color and contrast, then gradually add film texture and characteristics.
Some of the common methods include:
- 🎨 Color Grading: Adjusting color, contrast, highlights, and shadows to get closer to the look and feel of film.
- 🎞️ Film Grain: Adding Grain so the image doesn’t feel overly clean and digital.
- ✨ Glow and Blur: Combining these tools to create Halation and produce a soft glow around bright areas.
- 📐 Position and Transform: Creating very subtle movements in the image to simulate Gate Weave.
- 🎚️ Combining Multiple Nodes: Separating each part of the process and independently controlling color, Grain, Glow, and other details.
You can follow almost the same process in After Effects and Premiere Pro; meaning you can combine color, Grain, Blur, and glow effects to achieve a result similar to a Film Look.
What’s the Problem with Manual Methods? 😅
The main problem is that achieving a truly natural result requires adjusting several stages separately and coordinating them. Grain might look good on one shot but be too noticeable on another; halation may require different settings, and color and contrast may need constant adjustments. On top of that, manually creating certain characteristics like Halation or Gate Weave can be time-consuming, and if you overdo it even slightly, the result can quickly turn from a natural Film Look into an image where it’s completely obvious that several effects have simply been layered on top of it. 😄
What Exactly Does ARRI Film Lab Do? 🎞️
ARRI Film Lab is a professional Film Emulation plugin that uses Color Science knowledge and ARRI’s experience in image processing to help you bring digital footage closer to the look and behavior of analog film. In other words, it’s not simply meant to change the color of the image; the goal is to recreate a collection of a film’s visual characteristics in a coordinated way across your image.
The key point is that ARRI Film Lab gives you control over several aspects of the image, from color and Grain to Halation and Gate Weave. You can also view the results in real time, and it is designed for professional projects up to 4K.
Grain, Color, and Halation: Three Important Parts of the Film Feel 🎨
One of the main parts of ARRI Film Lab is controlling the characteristics that directly affect a film’s appearance. Film Grain helps reduce the excessive cleanliness of a digital image and gives the footage a more natural texture. This Grain isn’t simply random noise added to the image; the goal is to simulate part of the appearance of film.
Alongside it are color controls used to shape the image’s color response and overall appearance. This becomes especially important when you want the colors to look more than just “filtered” and want the entire image to feel more cohesive, closer to a Film Stock.
Halation is another important part. This effect simulates the subtle glow around very bright areas; something that occurs during the analog film process and can make strong lights look softer and more organic. Combining these three elements makes Film Lab more than just a simple LUT when it comes to affecting the texture and behavior of the image. ✨
Gate Weave: That Very Subtle Film Movement 🎞️
Another Film Lab feature is Gate Weave. In analog film, frames aren’t always positioned in exactly the same perfect and fixed position, and there can be very small movements between frames. Film Lab can simulate this behavior, so the image moves slightly away from that completely static, digital appearance.
Of course, Gate Weave doesn’t mean intentionally shaking the image! 😄 This movement should be very subtle; it’s mainly used to add feeling and character to the image rather than becoming an obvious effect itself.
It’s Not Just for ARRI Cameras 📷
One very important point is that the name ARRI Film Lab shouldn’t make you think it only works with footage from ARRI cameras. This tool can work with RGB Images from different cameras.
However, there is a technical requirement: the project needs to be placed in an appropriate LogC4 / LogC3 or Linear AWG4 / AWG3 Pipeline and use ARRI Color Management through the final stage of the project. Before using it, you need to set up the project’s color Workflow correctly so Film Lab can deliver the result it was designed to provide.
In fact, if your footage was recorded with different cameras, you can still use ARRI Film Lab; you just need to make sure the project’s color management is compatible with its required formats and Pipeline. ACES is also planned for future support according to the creator’s explanations.
Real-Time 4K: It’s Not Just a Simple Effect ⚡
ARRI Film Lab is designed for Real-Time 4K Film Look Emulation. This means its goal isn’t simply to apply a light filter to a video; it was built as a professional tool for simulating the appearance of film in more serious color and post-production Workflows.
Real-time processing is also important because you can see changes to the Film Look directly on the image and more easily understand how Grain, color, Halation, and other settings affect the result, instead of waiting through a long process for every small adjustment.
One Plugin for Multiple Workflows 💻
One of Film Lab’s strengths is that it isn’t limited to a single software. Depending on your Workflow, you can use the appropriate version in different environments, from editing and compositing software to professional Color Grading and Finishing environments.
ARRI Film Lab is currently available for a large range of software, including:
- After Effects
- Premiere Pro
- DaVinci Resolve
- Fusion Studio
- Nuke
- Final Cut Pro
- …
So whether your main Workflow is editing, Compositing, or Color Grading, you can probably bring Film Lab into your project in the same environment you already work in.
An Interesting Feature for Filming: On-Set Preview 🎥
One feature planned for future updates is On-Set Preview. In newer versions and for the latest ARRI cameras, we plan to let you preview Film Lab settings directly on set.
This means the cinematographer can see a simulation of the desired look on Set before the project enters the Post-Production stage, including color and Grain characteristics. This feature can be very useful for projects that have a defined Look from the very beginning of filming. 🎬
Overall, what makes ARRI Film Lab interesting is that we’re not dealing with a tool that simply “makes the color cinematic.” Here, Color, Grain, Halation, and Gate Weave come together to simulate different parts of film’s appearance, and the tool is designed for 4K, Real-Time processing, different cameras, and a wide range of professional software applications.
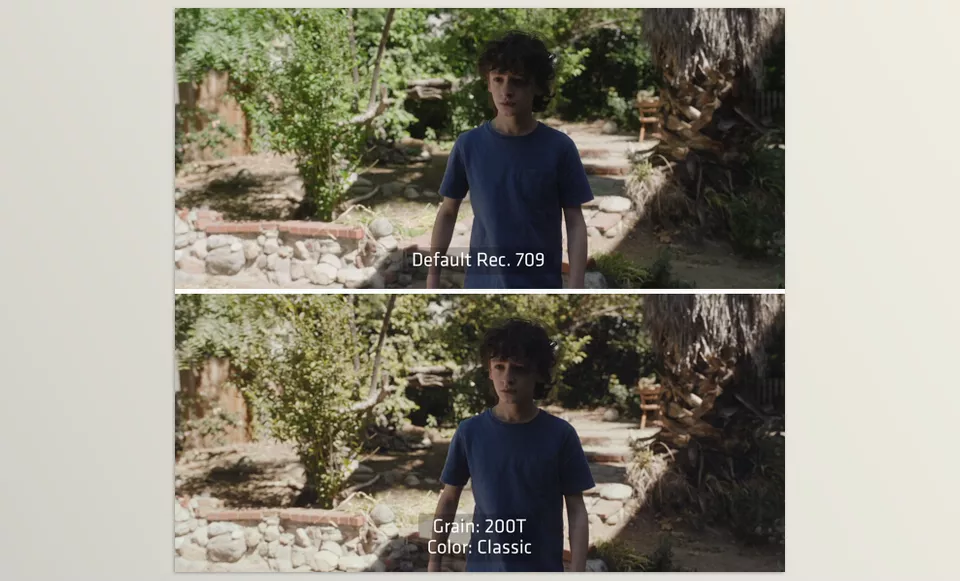
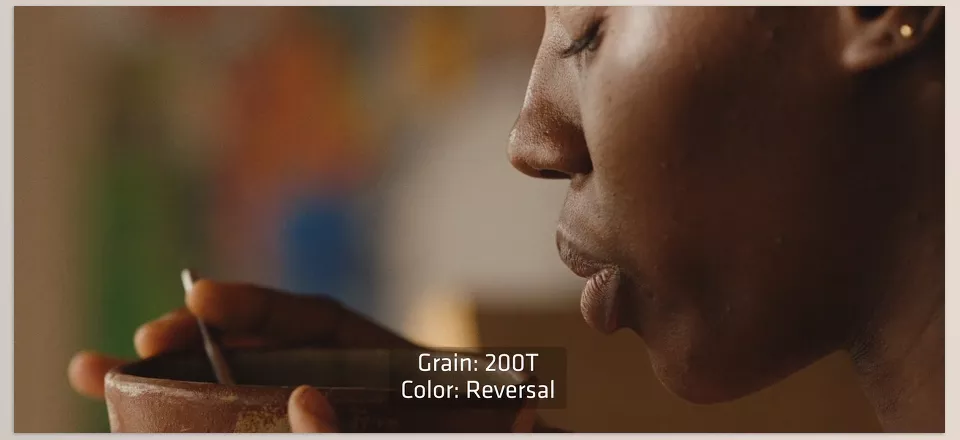
How Can You Get a More Natural Result with It? 🎬
Getting a good Film Look isn’t just about turning up a few settings and waiting for a cinematic image! 😄 In fact, the more subtly you work with ARRI Film Lab, the more natural and professional the result will be. A few simple tips can help make the Film Look feel like part of the image rather than a separate effect.
- Use Grain in a Controlled Way 🎞️
Grain shouldn’t be the first thing the viewer notices. Adjust its intensity so it mostly adds natural texture and gives the image a film feel without making it look cluttered or overly noisy. - Don’t Overdo the Halation ✨
Halation is attractive when it’s subtle. If the glow around lights and highlights becomes too strong, the result quickly moves away from the natural appearance of film and starts to look more like a digital effect. - Fix the Image First, Then Add the Film Look 🎨
Before moving on to the Film Lab settings, it’s better to get the Exposure, White Balance, Contrast, and main Grade in order. When the image foundation is correct, Film Emulation will also produce a cleaner, more controllable result. - Don’t Use One Fixed Setting for Every Shot 🎥
Every shot has its own conditions. Something that looks great on a portrait shot might be too much for a night shot or an outdoor shot. Adjust the intensity of Grain, Halation, and other settings based on the lighting and content of each shot. - Pay More Attention to Skin Tone 👤
If your project has a lot of close-ups of faces, check the skin after applying the Film Look. A cinematic appearance shouldn’t make the Skin Tone look unnatural; it’s better for skin color to remain natural and pleasing. - Keep Gate Weave Very Subtle 🎞️
The goal of Gate Weave isn’t to create noticeable shaking. A very small amount of movement can enhance the film feel, but if it becomes too intense, the viewer’s attention is pulled away from the image itself, and the effect becomes more noticeable than it should be.
Ultimately, the best Film Look is usually the one you can feel without really noticing it. The viewer shouldn’t sit there looking for Grain and Halation; they should simply feel that the image has gained more texture, depth, and character. 🎬✨
One Step Closer to the Feeling of Film 🎬
If you’ve previously had to combine several different tools and effects to achieve a professional Film Look, ARRI Film Lab can make this process much more cohesive. Here, you have a tool that combines Color, Grain, Halation, and Gate Weave to build a unified film look across your footage, instead of using several separate effects. The result isn’t just a color change; the entire texture and behavior of the image can move away from that overly clean and digital appearance. 🎞️
On the other hand, when you work on different projects and different types of footage, controlling the details is really important. You can make the Grain more subtle, adjust Halation based on the lighting of the shot, change the color appearance, and even add a small amount of Gate Weave so that each scene has its own character. Support for 4K and Real-Time processing also means Film Lab isn’t just for testing and playing around with effects; it can become part of the actual Workflow of professional projects. ⚡
So if, after hours of Color Grading, you still feel like your image is missing something, the problem probably isn’t just the color. Sometimes what makes an image look more cinematic is exactly those details that are difficult to put a name to: film texture, light behavior, Grain, and that particular organic feeling. ARRI Film Lab focuses exactly on these aspects and can help reduce the gap between clean digital footage and an image with a more authentic film feel. 🎬✨
For DaVinci Resolve users who want to speed up their editing process, improve productivity, and get more out of the software’s capabilities, our latest article on essential DaVinci Resolve tools can be a valuable resource worth exploring.