

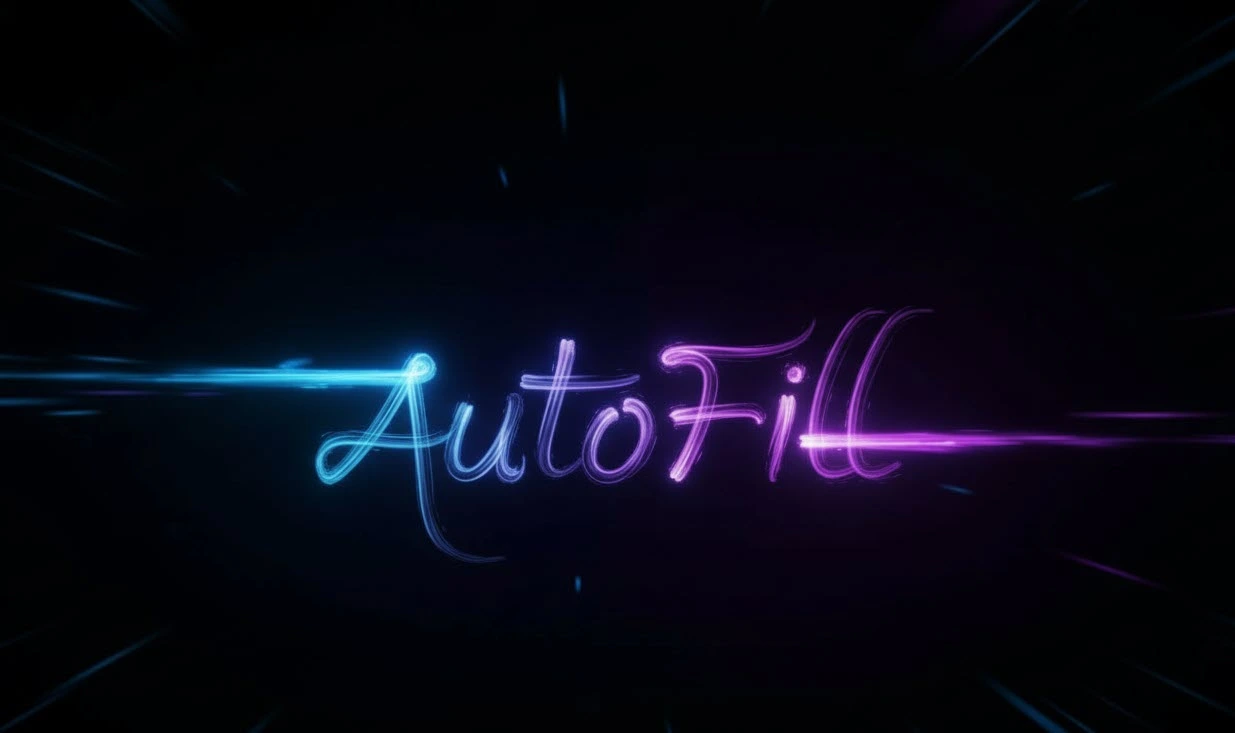
🎬 When Hard Work Animates Itself
Are you experienced with the AutoFill v2 Plugin? Have you ever wanted to show a logo, text, or even a digital painting that gradually appears? Like an invisible hand is drawing it with a pen or light, bringing it to life? ✨
The idea seems simple, but when you try to create this movement yourself in After Effects, you realize how complex it actually is. You have to adjust the path of lines with masks or strokes, keyframe every small movement, and carefully time everything.
If you want the appearance to feel natural and organic, you also need to add noise, blur, or displacement effects. And of course, when the project grows, managing all the layers and paths becomes a nightmare 😩
See? What seemed simple and fun in your mind turns into an all-out battle with the timeline and keyframes. That’s when you think: “I wish After Effects knew where to start and how to progress this animation on its own!”

✏️ Strokes: The Breath of Lines
Strokes are the paths that make a line, text, or shape gradually appear and give a sense of movement. When a logo is slowly drawn or a map shows its path, you are essentially playing with strokes. This technique makes the work look more alive and natural, even giving it a handcrafted, realistic feel.
Using strokes, you can easily animate complex designs; for example, a handwritten text that looks like it’s drawn with a real pen, or the branches and flowers of a plant slowly growing. Strokes help you create engaging animations without the viewer noticing how they were made.
🧩 The Traditional Method: When Every Move is Handmade
In After Effects itself, you can create these types of animations. You can use effects like Stroke or Trim Paths, draw line paths, control text with masks and strokes, and keyframe every small movement. But… when the project gets bigger, the real headache begins. Managing numerous layers and motion paths, accurately timing keyframes, and combining effects to achieve a natural feel becomes a true nightmare.
For better perspective, the things you usually have to do manually include:
- Precisely drawing the path of each line or shape with masks and strokes.
- Setting keyframes for every small movement and adjusting the timing.
- Adding effects like noise, blur, or displacement to make the appearance more natural.
- Managing many layers and combining paths, especially when multiple objects move simultaneously.
Even when everything goes right, you still need hours to make the movements smooth and natural. A tiny mistake in timing or path can make the whole animation look stiff and artificial. The result: what seemed simple and fun in your mind becomes a long, exhausting process that drains your energy and takes time away from creative ideas.
⚡ AutoFill 2: When After Effects Understands Itself
What does it do?
AutoFill v2 Plugin is an intelligent plugin that makes animations form automatically. You just import your logo, text, or image, and the plugin detects the growth paths, appearance, and flow of color or texture on its own. The result is smooth and natural animation—no keyframes required.
Why does it make life easier?
Before the AutoFill v2 Plugin, you had to draw paths, keyframe every movement, add effects, and manage layers. Now, everything is automated, letting you focus on your ideas and creativity instead of tedious details.
Key Features:
- Automatic animation for logos, text, images, and icons
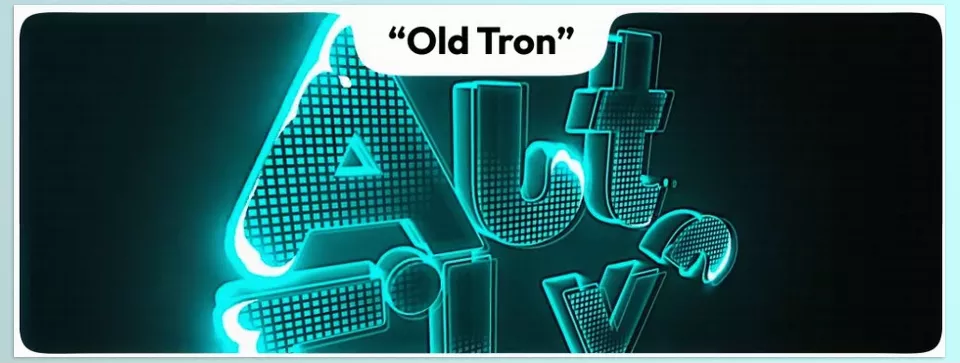
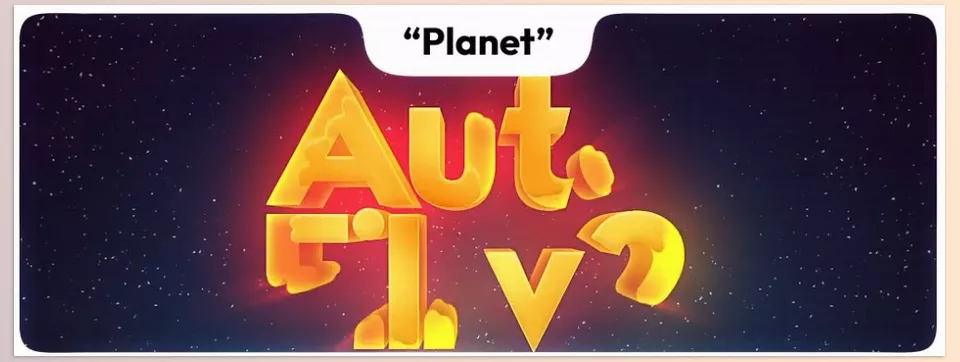
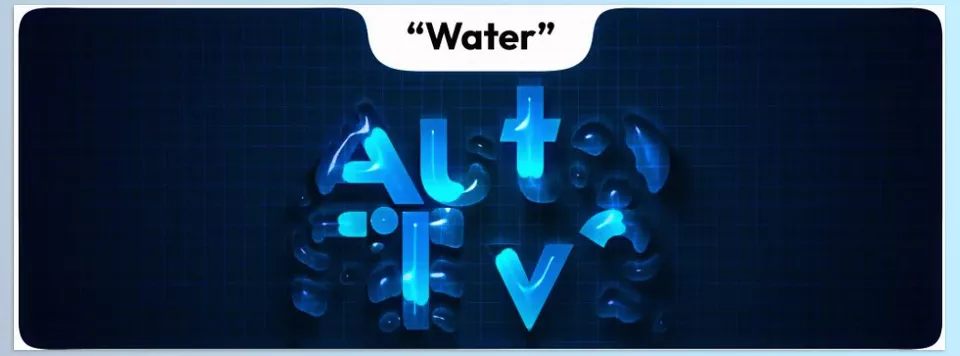
- 30 ready-to-use presets in styles like ink, light, and organic
- 50 prebuilt scenes—just replace with your content
- Fast GPU rendering with Apple Silicon support
- Style Builder to combine multiple effect layers like blur, displacement, and various colors
- Smart Speed Map that determines growth paths based on image color and shape
Applications:
You can create complex projects like logo reveals, handwritten animations, plant growth, photo transitions, or interactive infographics effortlessly. Everything works intelligently, producing natural and ready-to-use results.
💡 Pro Tips & Techniques
To make animations with AutoFill v2 Plugin look more natural and professional, a few simple but effective tips help a lot:
- Use Turbulent Noise in the Speed Map to make line movement slightly irregular and organic, giving a handcrafted feel.
- Combining Alpha + RGB Speed Maps ensures that line or shape growth matches the image content, making the animation look much more natural.
- Repeater Pipeline is perfect for creating seamless loops, especially useful for animated backgrounds or VJ projects.
- Color is crucial—always match AutoFill v2 Plugin colors with your brand palette or main project colors for a consistent and appealing look.
Other practical tips:
- Preview the Speed Map before applying presets to see movement flow precisely.
- For handwritten text, assign Growth Points to key areas for a more natural appearance.
- Combine multiple effect layers with Style Builder for more complex, professional motion.
- If your project requires loops, use Repeater Pipeline + Age Modes to repeat animations flawlessly.
- Always preview in full quality after changes to ensure smooth motion and accurate colors.
Following these simple tips lets you feel the difference between ordinary animation and professional, natural work. Projects become faster and hassle-free.
🎯 Summary & Conclusion
AutoFill v2 Plugin is a tool that can truly change your After Effects workflow. What once took hours, full of keyframes, masks, and complex adjustments, is now ready in just a few clicks—smooth, natural, and professional. This means more time and energy for creativity, letting you focus on ideas and design rather than tedious details.
With AutoFill v2 Plugin, you can create logo reveals, handwritten text animations, plant growth, photo transitions, or interactive infographics, all intelligently and effortlessly. Features like smart Speed Map, Style Builder, presets, and prebuilt scenes ensure even complex projects are completed quickly and with high quality.
Ultimately, the benefit of this tool lies in not just speed and accessibility but also the creative responsibility it puts in your hands. Create faster, more organic projects that will add a level of visual intrigue to your motion graphics prowess. You’ll never look at fill v2 the same way again. Give it a try—and watch something even the simplest of ideas transform before your eyes!
If you’re looking to truly understand how After Effects works along with its most powerful axiliary tools, don’t miss our comprehensive guide about After Effects tools — it covers everything from plugins to scripts and templates.



