

Realistic, Simple, and Controllable 3D
Ever use the AE 3D RIG Plugin? Because working with 3D isn’t just 3D. 3D allows you access to an entire space and control over where a camera approaches from, how lights illuminate or dim a scene, the placement of layers along the Z-axis, and the extent of the background to fill in a story. Each of these elements contributes positively or negatively to the rendered quality of the animation.
For instance, you’re rendering a scene that needs a lot of texts and shapes spread across the Z-axis, a camera fluidly moving through each and realistic lighting with shadows that give depth and volume. Even for the smallest of adjustments, one must constantly sift through numerous layers, adjusting values, increasing keyframes, and rendering preview after preview until everything is just right.
This is why tools matter; tools that allow you to ignore little minimal adjustments and instead focus on design, movement and narrative. When camera movements are adjusted in one place, lights act collaboratively to illuminate the space where layers are properly aligned, the rendered result looks more professional and is much quicker to create.
In fact, the right tools make 3D not a barrier but an enjoyable part of the project—where perspectives come alive and animations gain real depth.

You Can Do It Without Plugins, But…
After Effects provides default tools for working with 3D; tools that seem simple at first but, in practice, require precise and time-consuming management:
- Creating a 3D camera and manually controlling Position, Rotation, Zoom with keyframes
- Adding lights and adjusting individual parameters such as color, intensity, falloff, and direction
- Creating Solids or masks for backgrounds or preparing layers for Element 3D
- Arranging layers along the Z-axis with numeric adjustments and repeated preview tests
- Creating camera movements with the graph editor and repetitive adjustments to achieve the right speed and rhythm
But the main challenge starts here.
When everything is done manually, even a simple 3D scene turns into a collection of tiny, repetitive tasks: moving between layers, opening settings, adjusting keyframes, and coordinating lights and cameras. The result is that most of your energy goes into technical setup, not design itself.
Arranging layers along the Z-axis can easily become messy and time-consuming, lighting can break with even the smallest change, and creating natural camera movements usually requires practice and patience. In larger projects, these steps can drastically slow down production.
For this reason, although After Effects can do all these tasks, doing them with default tools is so time-consuming and exhausting that many designers prefer to use a more integrated system.
AE 3D RIG Plugin: The True 3D Assistant
When it comes to working with 3D in After Effects, designers’ biggest need is one thing: simple, fast, and centralized control. This is exactly where AE 3D RIG Plugin comes in—a set of six practical scripts that transform many repetitive, time-consuming, and technical tasks into a few simple clicks. This tool acts more like an intelligent assistant than a typical plugin; a helper that manages precisely the parts that are always difficult and time-consuming.
Here are the main features of this suite, explained in detail:
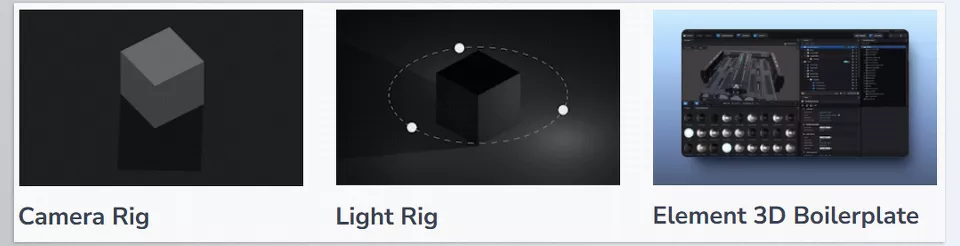
- Camera Rig – Everything Under One Roof
A true control panel for the 3D camera.
You can control position, rotation, zoom, and focal length from a single point, without getting lost in multiple layers.
Includes features such as:
- Natural camera shake
- Ready-made motion
- One-click switch to Orthographic mode for precise work
This means professional control without hassle and without extra keyframes.
- Light Rig – Fast and Coordinated Lighting
A classic three-light system including Key, Fill, and Back Light that can be adjusted simultaneously or individually.
Control intensity, color, direction, and distance of lights without opening dozens of panels.
This rig is compatible with both Classic and C4D renderers, making scene lighting fast, precise, and predictable. - Element 3D Boilerplate – Layer Preparation Wizard
If you have worked with Element 3D, you know that preparing layers always takes time. This tool automatically:
- Creates appropriate solids
- Sets selected textures or images
- Places text or masks in their proper positions
These small tasks can save hours across multiple projects.
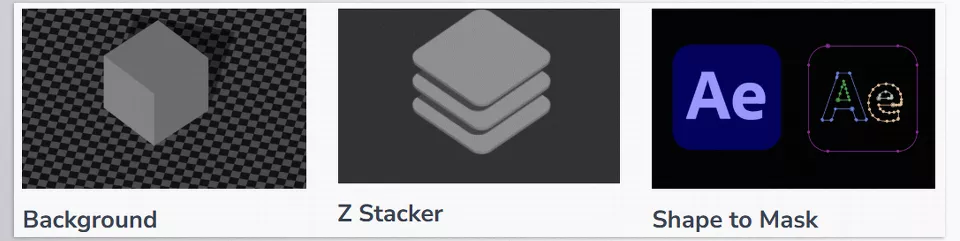
- Background – One-Click Scene Setup
Without creating or adjusting solids manually, just press a button to insert a clean, adjustable 3D background into the scene.
Its color, depth, and appearance are fully controllable from the panel. - Z Stacker – Organize Your 3D Space
If you’ve ever arranged multiple layers along the Z-axis, you know how messy it can get.
Z Stacker completely solves this problem by managing:
- Layer spacing
- Alignment type (centered or top/bottom)
- Padding and positioning
All manageable in just a few clicks.
- Shape to Mask – Smart Shape Conversion
This tool quickly converts shape layers to masks and can even place each shape group on a separate layer.
It’s extremely useful for Element 3D and special effects.
With these six tools working together, tasks that normally take hours become fast, clean, and predictable. The result? More professional 3D projects, faster workflow, and full focus on creativity.
Professional Tips You Should Know
To make your 3D projects in After Effects look truly natural and cinematic with AE 3D RIG Plugin, always keep these tips in mind:
- Use subtle camera shake and motion
Even a very slight shake makes the scene more lively and realistic. A perfectly static camera often feels artificial. - Adjust Z Stacker with proper padding
Precise spacing between layers on the Z-axis is the most important factor for real depth. Small mistakes in spacing flatten the scene. - Group-adjust lights first in the Light Rig
Move the whole light system together to set directions correctly; then go into fine adjustments for each light (Key, Fill, Back). - Combine Camera Rig with Background Generator
This combination is the fastest way to build a clean, controlled scene. Ready camera, proper lights, and standard background let you quickly move into design and animation.
Make Your Projects Faster and More Engaging
Tools like AE 3D RIG Plugin turn working with 3D in After Effects from a difficult, time-consuming process into a comfortable, controllable experience. When camera, lighting, layer arrangement, and background creation are integrated into one system, there’s no need to spend hours on repetitive and complex adjustments.
The result of this order and integration is that projects are completed much faster, and the final quality is more professional and impressive. Every camera move, lighting change, and 3D layer works more precisely, naturally, and predictably—without spending hours fixing and aligning.
In the end, AE 3D RIG Plugin is here to take your mind off the mundane, technical, and often tedious workflow steps and put your mind back where it belongs – on the visual creative endeavor your scene represents. It makes production more enjoyable and renders things that really pop. Once you get started, you’ll never want to go back!
If you’ve ever wondered how to truly unlock the full potential of After Effects and its wide range of companion tools, our comprehensive guide on After Effects tools is a must-read, packed with expert tips, plugins, scripts, and workflow secrets. 🔗 Read here



