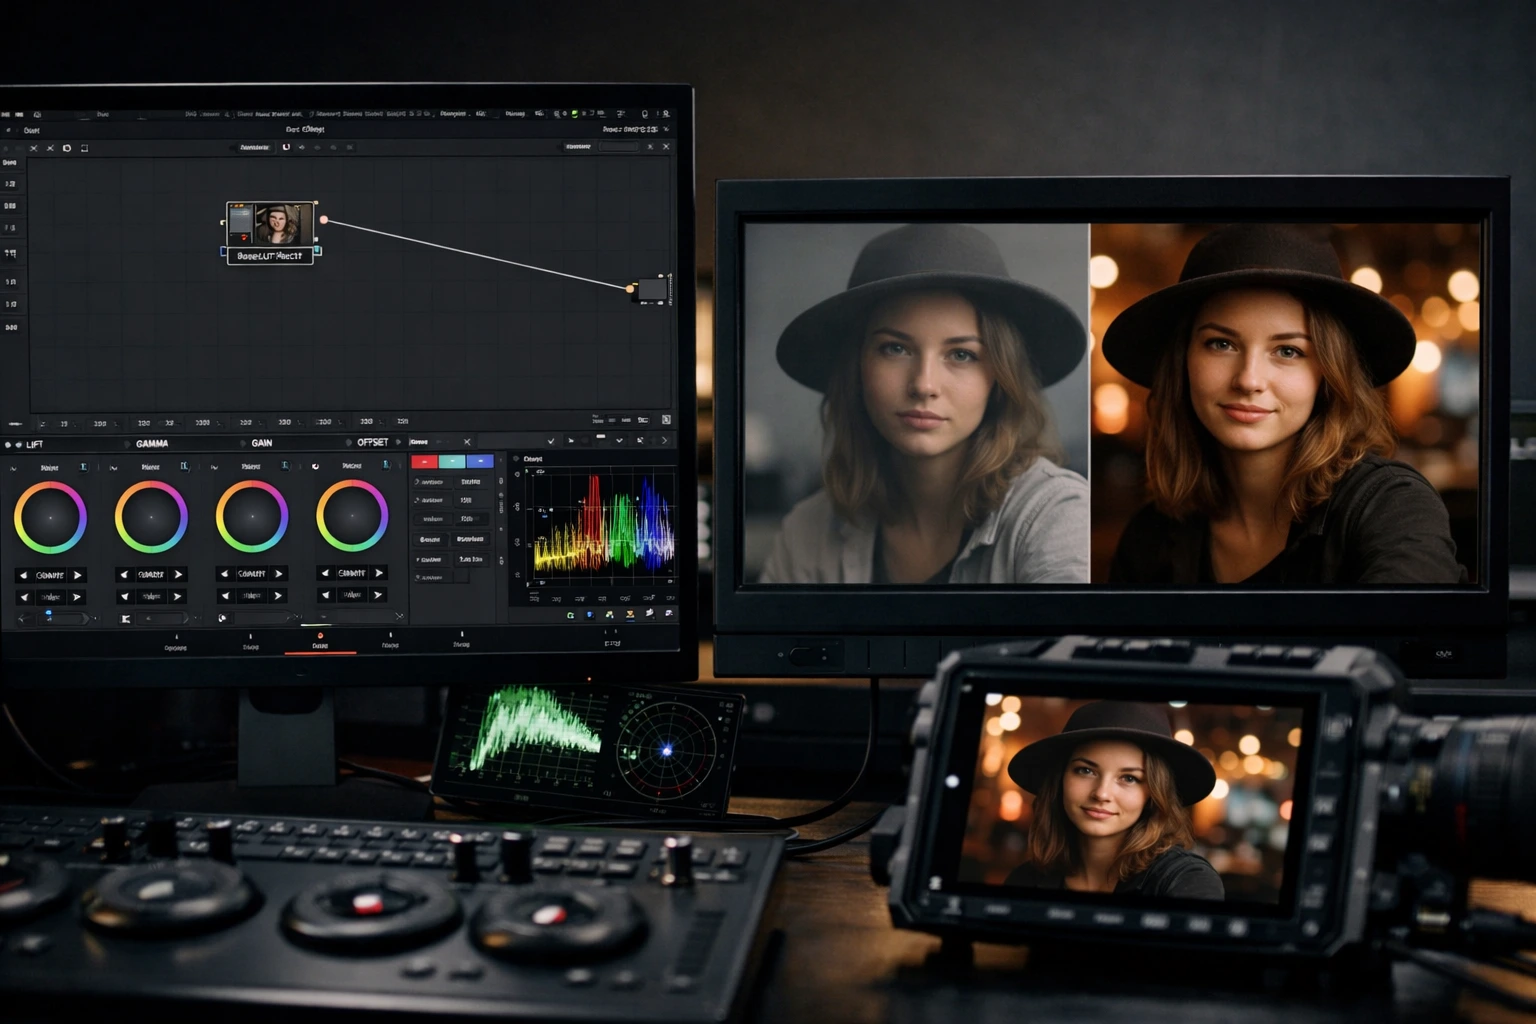
When Your Image Looks Lifeless…
Are you familiar with the BaseLUTs for Panasonic S5II, S5IIX, and S9 at all? Have you ever carefully planned a shoot, dialed in the lighting, framed your shot precisely, and even felt like you captured one of your best takes… then opened the file in your editing software and were greeted with a gray, flat, lifeless image? 😅 That moment when you pause and think: “Okay… what exactly am I supposed to do with this now?”
Interestingly, many times the issue isn’t your lighting, your lens, or even incorrect settings. We intentionally shoot in Log profiles because we want to capture the maximum dynamic range and color information. That means the raw image is supposed to look low-contrast and desaturated, so we have more flexibility in color grading.
But here’s the key point: what you see on your monitor isn’t the final version yet. Until the log footage is properly transformed, it won’t resemble what you had in mind while shooting. And this is exactly where proper color transformation becomes serious and decisive.

What Does Color Transformation Mean — and Why Is It So Important?
When you shoot in V-Log, the camera intentionally records the image with low contrast and muted colors. Why? Because this way, more information from the scene is preserved:
- Highlights are less likely to clip
- Shadows retain their details
- You have more flexibility in color grading
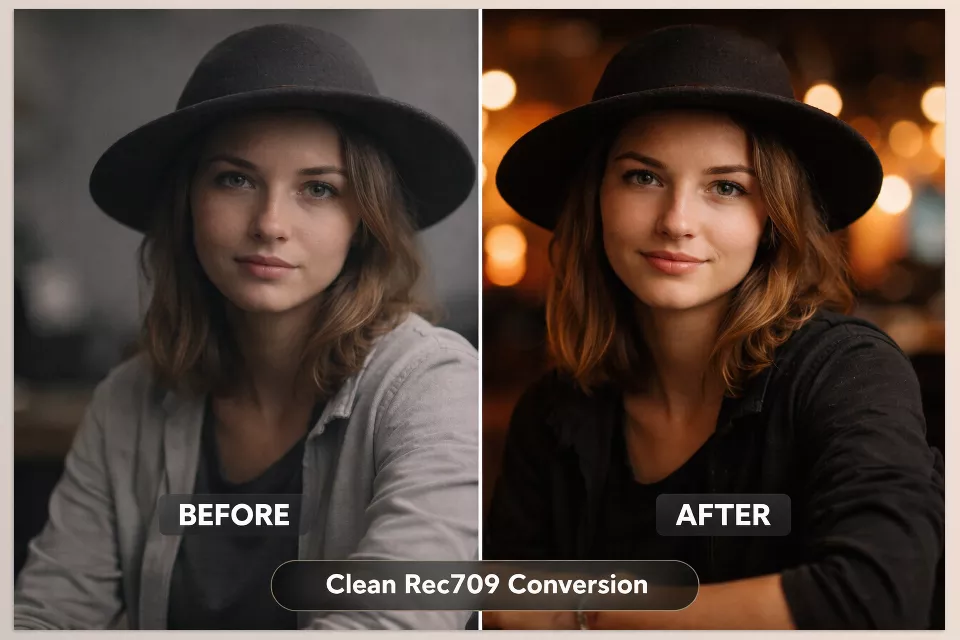
However, this flat image isn’t designed for direct viewing. If you export it as-is, it will look dull and lifeless on a phone or monitor. That’s why it needs to be converted to a standard color space like Rec709, so natural color and contrast are restored.
What Happens in a Real Project?
Whether you’ve shot a simple YouTube vlog, produced a commercial for a brand, or recorded a cinematic-style music video, before applying any creative look or color style, your image needs to be seen correctly. That means starting with a proper, standard color base.
If the initial conversion isn’t accurate:
- Skin tones often look unnatural
- The image either stays too flat or becomes overly contrasty
- Highlights can quickly get out of control
But when the transformation is done correctly and properly, everything flows more smoothly. Colors appear natural and balanced, effects and secondary adjustments respond more predictably, and grading time is reduced.
Instead of spending your energy fixing the foundation of the image, you can focus on the final look and mood. Instead of fighting the footage, you start designing it.
How Can We Do This Conversion Without Specialized Tools?
When you don’t have a precise, ready-made tool, you usually rely on manual or built-in software methods.
For example, in DaVinci Resolve, you might use the Color Space Transform tool and attempt to convert from V-Log to Rec709. This method can produce good results, but it requires a proper understanding of gamma, gamut, and parameter settings. If even one option is selected incorrectly, the image can feel slightly off from the start.
Sometimes we take a simpler route:
- Manually increase contrast
- Add saturation
- Adjust Curves
- Use Lift / Gamma / Gain controls to bring the image to life
Or we download a generic LUT from the internet and apply it to the footage, hoping for a quick result.
These methods can work — but they’re often more trial-and-error than a precise, engineered transformation.
Where Do the Problems Actually Begin?
This is where the real challenges show up.
Generic LUTs are usually not designed for a specific camera model and may not align perfectly with your sensor and profile. Manual adjustments are time-consuming, and with each new project, you’re almost starting from scratch.
If Middle Gray isn’t set correctly, the entire image can appear one stop darker or brighter than it should — without you immediately realizing why.
Precise control over Black and White Clipping is also not simple. Shadows might get crushed, or highlights may clip too quickly.
The final result?
- The image becomes too dark
- Or overly contrasty
- Or skin tones develop a subtle, unnatural tint that you keep correcting
In the end, you spend a lot of time just trying to reach a standard base — assuming you even get there and feel satisfied with the result.
When a Precise Conversion Is Already Prepared for You
This is where specialized BaseLUTs for Panasonic S5II, S5IIX, and S9 truly prove their value.
BaseLUTs for Panasonic are specifically designed for the V-Log and V-Gamut of these cameras. That means the color transformation is based on the actual sensor characteristics and Panasonic gamma curves — not on generic or guess-based settings.
The result?
From the very first moment, the image looks correct and balanced, and you don’t need multiple nodes just to fix the foundation.
What Does BaseLUTs for Panasonic Make Easier?
🎯 Clean Rec709 Conversion
Transforms flat V-Log footage into a standard, natural output — exactly what you need for YouTube, social media, or client delivery. Balanced colors, logical contrast, and an image ready for further grading.
🎬 Arri709 Conversion
If you prefer a softer, slightly more cinematic feel, this transformation provides a more pleasing tonality. Ideal for projects that aim for a dramatic or premium look.
🔥 Bold Version
For times when you want a high-energy image quickly. Contrast and saturation are slightly stronger, making it great for vlogs, online ads, or fast-turnaround projects.
🎨 DaVinci Wide Gamut (DWG) Conversion
For those working with professional color management inside DaVinci Resolve. This option allows you to move your footage into the DWG space and then grade with full scientific control.
All BaseLUTs for Panasonic are provided in 33x Cube format, suitable for precise and professional grading. A 17x Cube version is also included for on-set monitoring, so you can preview an approximate final look during production.
What’s the Real Impact on a Project?
When you start with a precise transformation, the first thing you notice is that skin tones appear more natural and balanced. Highlights are better controlled, and shadows retain depth without being crushed.
The image looks “right” from the beginning — not too dark, not exaggerated.
And most importantly, you’re no longer starting from zero.
Instead of spending time fixing the base image, you begin from a precise, standard foundation.
That means more focus on style and creativity — not on correcting initial mistakes.
A Few Professional Tips for Better Results
Now that you have a clean and accurate transformation, a few simple tips can help you get the most out of it. These aren’t complicated — but they’re the subtle differences that make work look more professional.
✔ Place the LUT on the First Node
Apply the technical conversion first, then move on to creative grading. This way, all further adjustments are applied to a standardized image — not flat, uncorrected footage.
✔ Proper Exposure On Set
Expose V-Log slightly toward ETTR, but not so much that highlights are at risk. When exposure is handled properly, a precise LUT performs at its best and delivers a cleaner image.
✔ Make Subtle Adjustments with Curves After the LUT
Sometimes, a very gentle contrast tweak or a small skin tone adjustment can elevate the image several professional levels. No need to exaggerate — subtlety works here.
✔ Try Bold for Fast Projects
Especially for vlogs, social media, or time-limited projects, the Bold version can quickly give you a high-energy, ready-to-deliver image.
In the end, remember: BaseLUTs for Panasonic are a professional starting point — not the finish line. When used intelligently, it increases both your speed and your final image quality.
Conclusion: A Proper Foundation Means Creative Freedom
In color grading, the most important part is always the first step. That’s exactly where BaseLUTs for Panasonic come into play. If the color foundation is correct and standardized from the start, the rest of the process becomes smoother and more enjoyable. But if the beginning is flawed, you’ll constantly go back to fix it — and that means wasted time and energy.
A precise transformation — like the one provided by BaseLUTs for Panasonic — helps you fight the image less and design it more. Instead of struggling with contrast and skin tones, you can focus on style, mood, and visual identity. The result is usually a faster turnaround and a more professional, cleaner final output.
Sometimes the right tool doesn’t just speed up your workflow — it frees your mind. If you work with Panasonic V-Log, having a precise conversion base can be one of the smartest upgrades you add to your workflow — one that both saves your time and elevates your image quality.
If you’re not yet familiar with the concept of color grading, we recommend starting with our comprehensive color grading guide.