

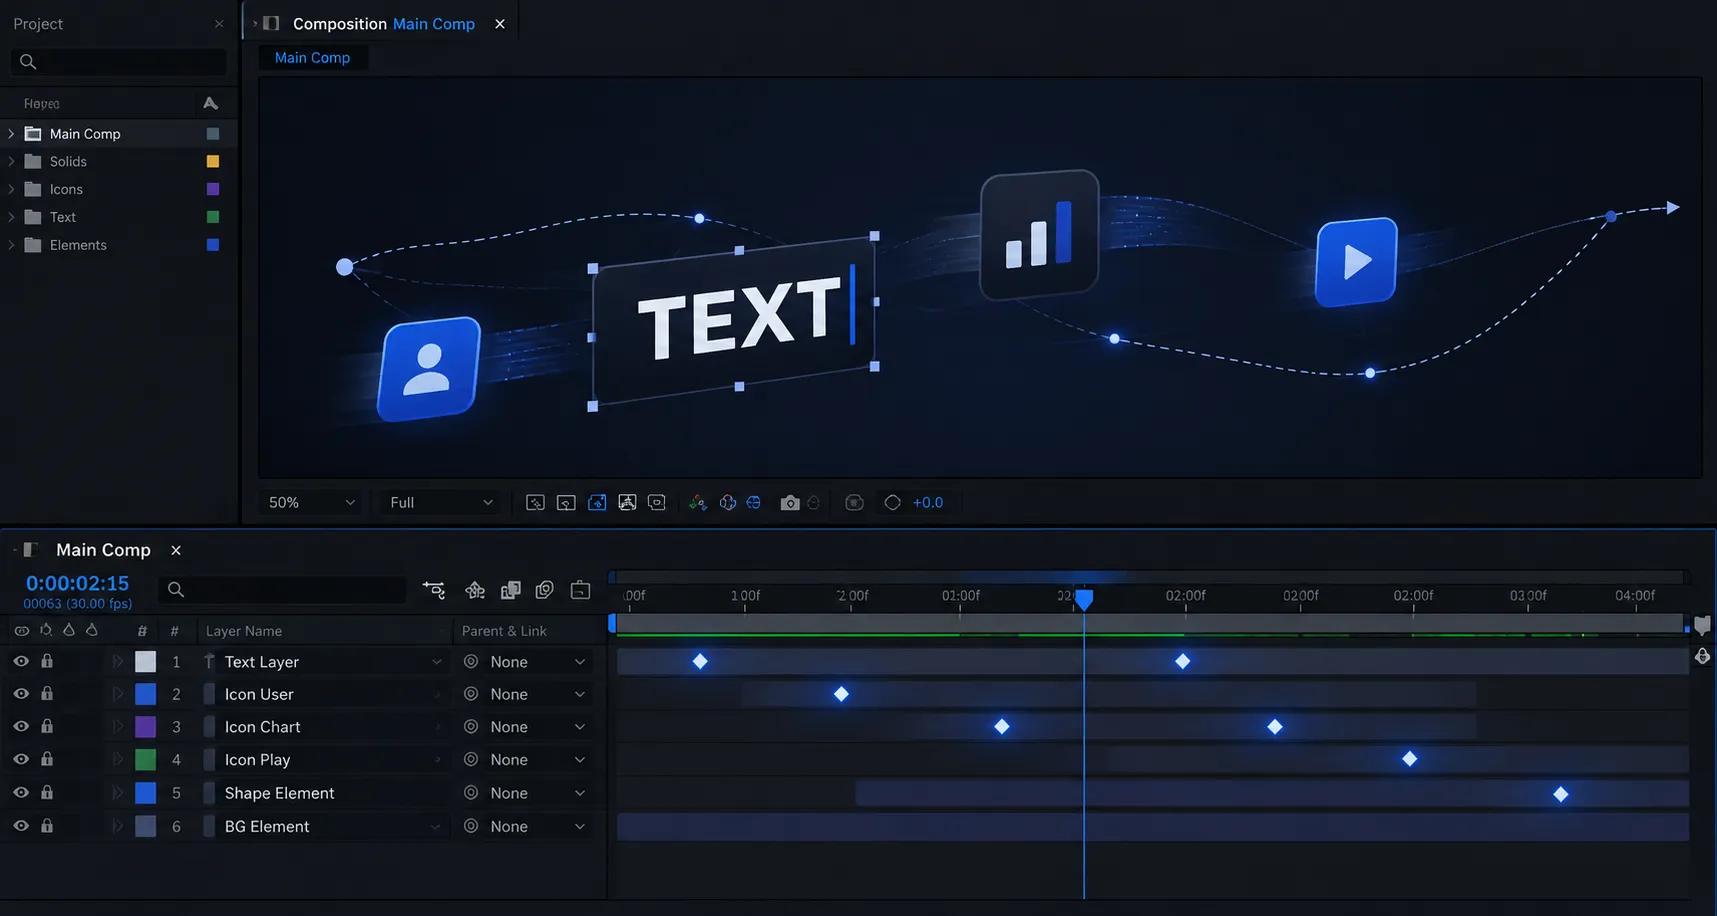
Why Does Creating a Simple Animation Take So Much Time? ⏳
Are you experienced in using the KeyFast Plugin by aescripts? If you have worked with After Effects even a few times, this scenario probably feels familiar: you just want a few simple texts or icons to enter the scene, but suddenly you realize you need to add keyframes for each layer, adjust the Position or Scale values, apply Easy Ease, move the start time of the layers, and finally go to the Graph Editor so the movements look more natural.
Now imagine dealing with 30 or even 50 layers instead of 4 or 5! 😅 At that point, a large part of your time is spent on tasks that do not require any special creativity and are not exciting either; they just need to be done.
The interesting thing is that no matter how professional you become, these repetitive tasks do not disappear. You just do them faster. That is why many motion designers look for ways to automate these steps as much as possible, freeing up their time for the more important parts of the project. ✨

What Does Animation Automation Mean, and What Problem Does It Actually Solve? 🚀
When the word “automation ” comes up, some people think a tool will design the animation for them, but that is not the reality.
Automation means handing repetitive tasks over to the software and focusing on the creative parts yourself.
For example, suppose 15 icons are supposed to enter the scene one by one. If you want to do everything manually, for each icon, you need to:
- Create keyframes.
- Apply Easy Ease.
- Adjust its start time.
- Change the Graph Editor as well if needed.
Now multiply these steps by 15! 😅
Automation tools are built exactly for this reason: repetitive, time-consuming tasks you perform many times in every project can be done with a few clicks. These tools are not supposed to replace your creativity or design, but they help you spend less time on routine tasks and focus more on ideation and creating more attractive animations. 🚀
The importance of this becomes more obvious than ever in projects such as educational videos, social media motion graphics, text animation, infographics, product introductions, or even UI animations. In these projects, there are usually many layers with similar behaviors, and the faster you can create basic animations for them, the more time you will have to refine the details and make the final result more professional. ✨
How Do We Do These Things Without Any Plugins? 🎬
The good news is that After Effects itself gives you almost all the tools you need to create professional animations. This means that even without installing any plugins or scripts, you can still create attractive, smooth animations. You just need to be familiar with the main After Effects tools and know what each one is used for.
Default After Effects Tools for Creating Animation 🛠️
For creating the most basic animations, the following tools and features are usually used:
- ✅ Position and Scale for creating entrance, exit, and movement animations for elements
- ✅ Opacity for creating Fade In and Fade Out effects
- ✅ Trim Paths for animating Shape Layers and designing animated paths
- ✅ Easy Ease for making the speed of movement between keyframes feel more natural
- ✅ Graph Editor for precise control over acceleration, speed, and the feel of animation movement
- ✅ Copy & Paste Keyframes for reusing animation on different layers
- ✅ Changing the start time of layers to create a Stagger effect and make elements enter one after another
All these tools are part of After Effects’ core features, and learning them is essential for every motion designer. In fact, many professional projects are created using only these capabilities, and they form the main foundation of working with After Effects. 💡
When the Number of Layers Increases, Everything Changes! ⏱️
The problem arises when the project grows, and the number of layers increases. Imagine you need to apply exactly the same animation to 30 or 40 layers; then you have to create keyframes again for each layer, apply Easy Ease, adjust the start time, and go to the Graph Editor if needed. This means constantly repeating a set of similar tasks, which not only takes time but also increases the chance of mistakes. You might miss a layer, set a keyframe incorrectly, or create an inconsistent timing gap between layers. In reality, the main limitation is not After Effects itself; it is the high volume of repetitive work that consumes a significant portion of the project time on tasks with little creative value.
KeyFast: When Repetitive Tasks Become Just a Few Clicks ⚡
So far, we have seen that creating simple animations in After Effects is not difficult, but when the number of layers increases, we spend a lot of time doing repetitive tasks. This is where KeyFast enters the story.
KeyFast is a script for After Effects designed to speed up the animation creation process. This tool is not supposed to add new effects or strange and unusual features to After Effects; instead, it focuses on the same tasks that you do many times in almost every project. From creating basic animations to managing keyframes, adjusting layer timing, and applying Ease, everything can be done with a few clicks.
In fact, KeyFast is more of a workflow speed-and-optimization tool for motion graphics projects than an effect-creation tool. 🚀
Creating Animation with a Few Clicks 🎯
One of KeyFast’s main features is the ability to quickly create commonly used animations. Usually, to add a text or icon to the scene, you need to create several keyframes, change the Position or Scale value, apply Ease, and finally check the movement.
KeyFast automates these steps to a large extent and can create animations like the following with just a few clicks:
- Slide from different directions
- Fade In and Fade Out
- Scale
- Rotate
- Trim Paths
All you need to do is select the layer (s) you want and press the corresponding animation button. KeyFast automatically creates the keyframes and also applies the initial movement settings.
This feature saves a lot of time, especially for projects such as product introductions, educational videos, text animation, or social media content creation.
Animating Multiple Layers at the Same Time 👌
One of the biggest advantages of KeyFast is that it is not limited to a single layer.
Suppose you have designed an infographic with 20 icons, or you have a project that includes dozens of different text and Shape Layers. If you want to animate all these layers separately, you need to repeat a series of similar steps many times.
But with KeyFast, you only need to select all the layers so the same animation is applied to all of them. This means instead of several minutes of repetitive work, everything is done in a few seconds.
In addition to saving time, this method ensures all layers use exactly the same settings, resulting in a more consistent and professional final result.
Stagger: The Secret of Smooth and Professional Animations ✨
If you have paid attention to professional motion graphics, you have probably noticed that elements usually do not enter the scene at the same time. Texts, icons, or cards appear one after another with a short gap between them, making the animation feel more dynamic.
This technique is called Stagger.
Of course, creating Stagger in After Effects is not difficult, but when there are many layers, adjusting each layer’s start time can be tiring.
KeyFast does this automatically and can arrange layers or even keyframes one after another with regular time intervals. The result is an animation that looks more professional and organized without spending too much time.
Easy Ease and Overshoot Without the Hassle 🎈
One of the main differences between amateur and professional animation is how the elements move.
If keyframes are played linearly, the movement looks stiff and artificial. That is why we usually use Easy Ease at the start and end of the movement to make it smoother.
In some projects, Overshoot is also used to make the movement feel more natural, meaning the element moves slightly past its final destination before returning to its original position. This technique gives the animation a more dynamic feeling.
KeyFast has also made these settings easier. When creating an animation, you can automatically apply Easy Ease and even Overshoot, while also being given the option to customize their values.
Better Keyframe Management 🛠️
KeyFast is not just for creating animation; a significant part of its features is dedicated to faster keyframe management.
For example, you can:
- Align keyframes across multiple layers with the Playhead position.
- Copy and paste keyframes across multiple layers simultaneously.
- Time Reverse the keyframe order.
- Change the execution direction of Trim Paths.
- Apply Ease to selected keyframes or all keyframes of a layer.
Each of these features may not seem very impressive on its own, but when you use them many times in a real project, you realize how much they reduce extra clicks and repetitive tasks. In fact, the main value of KeyFast is exactly here; it lets you spend less time managing keyframes and focus more on designing and creating animation. 💡

A Few Tips to Get the Best Result from KeyFast 💡
If you decide to use KeyFast in your projects, these tips will help you reach your desired result faster and make the best use of this tool’s features:
- 🎯 Before starting the project, define your default settings. Set the Ease value, Overshoot, or Slide Distance once so you do not have to constantly move between settings while creating animations.
- ✨ For texts, icons, and information cards, definitely use Stagger. The sequential entrance of elements makes the animation look smoother, more professional, and more visually appealing.
- 🚀 Do not ignore the ability to apply animations to multiple layers at the same time. Instead of animating each layer separately, select several layers and apply the animation to all of them at once. This feature saves you a lot of time in crowded projects.
- 🎨 Use KeyFast to create the base of the animation and customize the details yourself if needed. Sometimes, with a few small changes to the keyframes or Graph Editor, you can create a completely custom and different result.
- 📚 Do not forget that KeyFast does not replace learning After Effects. The more control you have over concepts such as Easy Ease, Graph Editor, and keyframing principles, the smarter you can use this tool.
- 🎈 Do not overuse Overshoot. When this effect is used in the right amount, it adds more dynamism to the animation, but if it is overused, the final result may look crowded and unnatural.
- ⚡ Use fixed settings for repetitive projects. If you have a specific style for your brand animations or projects, keep KeyFast settings aligned with that style so all animations have a consistent, coordinated appearance.
Following these few simple tips helps you work faster and get the most out of KeyFast’s features. ✨
Is KeyFast Worth Trying? 🎬
If a large part of your After Effects projects includes text animation, icons, Shape Layers, infographics, or educational videos, you probably know well that a significant part of your time is spent on repetitive tasks. Creating keyframes, applying Easy Ease, adjusting layer timing, and organizing animations may not be difficult on their own, but when the number of layers increases, these simple tasks take a lot of your time.
KeyFast is designed exactly to speed up these steps. This script is not meant to design animations for you or add new features to After Effects; rather, it helps you handle routine, time-consuming tasks with a few clicks, so your workflow becomes smoother, and you have more energy for the creative parts of the project. 🚀
In the end, the real value of KeyFast lies not in the number of its buttons or features, but in the time it saves you across your projects. Maybe each time it only saves you a few minutes, but when you add up the time across dozens of projects, you realize how much it affects your speed, organization, and quality of work. If you work with After Effects regularly, KeyFast can become one of those tools that, after a while, becomes part of your usual workflow. ✨
Spend less time on repetitive tasks in After Effects. Learn about helpful tools that can speed up your workflow and keep your projects organized. Read the After Effects Tools guide today.



