

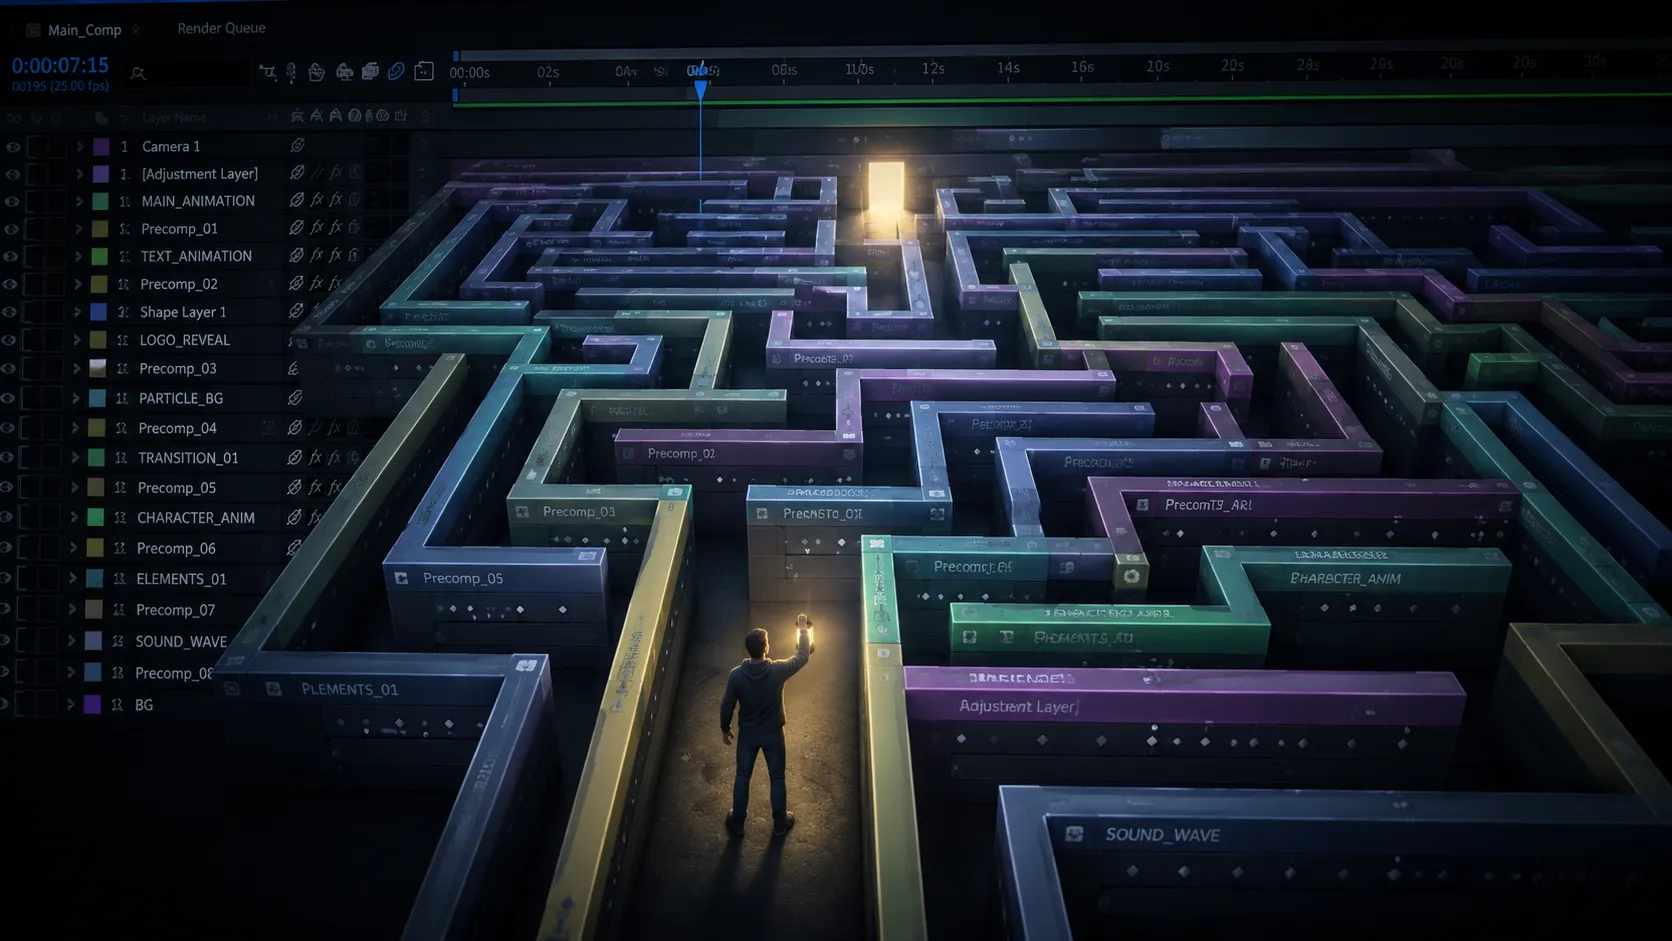
When After Effects Projects Start Feeling Like a Maze… 🎬
Are you someone who has used the SceneStasher Plugin by aescripts before? If you’ve been working with After Effects for a few years, you’ve probably reached that point at least once where, instead of designing, you were spending most of your time searching for layers and keyframes 😅 Especially in heavy projects filled with Precomps, different animations, and crowded timelines, finding a specific part of the project can turn into a separate project on its own. Sometimes it takes several minutes just to figure out which comp the scene you’re looking for is hidden inside.
This situation becomes even harder when you come back to an old project after a few weeks or even a few months. The client only wants a small change, but you have to rediscover the entire file structure all over again. You jump between dozens of layers, precomps, and animations until you finally find the section you need, and this simple process ends up taking a huge amount of your time and focus.
The reality is that in professional motion graphics projects, design isn’t the only thing that matters; project management is also a huge part of the job. The more complex projects become, the more important it is to have a clean and fast workflow. Because when less time is spent searching inside the timeline, more energy remains for creativity and design ✨

A Simple Idea That Can Save a Lot of Time ⏱️
One of the concepts that has recently become very popular in professional motion graphics tools is the ability to “bookmark” important parts of a project. In other words, it allows you to save important sections of the timeline, layers, or keyframes and instantly return to them whenever needed.
At first glance, this feature might seem very simple, but once you start working on real projects, you truly understand its value. Imagine building several different transitions for a commercial project or animating a complex character. Naturally, you’ll need to return to those sections multiple times for adjustments and refinements. If you have to search through dozens of comps and hundreds of layers every single time, your focus completely disappears.
Tools that simplify this process actually help reduce the time spent searching and increase the time spent being creative ✨
How Do We Solve This Problem Without Plugins? 🤔
Before timeline management tools became popular, most motion designers tried to keep their projects organized using After Effects’ built-in features. The truth is, if a project structure is arranged cleanly from the beginning, even these simple tools can be extremely helpful. Especially in medium-sized projects or files that aren’t overly complicated.
Over time, most of these methods became part of the daily workflow of animators, and many people still use them today:
- Using Label Colors to separate layers
- Clean and organized naming for layers and Precomps
- Adding Markers to important timeline points
- Organizing different project sections inside Precomps
- Using Shy Layers to keep the timeline cleaner
- Organizing the Project panel with different folders
These techniques help create a cleaner project structure and, at least in the early stages, make different sections easier to find.
The Point Where Projects Slowly Become Unmanageable 😵💫
The main problem usually starts when projects become larger and more complex. The more comps, layers, and animations you add, the harder everything becomes to manage, and traditional methods gradually lose their original efficiency. After a while, markers become excessive, color systems become repetitive, and finding a specific animation once again turns into a time-consuming task.
On top of that, After Effects doesn’t natively provide a smart way to save layer and keyframe selections or quickly jump between important project sections. That’s why, even if a project is organized very cleanly, heavy files still require a significant amount of time spent searching through timelines and Precomps. And this is exactly where professional workflow management tools can make a huge difference ✨
What Exactly Does SceneStasher Do? 🚀
SceneStasher is a plugin for Adobe After Effects designed to simplify the management of crowded projects. Instead of focusing on animation creation itself, this tool focuses on speeding up workflows and reducing wasted time inside the timeline. Its core idea is very simple: allowing you to save important layer and keyframe selections so you can instantly reopen the exact same section whenever needed.
When working on heavy projects, there are usually sections you constantly need to revisit — such as a complex transition, a logo animation, part of a motion typography sequence, or even character controls. Normally, you would have to navigate through multiple Precomps and manually locate the correct layers and keyframes again. But SceneStasher turns this entire process into a single click ✨
Bookmarking Important Project Sections 🎯
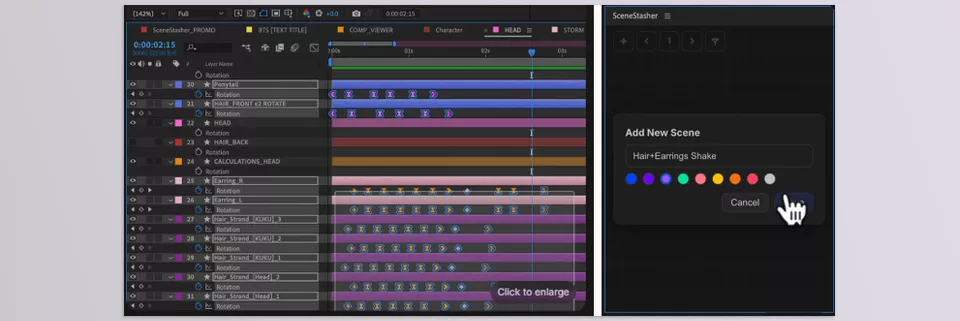
The most important feature of SceneStasher is the ability to save any part of your project as a bookmark. This includes:
- Selected layers
- Keyframes
- Timeline position
- Even the related comp
All of these can be stored inside a single button.
For example, imagine creating an Intro sequence inside a project that contains multiple layers and animations. Instead of searching through the project every time, you simply click the Intro button, and SceneStasher instantly takes you directly to that exact section.
This becomes incredibly valuable in projects containing dozens of Precomps and hundreds of layers, where it can save a huge amount of time ⏱️
Smart Navigation Between Precomps
One of SceneStasher’s most interesting features is fast navigation between nested comps. If you’ve worked on professional After Effects projects before, you probably know that sometimes a layer or animation gets buried inside multiple Precomps, turning the search process into an exhausting hunt 😅 Especially in projects with complicated structures, constantly opening and closing comps can completely destroy your focus.
SceneStasher simplifies this process dramatically by directly opening the exact comp and layers you need without requiring manual searching. This helps reduce confusion between panels and timelines, allowing you to focus more on the actual design work. In commercial projects, music videos, motion branding, or heavy studio files, this feature truly proves its value 🎯
A Feature That’s Extremely Useful for Retiming 🎞️
One of the long-standing issues in After Effects is that moving groups of animations around has never been particularly clean or easy. When a sequence contains many layers and keyframes, changing the timing can easily break the entire animation structure.
For example, imagine a client asking you to delay an entire transition by just a few frames. On the surface, it sounds like a simple request, but when multiple layers and animations depend on one another, manually moving everything can become time-consuming and error-prone.
SceneStasher simplifies this problem significantly. It allows you to move groups of layers and keyframes together as a single block without breaking the timing relationships between elements. For artists who work with precise timing, this feature can genuinely feel like a lifesaver 🙌
Why Is This Tool Attractive for Team Projects? 👥
One of the interesting things about SceneStasher is that it isn’t only designed to improve personal workflows; it can also make collaboration between team members much easier. In motion graphics projects, especially when multiple people work on the same file, understanding the project structure itself can take a huge amount of time. Sometimes even opening an old project without explanation from the original creator feels like solving a puzzle 😅
When a project moves between several animators or motion designers, the next person usually has to spend a lot of time locating sequences, major animations, or important timeline sections. But the buttons created inside SceneStasher act like a roadmap, instantly showing where every important part of the project is located. This helps team members understand the file much faster and spend less time getting lost inside Precomps.
In practice, this means that simply by reading the button names, the next person can quickly understand what each sequence is for, which animations are the core parts of the project, and which sections need to be edited. In studios, team-based projects, or even files that need to be reopened months later, this can save a huge amount of time and make the entire workflow smoother and more professional 💡
A Few Tips to Improve the Experience ✍️
SceneStasher becomes most effective when used with a clean project structure from the very beginning. A few simple habits can help keep the panel organized while making future revisions much faster.
Save Only Important Project Sections
If you create buttons for everything, the panel itself eventually becomes cluttered and confusing 😅 It’s better to save only the sequences or animations you’ll actually need to revisit multiple times.
Organize Buttons Based on Project Flow
It’s helpful to arrange buttons according to the structure of the project — for example, starting from the Intro and ending with the Outro. This makes the panel much easier and faster to understand.
Use Clear Naming for Team Projects
If the file will be shared between multiple people, button names should remain obvious so anyone can immediately understand their purpose 💡
Check Animations Before Retiming
When moving an entire animation block, it’s always a good idea to check Parent relationships and Expressions first to ensure nothing breaks after timing changes.
Overall, the more organized and intentional your use of SceneStasher is, the faster and more professional your project management becomes. Especially in heavy files, these small details can save a huge amount of time and energy ✨
A Tool for Getting Less Lost Inside Projects 🎯
At first glance, SceneStasher might look like a small timeline management tool, but once you start working on real-world heavy projects, its value becomes much more obvious. Especially in files filled with Precomps, numerous layers, and complex animations, constantly moving between different project sections can consume a huge amount of time and energy 😅
SceneStasher does not aim to replace your design and creative skills. Rather, it aims to make your workflow within After Effects as smooth as possible. Instead of constantly searching for specific layers or elements within your projects, you can navigate to your desired elements much faster. This is vital for those who are frequently working on projects with clients or files with many elements.
SceneStasher takes away time managing your project and allows you to spend more time focusing on your ideas and the design itself 🎨. Perhaps for this very reason, it has become an essential tool within the workflows of motion designers today.
If you want to get better at After Effects without making things complicated, our After Effects Tools guide is a great place to start. It explains useful tools in a simple and easy-to-follow way that actually helps you improve your workflow.



