

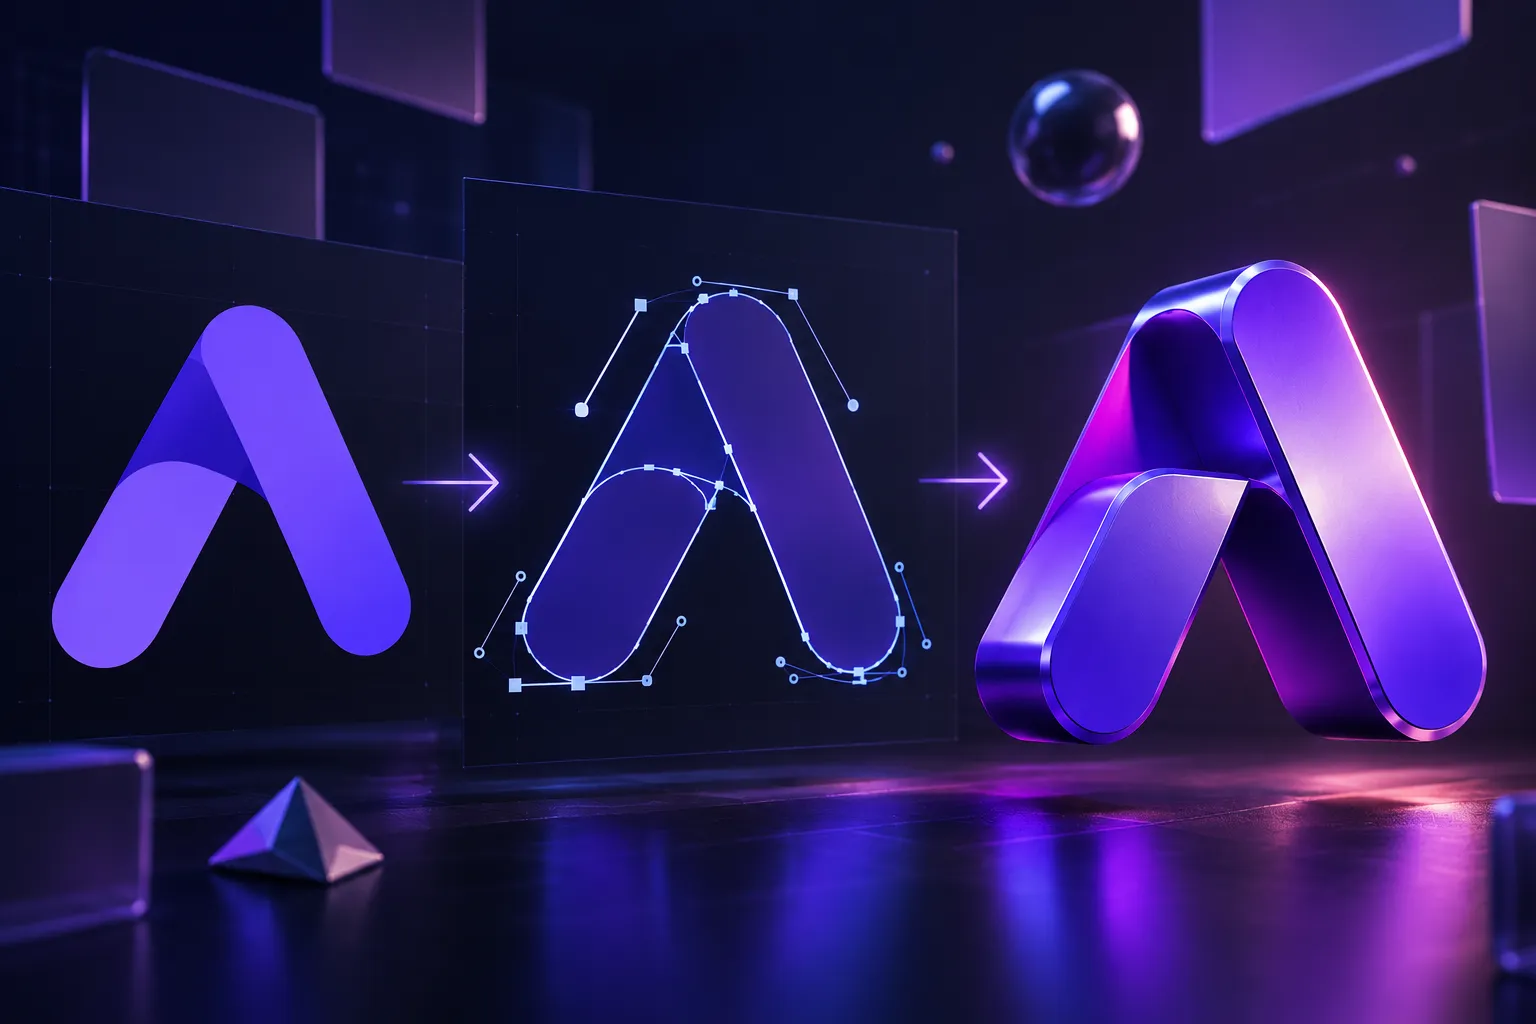
When 2D Designs Aren’t Enough for the Project 🎬
Are you aware of what the STACK3D Plugin by aescripts does? You’ve probably had a vector logo, icon, or even simple text and wanted to turn it into an eye-catching 3D object with real depth. The idea sounds simple, but doing it inside After Effects usually involves lots of small, repetitive steps. 🎨
Converting to Shape, changing the Anchor Point, creating the Extrude, adding materials, and organizing layers are steps repeated in every project. With complex logos or multi-layered designs, these steps can become very time-consuming. ⏳
Preparation speed matters as much for motion graphics, promotional videos, sports graphics and branding as the design itself. A system that can prepare these items quickly and efficiently will give you more time to spend creating innovative animations rather than performing repetitive tasks. ✨

What Does Creating a 3D Object in After Effects Mean? 🎬
In After Effects, you can convert a 2D design such as a logo, text, or vector file into a Shape Layer and give it volume using Advanced 3D. The result is a 3D object with realistic lighting, materials, and rotation—without moving into modeling software like Cinema 4D.
This technique has many applications:
- Creating 3D logos for branding
- Designing bold, modern 3D titles
- Producing sports and broadcast graphics
- Creating 3D icons and objects for motion graphics
- Bringing infographics and user interfaces to life
The main advantage of this method is that everything stays inside the After Effects timeline. That means you handle both design and animation in one environment, making project editing much faster.
How Can You Do This Without a Dedicated Tool? 🛠️
If you want to use After Effects’ default features, almost every step is possible, but you have to perform each one separately.
First, you convert the AI or SVG file into a Shape Layer. Then set the composition to the Advanced 3D Renderer, adjust the Extrusion Depth for each layer, modify the materials, and finally create the Anchor Point and Null Controller yourself.
Default Tools Used
- Create Shapes from Vector Layer for converting vectors into Shapes
- Auto-Trace for converting images into vector paths
- Advanced 3D Renderer for creating 3D depth
- Null Object for controlling groups of objects
- Material Options settings for lighting and reflections
The problem is that complex logos or multicolored designs can create many layers. Separating colors, adjusting the center of rotation, fixing broken paths, and applying materials to dozens of Shapes takes a lot of time and also increases the chance of errors.
STACK3D: A 3D Production Pipeline Inside After Effects 🚀
STACK3D is a professional panel for After Effects that handles the entire process of converting 2D artwork into 3D objects within a single environment. Instead of moving between tools for vector conversion, extrusion, material adjustment, Null creation, and layer organization, you can manage all these steps from one Dockable panel.
This tool is designed for projects such as 3D logos, dimensional titles, sports graphics, broadcast packages, and anywhere a flat design needs to become an animatable 3D element.
Smart Vector, Image, and Text Conversion 🎨
The first step is always preparing the file, and STACK3D handles this part intelligently. The panel automatically detects the layer type and applies the best conversion method accordingly.
If the file is AI, EPS, SVG, or PDF, it is converted directly into a Shape Layer. If it is a PNG, JPG, or PSD image, it opens After Effects’ Auto-Trace window with one click so you can create vector paths. Even layers containing Masks can be converted directly into clean Shape groups, and text layers are also converted into Shapes and prepared for extrusion.
The advantage is that you don’t need a different workflow for each file type; the panel automatically detects the layer type.
Split by Color: Automatic Color Separation 🌈
Professional logos and illustrations are usually made up of several different colors. Normally, you would have to manually select each section and place it on separate layers, but the Split by Color feature handles this automatically.
STACK3D groups all Shapes by Fill color and creates a separate layer for each color. It also labels each layer with a three-letter prefix and the color name, so the project timeline stays organized and manageable.
This feature saves a tremendous amount of time on large projects containing dozens of colors and hundreds of Shapes.
Break: Each Shape on Its Own Independent Layer 🧩
Sometimes separating by color isn’t enough, and you need to animate each piece of the design individually. The Break tool is built specifically for this purpose.
This feature extracts all Shape Groups inside a layer and converts each one into an independent Shape Layer. At the same time, it preserves the Center Anchor settings so every piece has the correct Pivot from the beginning.
For example, if a club logo consists of 40 pieces, you’ll have 40 independent layers ready for animation within seconds.
Make 3D: Create Real Volume with Full Control 📦
STACK3D’s main feature is the Make 3D button. With one click, all selected Shapes are brought into After Effects’ Advanced 3D Renderer system and transformed into real 3D objects.
In this section, almost all geometric parameters can be adjusted:
- Extrusion Depth for determining the object’s thickness
- Bevel Style for choosing the type of edges
- Bevel Size for controlling how rounded or sharp the edges are
- Hole Bevel for creating edges around the internal holes of letters and shapes
- Complete Geometry settings without needing to enter each individual layer
The important point is that all these settings are applied to multiple layers simultaneously, so you don’t have to edit each Shape separately.
Professional Materials and Preset System ✨
Once you’ve created the volume, the 3D appearance becomes important. STACK3D provides a complete panel for controlling Materials and manages all the main lighting and reflection properties from one place.
You can adjust the following:
- Ambient for ambient light intensity
- Diffuse for how the surface receives light
- Specular for highlight strength
- Shininess for controlling how glossy the surface appears
- Metal for creating a metallic appearance and stronger reflections
The best part is that you can save both Geometry and Material settings as Presets and load them again. This means that if you always use a particular style for branding logos, you only need to create it once and then use it in future projects with a single click.
Independent Colors for Four Object Surfaces 🎭
Unlike After Effects’ default settings, which usually apply a single material to the entire object, STACK3D allows each part of the volume to have its own color.
Four completely independent surfaces can be controlled:
- Front for the front surface
- Bevel for the edges
- Side for the extruded sides
- Back for the rear surface
In addition, the Detect Colors tool identifies the colors present in the selected layers and displays them in a palette. You can then apply the same color to any surface with a single click or use the Sel buttons to select all layers containing that color throughout the entire composition.
This feature is extremely useful for multicolored logos and designs with a distinct visual identity.
Anchor Point and Null Controller Exactly at the Center 🎯
One common problem when creating a 3D logo is an improperly positioned Pivot. If the center of rotation isn’t accurate, the entire logo moves unevenly when you rotate or scale it.
STACK3D first calculates the Anchor Point of each layer based on its actual bounds, without changing the layer’s position. It then places the Z-axis exactly at the center of the extrusion depth so rotation happens from the center of the volume rather than from the front surface.
Next, a Null Controller is created based on the Union Bounding Box of all selected layers. Position this Null at the geometric center of the entire Artwork, inherit the layers’ Label color, and place it directly above them in the timeline so you can control the entire group with a single object.
Clean Palette: Repair Problematic Paths 🛠️
Real-world vector files aren’t always clean, especially files imported from Auto-Trace or different sources. Extra points, broken curves, and excessive vertices can cause poor rendering or even extrusion errors.
The floating Clean Palette provides several dedicated tools for fixing geometry:
- Simplify: Removes unnecessary vertices and reduces path complexity
- Smooth: Generates smooth Bezier handles to turn broken lines into flowing curves
These tools are specifically designed for Auto-Trace Artwork and noticeably improve path quality before converting it into 3D.
Stack Sequence: Every Step with One Click ⚡
If you’re always repeating the same steps, the Stack Sequence feature can become the most useful part of the panel. Here, you can specify which operations should run one after another.
The selectable steps include:
- Make Shapes (convert to Shape)
- Split by Color (separate colors)
- Make 3D (convert to 3D)
- Add Null Controller (create a central controller)
- Add Environment Light (add ambient lighting)
Then you simply click the Stack button, and STACK3D runs the entire 3D production pipeline in sequence—from the initial 2D file to a fully prepared composition ready for animation.
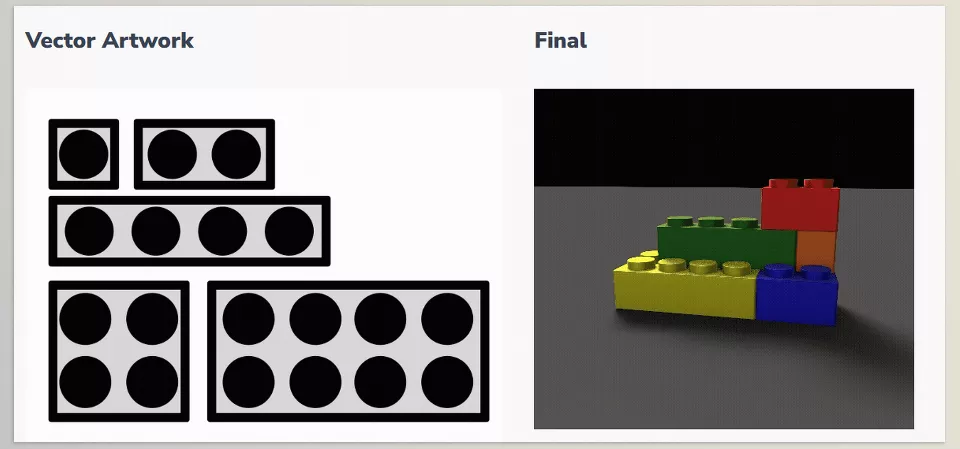
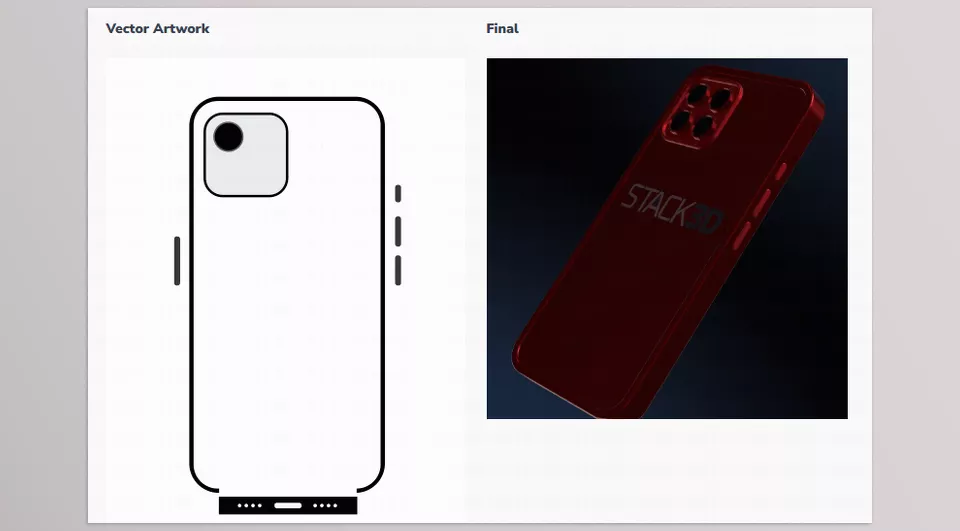
Ultimately, what sets STACK3D apart from an ordinary tool isn’t just its ability to extrude objects; it’s the way it integrates every stage of creating 3D objects inside After Effects. From file conversion and layer organization to coloring, materials, path cleanup, and controller creation, it handles everything in a fast workflow, so you spend less time preparing and more time creating animations.
A Few Techniques for More Natural-Looking Results ✨
Once the 3D model is ready, the difference between an ordinary result and a professional one usually comes down to the details. With a few simple adjustments inside STACK3D, you can make the object’s depth, lighting, and movement look more natural and visually appealing.
- Choose a subtle Bevel: Overly sharp edges usually look artificial; a subtle Bevel creates a more realistic and professional appearance.
- Make the sides slightly darker: A small difference between the Front and Side helps make the object’s volume more visible.
- Use Simplify before Extrude: Clean paths render faster and produce smoother, more accurate edges.
- Control all components with a Null: For rotation, scaling, or a logo entrance animation, animating a single Null is much more organized than parenting dozens of layers.
- Create Material Presets: If you have a consistent style for your projects, saving Material and Geometry settings can dramatically speed up the start of future projects.
These tips may seem simple, but in real-world projects, these are exactly the details that make a 3D logo look cleaner, more natural, and more professional.
Fast 3D Creation Without Leaving the Timeline 💡
When every project contains multiple 3D logos, icons, or titles, the thing that takes up most of your time isn’t the design—it’s the preparation. Moving between menus, adjusting materials, fixing paths, and organizing layers can consume hours of production time- time that could instead be spent on ideation and animation. ⏱️
STACK3D takes care of that with a complete solution. Once you choose your image or vector file, all the way to creating your final 3D object with materials, colors, controllers, structure, and more can all be done within one single interface. This lets you reach your final product faster, while staying in After Effects and avoiding redundant steps. 🚀
If you are involved in motion graphics, promos, broadcast, or branding, STACK3D is not just a plugin for extrusion but an investment in the quality and speed of your creative process. Every time you convert your 2D asset into a professional 3D asset in just a few minutes you will understand the true value of STACK3D. It saves time and lets you focus on what you do best. ✨
Want to learn more about the different types of After Effects tools? Our After Effects tools guide covers everything from plugins and scripts to extensions, presets, and other workflow-enhancing tools, helping you understand what they do and when you might want to use them.



