


When Layers Come to Life!
Have you come across the AutoSway Plugin? Have you ever wanted your layers in a video to sway like leaves in the wind or a character’s hair to really move and feel alive? That smooth, natural motion that makes scenes feel real? But when you try to do it with manual keyframes, it’s not only time-consuming and exhausting, the result can also end up looking stiff and unnatural!
But what can we do? How can we make layers move and feel alive in a natural, effortless way without spending time and energy fighting with keyframes? Thankfully, there are solutions that cut down on time, complexity and even a bit of tedium that get your project moving the way you’ve always envisioned it.

When Everything Was Done Inside After Effects
You know, before tools like AutoSway Plugin existed, if you wanted layers to sway like leaves in the wind or a character’s hair to move naturally, everything had to be done entirely in After Effects. You could use the Puppet Pin Tool or create every single keyframe manually. Even Expressions could help make the motion look a little more natural.
But honestly, the challenges were plenty:
- Adjusting each keyframe takes a lot of time
- Coordinating multiple layers together is tricky and cumbersome
- And to make bends and sways look natural usually requires technical knowledge and a lot of patience
AutoSway: Natural Sway, Hassle-Free
This is where AutoSway Plugin comes into play and makes things truly easy. Instead of spending hours wrestling with keyframes or writing complex Expressions, this tool creates natural swaying motion on layers with just a few clicks. Natural motion, layer coordination, and flexible settings—all accessible in one place.
Key Features:
- Puppet Pin Mode: Easily sway single layers. Just apply Puppet Pins, a few clicks, and natural motion is created.
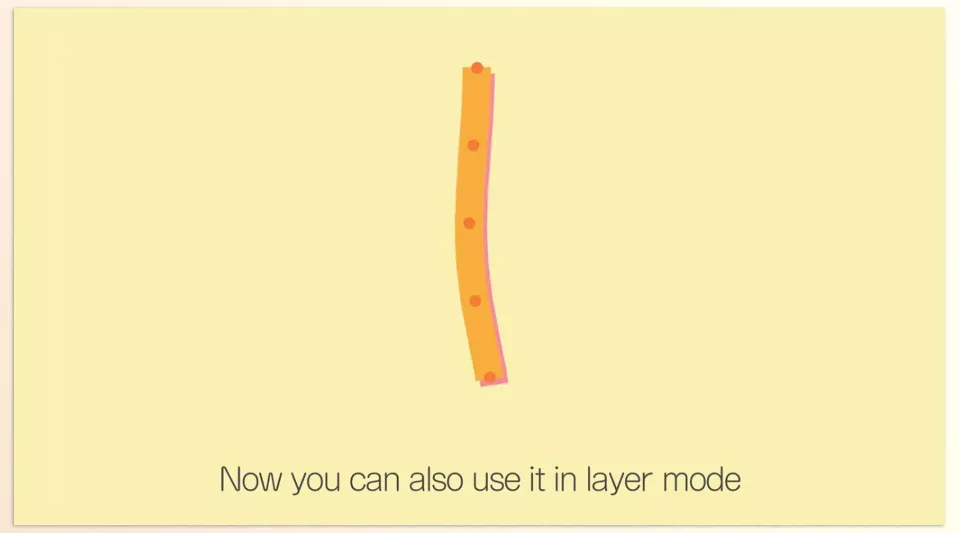
- Layer Mode: Move multiple layers at once, even in 2D or 3D, without manually creating every keyframe.
- Bake / Unbake: Convert motions to keyframes to lighten your project, while still allowing edits or reverting back.
- Decay & Bend Control: Adjust intensity and speed so layers gradually and naturally start swaying.
- Layer Split & Copy Tools: Manage multiple layers quickly and easily, without the hassle of adding or syncing layers.
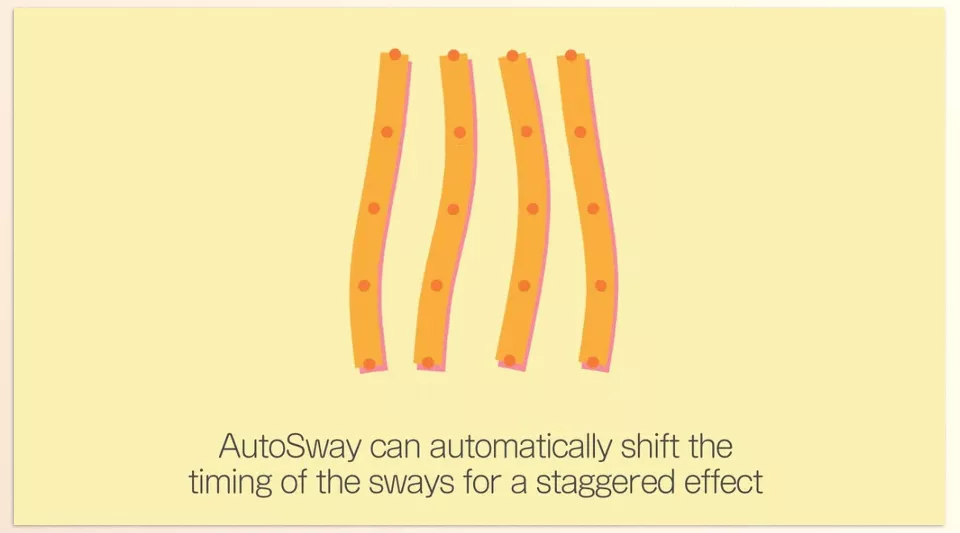
Practical Example: Imagine you have a multi-layered flag. With manual keyframes, you’d need to sync each layer individually and simulate real wind motion. With AutoSway Plugin, a few clicks make all layers sway in the wind together, producing a completely natural and coordinated result.
Pro Tips for More Natural Motion
To make motions really look natural and appealing, a few small but crucial tips can always help:
- Use the SwayControl Layer: Adjust the intensity and speed of each layer’s sway for full control over the motion.
- Combine Puppet Pin & Layer Mode: For complex or multi-layered motion, combining these modes ensures smooth and coordinated movement.
- Bake Your Motions: Baking motions makes your project lighter and reduces system strain without losing flexibility for edits.
- Set Decay Properly: Correct Decay settings make motions start gradually and naturally, conveying a real sense of wind or sway to the viewer.
Following these simple tips, even the most complex motions can appear easy, fast, and natural, making your projects look more professional than ever.
Why AutoSway is Worth Trying
Natural layer motion can truly bring life and soul to your animations and motion graphics. When layers sway smoothly and naturally, even the simplest scenes feel real, engaging your audience more deeply. But creating such motion with manual keyframes or native After Effects tools can be extremely time-consuming and tiring, and sometimes the results don’t look entirely natural.
This is where AutoSway Plugin shines. This tool not only makes the process fast and simple, but also brings multi-layered, complex projects to life effortlessly. You can sway multiple layers simultaneously, precisely control motion intensity and speed, and even bake motions to lighten the project without losing flexibility or editability.
With AutoSway Plugin, there’s no need to spend hours wrestling with keyframes or worrying about syncing multiple layers. Even the most complex motions are easy to create and manage, and the results look completely natural and professional. If you want your motion graphics to be dynamic, natural, and engaging—while saving time—trying AutoSway is truly worth it and can bring a major transformation to your workflow.
Want to get a deeper grasp of After Effects and its add-ons? Don’t miss our ultimate guide to AE tools.



