

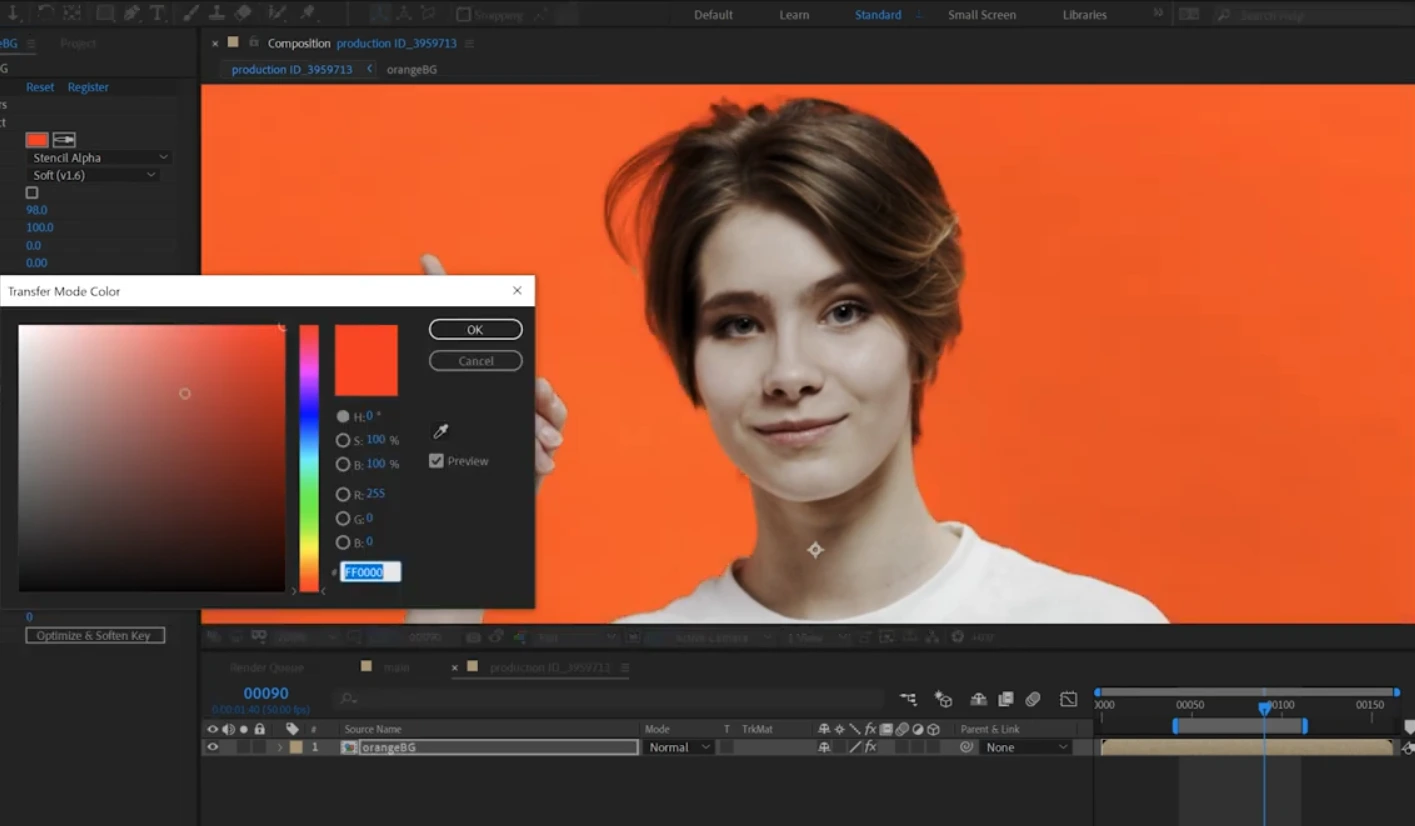
🎨 When Colors and Masks Are in Your Hands
Are you experienced in using the Composite Brush Plugin? Have you ever wanted to isolate a specific part of an image or video but felt that your tools weren’t enough? For example, when you want to precisely separate an actor’s hair from a white background, or find small parts of an image that need color correction. Given default tools, it could take ages to even pick a color that you want to paint, and it will probably not be very natural.
Now think about doing that in a scene with smoke, flames, and glass that is not entirely transparent. These pixels are ephemeral and chaotic; trying to cut them out or change them with relative ease is a big ask. Every extra move can ruin other parts of the image and require rework.
Even when you just want to change the color of a small part of the image, standard tools like manual masks and After Effects Color Correction have limitations. You can’t always precisely select and adjust exactly what you want, especially when similar colors exist in the background.
That’s why having a tool that can easily select and adjust precise parts of an image without damaging the rest is a real necessity for any designer or motion graphics artist—a tool that puts control over color, transparency, and edges in your hands, turning a difficult, time-consuming task into a quick and easy process.

🛠️ Old Methods and Limitations
Before professional tools existed, when we wanted to isolate a specific part of an image or video or correct its color, we had a few common options:
🔹 Simple Keying
Tools like Color Key or Keylight allowed you to remove a specific color from the background.
Problem: When colors were similar, or parts were semi-transparent, like hair, smoke, or glass, the result wasn’t precise or clean.
🔹 Manual Masks and After Effects Brush
This method required carefully brushing over every part of the image to isolate unwanted areas.
Limitations:
- Time-consuming and tedious.
- Any small change required redoing the work.
- Hard to control semi-transparent details.
🔹 Adjustment Layers
This method allowed color changes, but precise control over specific parts of the image was difficult.
Problem: Changes sometimes affected other parts of the image, resulting in unnatural outcomes.
Old methods like simple keying (Color Key or Keylight), manual masks with the After Effects brush, or adjustment layers are still widely used. But the reality is, these methods come with a lot of limitations.
First, they are very time-consuming. Especially when dealing with complex details like hair, smoke, or semi-transparent glass, the result usually isn’t as clean as you want. Even a small change in the image can force you to redo all masks and adjustments from scratch, which is exhausting.
That’s why many designers were looking for a tool that is faster, more precise, and more flexible—a tool that gives full control over color, transparency, and edges, transforming tedious, time-consuming work into an enjoyable and easy process.
✨ Composite Brush Plugin: Easy Work, Professional Results
When working with images or videos, there are always parts that need precise selection and correction—like semi-transparent hair, smoke, fire, or parts of the background where you want to adjust color or control transparency. Composite Brush Plugin handles all of this effortlessly, giving you full control over details. You can quickly isolate any part of an image, adjust its color, and keep edges precise and natural.
🔹 Quick Color Selection with the Brush
With just a few brush strokes, you can select any part of the image. Even areas you don’t want in the selection can be removed. This means you no longer need to spend hours on manual masks and can precisely separate complex details like hair or smoke.
🔹 Color and Transparency (Alpha) Adjustment
After selecting the desired area, you have full control over color and transparency and can adjust anything as you like without affecting the rest of the image.
- Change Hue: Allows you to adjust the main color of the selected area. For example, if a character’s hair is brown and you want it slightly red or golden, Hue lets you adjust it precisely without affecting the background.
- Adjust Saturation: Controls color intensity. You can make colors more vivid or subtle, which is useful for keeping a natural feel or directing visual focus.
- Change Luminance: Adjust the brightness of the selected area. Make hair or smoke brighter or darker to match the scene lighting and maintain realism.
- Increase or Decrease Alpha / Restore RGB/RGBA: Controls transparency of the selected area. You can adjust transparency or restore everything to its original state without damaging other parts. This provides complete freedom to adjust color and transparency without worrying about ruining details.
🔹 Advanced Masks and Selection Modes
Composite Brush Plugin offers multiple selection and masking modes, each designed for specific situations, allowing precise and natural edge control.
- Hard: Ideal for sharp, well-defined objects. Provides clear, crisp selections without losing detail.
- Medium: Softens edges slightly, suitable for regular image parts. Makes selections appear natural without harsh lines.
- Soft: Very gentle, perfect for special effects or very soft edges. Useful for blending selected areas with the background.
- Hair Mode: Designed for hair, smoke, glass, or any semi-transparent element. Best for very sensitive details, ensuring edges remain natural and precise.
🔹 Edge Control with Blur and Choke
Tools to make your selections blend naturally with the background.
- Blur: Softens mask edges, making transitions smooth and realistic.
- Choke: Shrinks edges to maintain their true size, useful for fine details like strands of hair or smoke.
- Matte Invert: Inverts the mask selection—selected areas become inactive, leaving the rest active.
- Matte High / Matte Low Level: Controls edge transparency. High makes edges lighter and softer; Low makes edges stronger and more defined.
🔹 Professional and Advanced Options
Composite Brush Plugin also offers advanced tools for full color and transparency control, designed for complex projects.
- Transfer Mode: Blend or replace colors in the selected area without affecting other parts.
- Precision: Allows accurate selection of fine details and similar colors, ideal for hair, smoke, semi-transparent glass, or delicate areas.
- Stencil Alpha / Silhouette Alpha: Control transparency of selected areas. Stencil Alpha removes transparency in the selected area; Silhouette Alpha keeps only the selected area visible. Perfect for motion graphics and complex effects.
Imagine you have a video of a character with semi-transparent hair and a busy background. With the Composite Brush Plugin, you can precisely isolate the hair, adjust color and brightness, keep edges smooth and natural, and achieve a clean, professional result without ruining other parts or redoing your work.
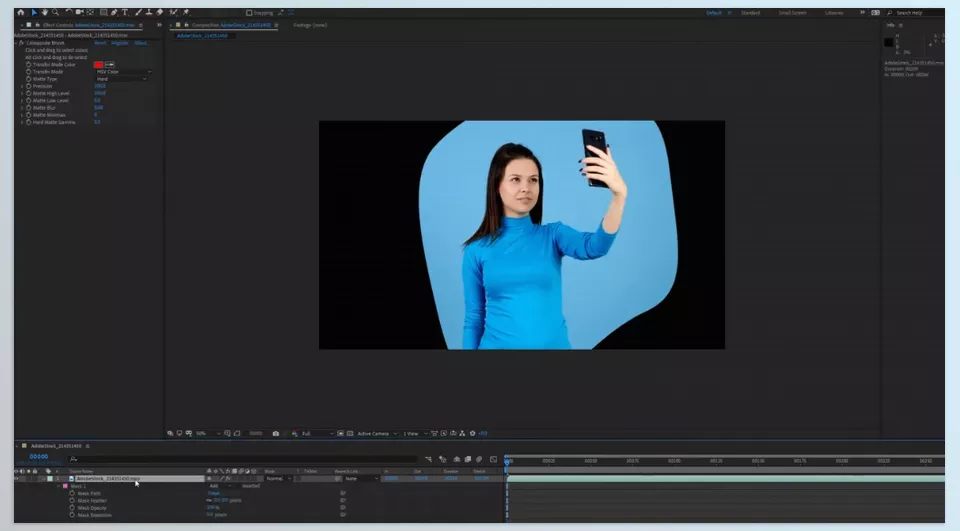
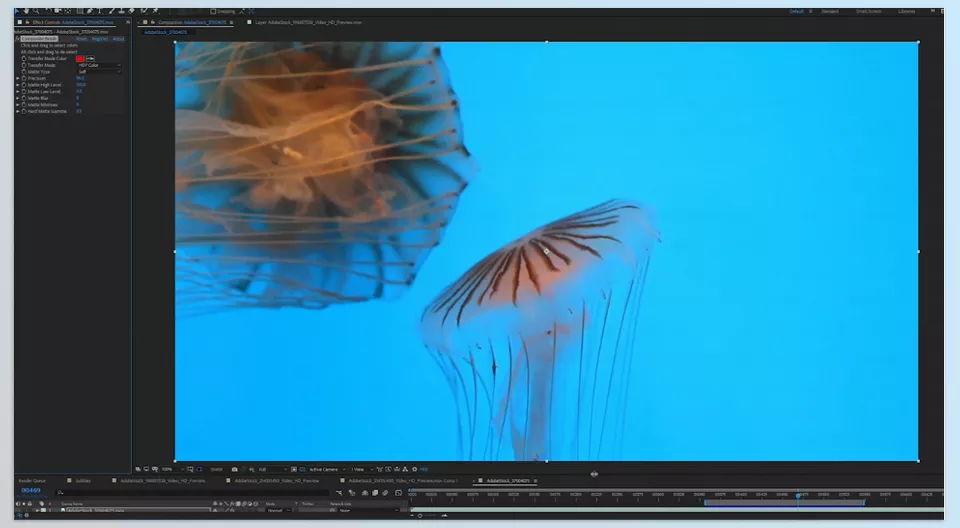
💡 Pro Tips for Better Use
When you want to work with the Composite Brush Plugin professionally, it’s important to know how to achieve the best results quickly and cleanly. This tool offers many features, and following a few simple tips can make your workflow much easier and more natural. By keeping these tips in mind, you can have full control over sensitive details like hair, smoke, or semi-transparent glass, ensuring that edges and colors appear precise and professional.
- Start with a Few Short Strokes: Begin with a few brush strokes. Fewer strokes lead to faster processing and higher precision. Too many long strokes slow processing and increase selection errors.
- Use Hair Mode for Hair, Smoke, and Glass: Hair mode keeps edges soft and accurate, creating natural effects. Minimize negative selections for speed and precision.
- Order of Effects Matters: Composite Brush Plugin uses the original image color, so earlier effects won’t interfere. Apply Blur or Distort after Composite Brush for best results.
- Experiment: Each project is different. Test different mask modes, Blur, Choke, and Alpha settings to achieve natural, professional results.
These suggestions make the use of the Composite Brush Plugin quick, accurate, and fully in control of color, transparency, and hard/soft edges. A little test run makes sure that even the most complicated pieces are natural and one-commissioned for quality, professional, reliable work. No stress. No revisions.
💡 Every Detail Is in Your Hands
The Composite Brush Plugin gives animation designers and motion graphics professionals precise control over color, transparency, and edges. There is no more relying on keying and spending hours painting or adjusting complicated masks; in a matter of brush strokes, the area is masked and ready for fixes and coloring.
It works best for delicate semi-transparent pixels such as hair, smoke, glass, and lighting. The subpixel masks and selection modes are made to work with the edges as they are, which keeps everything edge natural for a complete professional effect.
The Composite Brush Plugin will make your animation and motion graphics work quicker and more professional. Adjusting color is easier, controlling transparency is effortless, and softening edges is done with precision and ease. Areas that used to be frustratingly complicated now become reliable and fun.
If you’ve ever felt lost in the sea of After Effects tools, our full article about AE Tools will simplify everything and show you exactly how to use plugins and add-ons to speed up your workflow.



