

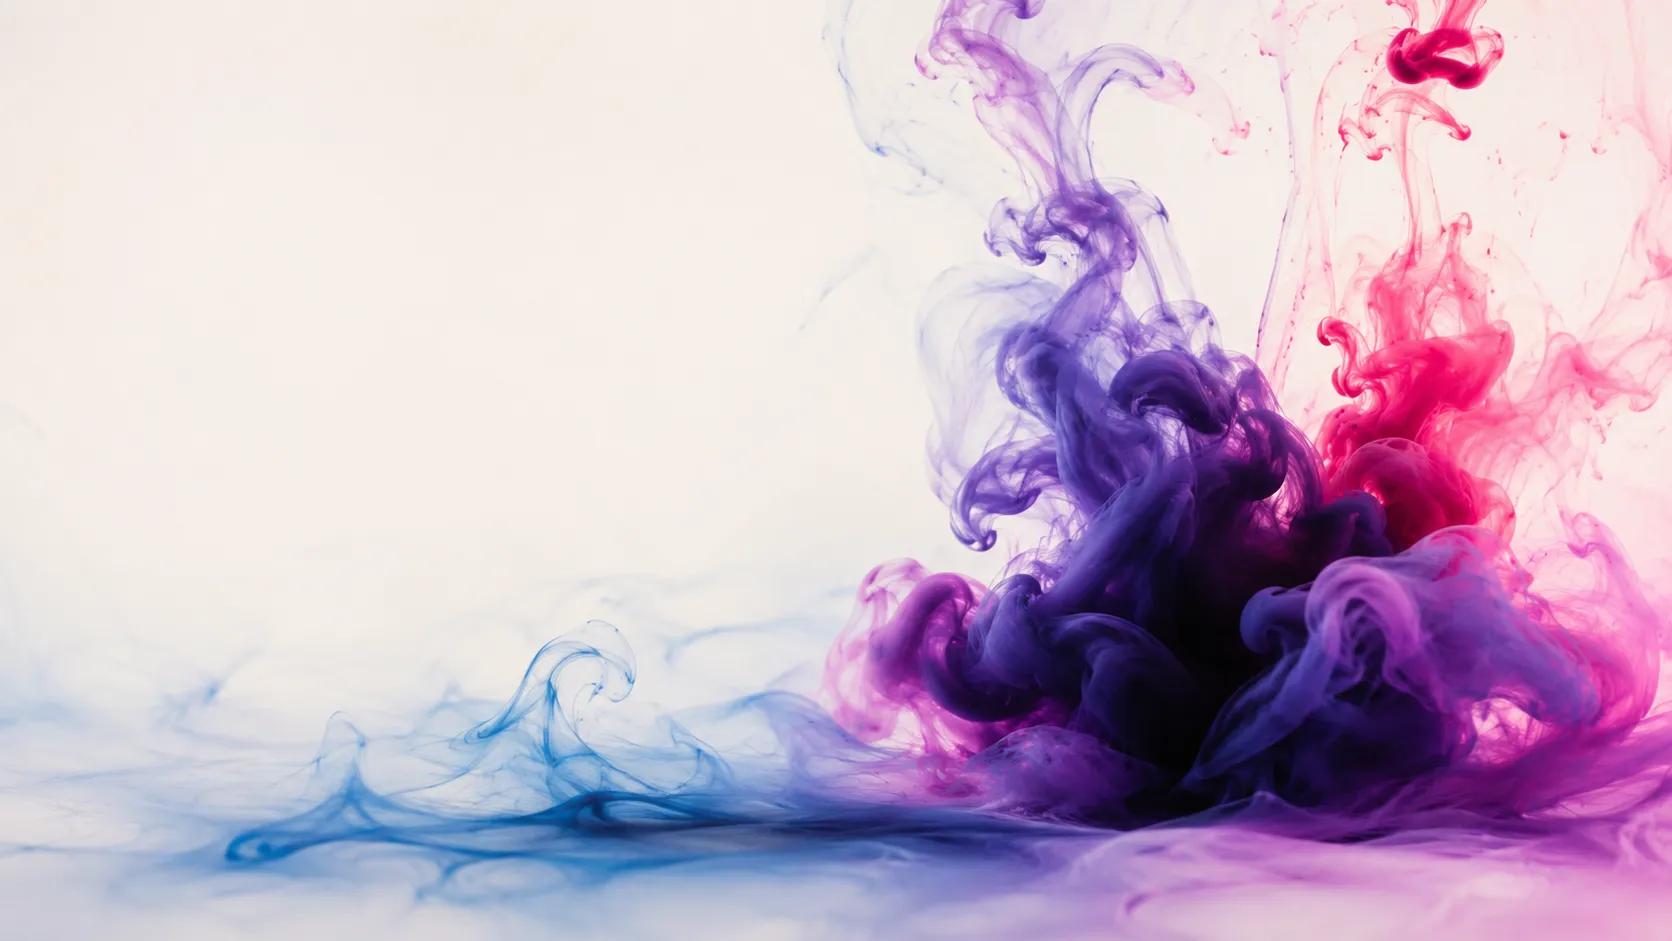
✨ A Simple Effect That Has Always Been Tricky
Have you ever explored creating effects with the InkBloom Plugin by aescripts? Some effects in motion graphics look very simple on the surface, but when you try to build them from scratch yourself, you realize the process is much more complicated than it seems. Ink spreading is exactly one of those effects — a soft and natural-looking effect that appears smooth and effortless in the final result, while hiding a huge amount of settings and layered effects behind the scenes.
When this effect is done properly, it creates a very realistic, organic feeling, as if the color is genuinely moving and spreading within the frame. But achieving that natural look is not easy at all, because you’re basically trying to simulate the behavior of liquid in a digital environment, and that brings a lot of small details into the process.
The main issue inside After Effects is that you usually have to combine several different effects together just to get a decent result, and even then, you still don’t always have full control over how natural the movement feels. A lot of the time, the final output still feels slightly different from what you originally had in mind.

💧 What Makes Digital Ink So Appealing?
At its core, we’re talking about something very simple: color moving through space. But the interesting part is that when this movement is done correctly, the image stops feeling dry and artificial and suddenly feels much more alive and organic.
These types of effects are mostly useful in projects where you want to create an artistic or emotional atmosphere. For example: soft backgrounds, transitions between scenes, or even commercial videos intended to create a specific mood. The main appeal is exactly this idea of “bringing color to life.”
🧪 What Happens When You Try to Build It Yourself?
If you want to create this effect without plugins, you usually have to work with several different tools inside After Effects. Each one handles a different part of the process, and you have to combine them to get something convincing. For example:
- Fractal Noise for creating smoke-like or ink-like textures
- Turbulent Displacement for adding fluid motion and spreading behavior
- Particle systems for simulating the movement of color particles
- Blur and Blend Modes for softening and blending colors more naturally
On top of all this, there are usually tons of small adjustments needed to make the movement feel more organic and less digitally stiff.
⚠️ The Main Problem With These Methods
The problem is that this workflow is both time-consuming and difficult to control. No matter how carefully you combine the effects, creating movement that truly feels natural and behaves like real liquid is still very challenging. Usually, you have to test, tweak, and readjust everything over and over again just to reach an acceptable result — and even then, you may still feel like the final output isn’t exactly what you originally imagined.
⚡ This Is Exactly Where InkBloom Comes In
InkBloom was specifically designed to turn that complicated and exhausting workflow into something simple, fast, and controllable. Instead of building an entire simulation system yourself using multiple effects and spending hours experimenting, this tool already provides a ready-made structure for simulating ink movement. In other words, the focus shifts from “building the effect from scratch” to “designing the feeling and the final result.”
🎛️ Instead of Building a System, You Design Directly
With InkBloom, you’re essentially working with the finished ink behavior itself rather than its individual building blocks. That means instead of layering multiple effects together, you go directly to the main controls and shape the final motion more intuitively.
The most important things you usually control are:
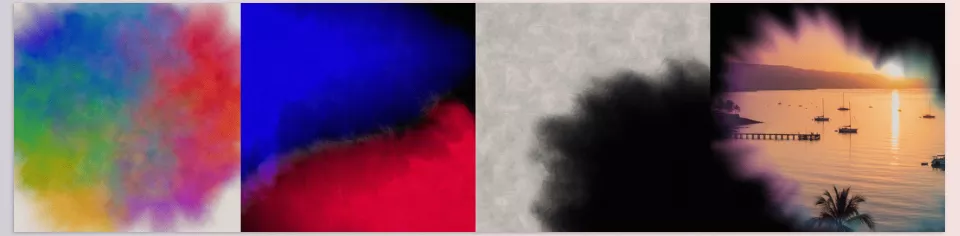
- 🎨 Choosing and managing multiple colors (up to 8 colors)
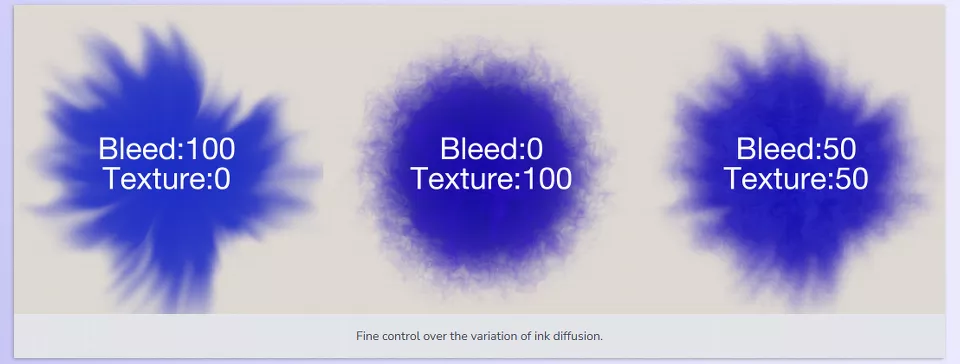
- 💧 Controlling the spread and intensity of each color individually
- 🌊 Adjusting the overall flow and movement of the ink in the frame
- 💨 Directing the motion (as if wind or an external force is affecting it)
- 🧵 Choosing textures (such as paper or different surfaces for a more realistic result)
🎯 What Kind of Result Do You Get?
When all these controls work together, the final output feels very close to the behavior of real liquids. The colors don’t just sit next to each other — they genuinely interact, spread, fade, and create soft, natural blends.
This is exactly the point where InkBloom separates itself from manual methods. Because you no longer have to worry about “how to create this behavior.” Instead, you focus entirely on “what kind of feeling you want to create.”
🎬 Where Is It Usually Used?
InkBloom is mostly used in projects where visual atmosphere matters more than technical complexity. Such as:
- 🎥 Artistic and abstract backgrounds
- 🔄 Smooth transitions between scenes
- 📢 Creative commercial videos
- 🎶 Music videos and emotional projects
- 🧠 Projects that need a cinematic and soft visual atmosphere
💡 Why Does It Matter?
Because instead of spending your energy building the effect itself, you spend it designing the mood and storytelling of the image. And for motion designers, that means faster workflows, better control, and cleaner final results.
🎯 A Few Small but Important Tips
If you want the final result to look more natural and professional, these small details can make a huge difference:
- 🎨 Limit the number of colors: It’s usually better not to use too many colors. In most cases, 2 or 3 colors together create a much cleaner and more natural-looking result.
- 🌊 Control the movement speed: Don’t make the movement too fast, because real ink naturally spreads slowly and gradually.
- 🌫️ Soften the edges with subtle Blur: Adding a very soft Blur helps remove the harsh digital feeling and creates smoother edges.
- 🧵 Use proper textures: If you use textured backgrounds like paper, the entire piece instantly feels more realistic and professional.
In the end, these simple details are what transform your output from an ordinary effect into something alive and visually captivating — without forcing you to deal with unnecessary complexity.
🌊 A Small Effect, A Big Difference
The ink effect may not seem particularly new or complicated at first glance, but it’s still one of those visual techniques that can completely transform the mood of a video very easily. Because when it’s executed properly, it’s no longer just color on a screen — it becomes something alive, something that feels like it’s breathing, moving, and interacting with the image itself.
The truth is that creating this kind of feeling manually inside After Effects is definitely possible, but you usually end up spending so much time combining effects, tweaking tiny settings, and running endless tests that your focus slowly shifts away from creativity itself. Instead of designing, you spend most of your time figuring out “how to make it work correctly.”
And this is where InkBloom truly becomes a practical tool for anyone who wants professional-quality results without wasting time on technical complexity. Because it helps you create that same soft, organic, fluid ink feeling faster and more cleanly — without sacrificing the beauty or quality of the final work.
If you regularly work with After Effects and want to edit your projects more efficiently while achieving more professional results, don’t miss our in-depth article where we introduce some of the most practical and powerful After Effects tools.



