

🎬 When Keyframes Stop Holding You Back…
Are you familiar with the features of the Nexanim Plugin by aescripts? Have you ever created an animation with great enthusiasm and precision, making sure everything was clean and accurate, only to find that at the exact moment you wanted to make a small change—such as the destination of a movement, its speed, or even just a simple value—the entire animation lost its rhythm and that original smoothness and feel? This happens so often in motion graphics projects that, many times, instead of focusing on creativity, people end up spending their time “saving” the animation from breaking.
The truth is that the problem is not the designer’s ability; it is the traditional animation structure inside Adobe After Effects. A place where everything is locked together: timing, values, and easing. This means that a simple change in one of these elements can alter the entire behavior of the animation and force you to go back to the Graph Editor and adjust everything from scratch.
That is why many motion designers reach a point where they feel that the software, instead of helping them, is limiting them. Because instead of the animation being flexible and adaptable, it becomes a fragile structure in which every small adjustment creates a new challenge.
🧩 How Does Animation Actually Work?
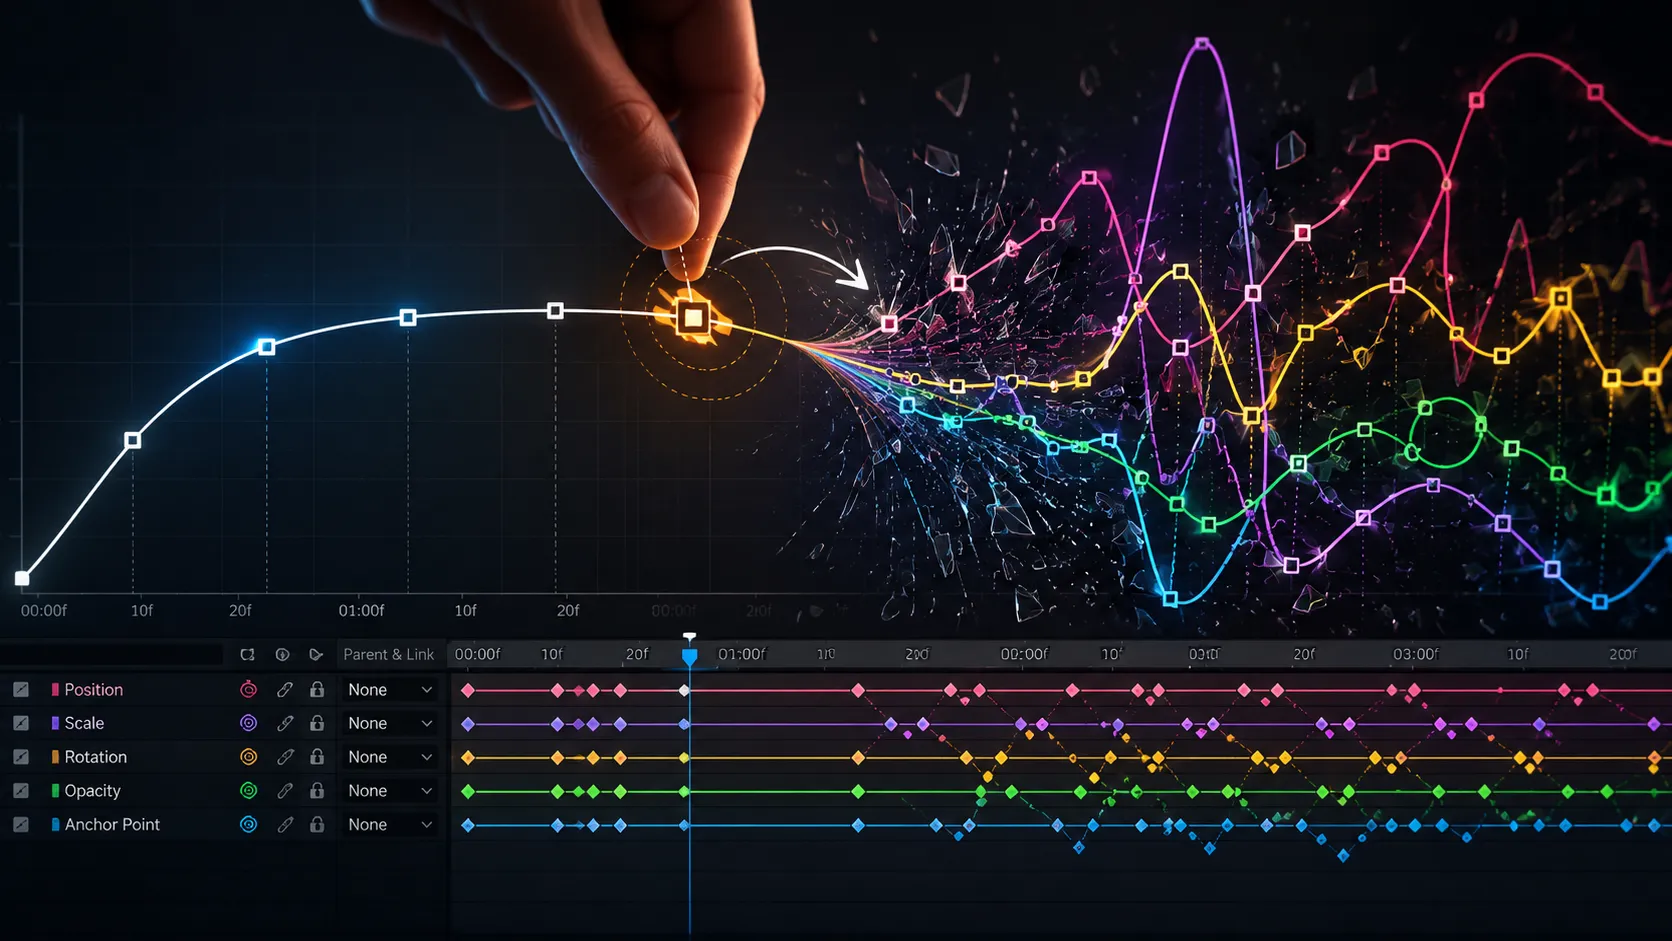
To understand where the problem comes from, we first need to understand, in the simplest way possible, what animation is actually made of. What we see as “motion” is really just a series of controlled changes over time. In other words, the core of animation is that something gradually transforms from one state into another.
In the world of motion graphics, this transformation is usually built from two main components:
- How far we have progressed, or simply Progress (the path of motion over time)
- What exact state we have at each stage, or simply Value (the actual value, such as position, scale, opacity, and so on)
In simpler terms: Progress tells us “where the animation is along its journey,” and Value tells us “what it actually looks like right now.”
For example, when a circle moves from the left side of the screen to the right:
- Progress determines how the motion progresses from 0 to 100% (smooth, fast, slow)
- Value determines exactly where the circle is (X position, or even changes in scale/color)
This is why, when these two concepts are properly separated and controlled, managing animation becomes much easier. Especially in real-world projects such as:
- 🎨 UI and application animations (button and menu movements)
- 🌀 Logo motion and branding (clean and repeatable movements)
- 🎬 Advertising promos (synchronizing multiple elements together)
- 📱 Social media motion graphics (fast-paced reels and stories)
Once you truly understand this structure, you begin to see why some tools try to separate these two components and make them more controllable, rather than keeping everything mixed together within keyframes.
🧱 The Traditional Method in After Effects
Under normal circumstances, everything in Adobe After Effects is built around keyframes. This means that every change is defined as a combination of “time + value + motion” within a single structure. While this approach seems simple, it actually combines several concepts.
In this system, every keyframe simultaneously controls three things:
- Value — such as position, scale, or opacity
- Timing — when the change should happen
- Easing / Graph — how smooth or fast the motion should be
Because of this combination, animation control appears simple on the surface, but when you want to make precise changes, everything becomes interconnected.
⚠️ What Is the Problem with This Method?
The main issue is that everything is locked together. This means that if you want to make even a small change—for example, changing the destination of a movement or adjusting the final value—that change does not affect only that specific part; it also affects the entire motion structure. As a result, the motion curve (Graph) deviates from its natural shape, disrupting the animation’s original smoothness or feel.
In practice, this means you have to go back into the Graph Editor, re-adjust the easing from scratch, and try to recreate the same feeling as before—something that is both time-consuming and often impossible to match perfectly. When multiple layers or objects are involved simultaneously, the problem becomes even more complex because keeping them synchronized requires either manually syncing everything or using complex expressions, which introduces additional difficulty and potential errors.
⚡ What Does Nexanim Change?
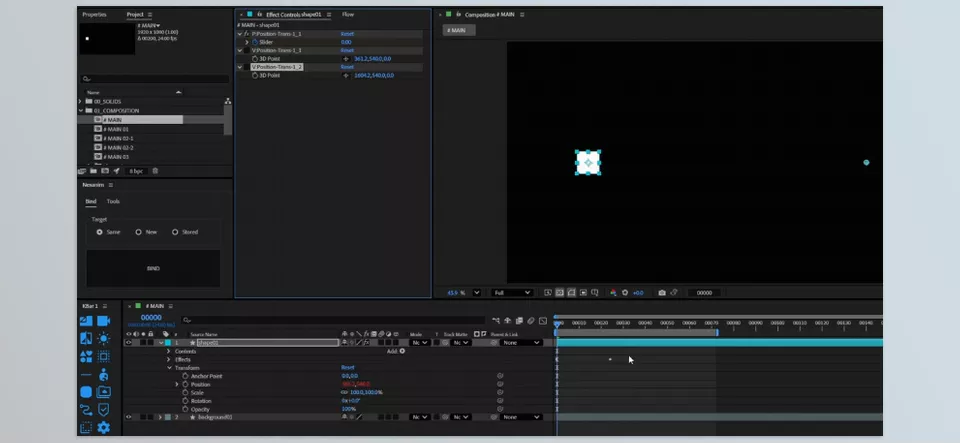
This is exactly where Nexanim comes into play, redefining the entire logic of animation creation in Adobe After Effects from the ground up. Instead of managing everything through locked keyframes like the traditional method, it introduces a completely different model: separating motion from value.
This means animation is no longer a simple timeline where everything is mixed together. Nexanim transforms this structure into two independent layers:
- Progress (P) → Only determines what stage of the motion the animation is currently in (from 0 to 1)
- Value (V) → Determines exactly what value or state should exist at each stage (position, scale, opacity, etc.)
This separation creates an important advantage:
Motion smoothness and values are no longer dependent on each other. In other words, you can change one without damaging the other.
🧠 A New Way of Thinking About Animation (Instead of Keyframes)
To understand it better, Nexanim essentially introduces a new perspective:
With the traditional method, you think in terms of points on a timeline.
Here, you think in terms of a control system.
In other words:
- Instead of saying, “This value should be here, and that value should be there”
- You say, “This motion should be controlled by this Progress, while the Values simply represent the result”
This simple shift changes animation from a linear, fragile structure to a manageable, scalable system.
🔥 Core Features of Nexanim
Now that we understand the logic behind it, we can move on to the features that truly make this tool different.
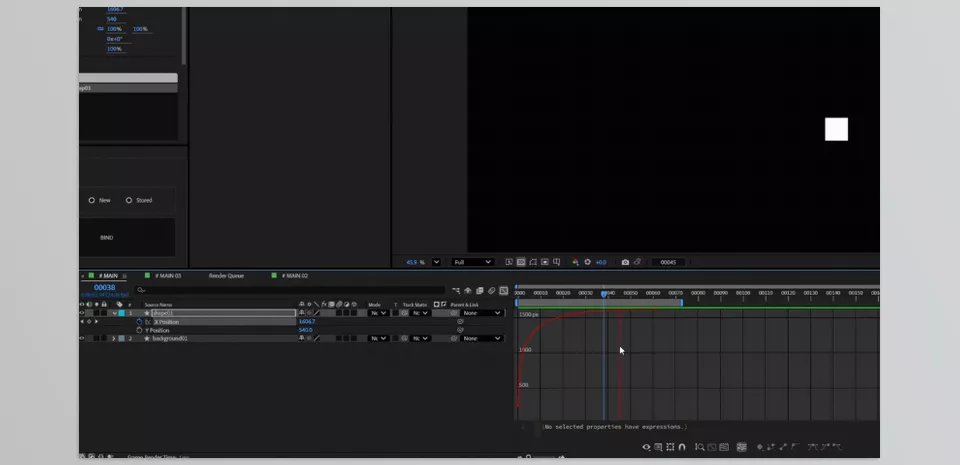
🎯 1. Changing Values Without Breaking the Easing
One of the biggest frustrations for motion designers is that when they change the destination or final value, the entire motion curve (Graph) falls apart.
Nexanim eliminates this problem because:
- Easing depends only on Progress
- Value is completely separate
The result?
You can make as many changes as you want without affecting the smoothness or timing of the motion.
🔗 2. Synchronizing Multiple Layers with a Single Central Control
Instead of creating separate keyframes for every layer or repeatedly copying and pasting, you can connect multiple layers to a shared Progress control.
This means:
- Multiple objects move together
- All timing remains synchronized
- Any change made once affects everything
For UI animation or motion packages, this capability is extremely valuable.
🧩 3. Multi-Stage Animations Without Keyframe Clutter
Normally, if an animation contains multiple stages (for example: intro → pause → outro), you need to manage many keyframes and Graph curves.
Here:
- Each stage is defined as a separate Value
- Progress determines when each stage begins
- The structure remains clean and easy to understand
As a result, instead of a cluttered timeline, you get a structured, controllable, stage-based system.
🧠 4. Expression Control at the Stage Level
One very important feature is that you can define separate expressions for each Value.
This means:
- You do not need to combine all logic into a single complex expression
- Each stage has its own logic
- Debugging becomes much easier
This is especially important for complex projects because it prevents the creation of tangled and difficult-to-manage code.
🛡 5. A Non-Destructive Workflow
Nexanim provides a non-destructive structure, which means:
- Your changes do not destroy the original animation structure
- You can make revisions repeatedly without rebuilding everything from scratch
- The project always remains editable and reversible
This is exactly what saves significant amounts of time in professional projects.
Ultimately, what Nexanim demonstrates is that animation can be much cleaner, more controllable, and more adaptable than the traditional approach. Instead of dealing with fragile, interconnected keyframes, you have a system that separates motion from value, allowing you to make changes without breaking the underlying structure. In essence, it offers a new way of thinking about animation inside After Effects—one that shifts the focus away from “fighting with keyframes” and back onto the design of motion itself.
🛠 Professional Techniques and Usage Tips
Once you understand the logic behind Nexanim, the interesting part really begins; this is where a few simple techniques can help you make your animations much cleaner and more professional, while allowing you to truly take advantage of the system’s capabilities.
- Build everything around Progress from the start
This makes it much easier to control later on. - Use a shared Progress to control multiple layers
This is the best way to synchronize animations. - Design Values in stages rather than all at once
This makes managing complex projects much easier. - Avoid directly modifying keyframes whenever possible
Let the system handle the control itself.
Overall, the main idea is to think in terms of Progress and Value rather than getting caught up in traditional keyframes. The more you apply this mindset to your projects, the more controllable your animations become, and the cleaner and more professional the final result will be.
Animation Becomes Truly Controllable
In the end, Nexanim is not just another tool—it is a shift in perspective: a way to make something that has always been complex and fragile in After Effects simpler and more controllable. Instead of constantly dealing with keyframes and repetitive adjustments, you have a system that keeps animation predictable, clean, and flexible.
This means that what previously required a great deal of time and trial and error now has a clear, manageable structure. Making changes is no longer intimidating because you do not have to worry about the entire animation falling apart.
If you wanted to summarize it in a single sentence, Nexanim helps you design animation as a system rather than fight with keyframes—a system where every part is controllable, adaptable, and expandable.
After Effects becomes much easier when you understand the right tools and how to use them efficiently. Our guide breaks everything down into simple explanations that help you improve your workflow without confusion. Explore the After Effects Tools guide now and start working smarter on every project.


