

How Organized Movements Can Make Your Work Look Professional
Are you someone who has used the Shifter 3 Plugin before? You’ve probably experienced wanting to animate several clips or layers in sequence on the screen, but when everything moves at once, the result becomes chaotic and confusing. The viewer’s eye doesn’t know where to look first, and the sense of order and story flow in your project disappears. Even with something small like a motion graphics project, proper timing and staggered introduction of elements make everything flow, look natural, and professional.
This concept works for movement like it’s a narrative: each aspect comes to the forefront with its in-timing, its attention is called to the piece, and it looks centralized and regulated. This simple yet powerful technique makes your work not only clean and attractive but also more impactful to the viewer.

What is Step-by-Step Movement and Why Is It Useful?
Step-by-step movement, or Staircase Animation, means that things will move one at a time at a predetermined interval rather than having everything show up at once. Using this method, movement is continuous and logical, and easier for the eye to follow, making it easier for the viewer’s eye to navigate the content.
Practical Examples:
- Several images appear one by one on the screen, giving the project a narrative feel.
- A text list enters the screen sequentially, from top or bottom, like items in an engaging menu or educational points.
- Icons or graphic elements rotating, enlarging, or moving one after another, like logos in a brand presentation.
- Texts or titles appear with proper timing, giving the project a sense of harmony and professionalism.
Why Is This Movement Useful?
- The viewer’s eye can follow the content easily without confusion.
- Projects appear more natural and appealing.
- Creates a sense of order and story flow, even with many elements.
- Helps simple or complex projects look professional and presentable.
What Did We Have to Do Before Plugins?
Before professional tools like Shifter 3 Plugin were available, animating clips or layers sequentially required doing everything manually:
- Manual Positioning of Elements: Each clip or layer had to be placed one by one on the timeline, with precise spacing.
- Keyframing Every Item: For movement, resizing, or appearance, keyframes had to be set for each layer.
- Adjusting Motion Graphs (Easing): To make movements natural, you had to manually tweak the speed graph for each layer, which was time-consuming and complex.
- Previewing and Correcting: With multiple elements animated, you had to run previews repeatedly, making corrections if anything was off.
The main problem was that this method was time-consuming, tiring, and error-prone. With many elements, project control became extremely difficult, and even minor changes in order or timing could take hours. Everything was done manually, increasing the risk of mistakes, especially in complex projects.
Furthermore, if you wanted to replicate or change a motion, you had to do so by editing all the keyframes and parameters from scratch. It was a tedious and exhausting process. There was no proper means to do so, making it challenging to develop a meticulous, sequential animation that is appealing to the eye, especially in a professional context with various components.
What Does Shifter 3 Plugin Do?
Shifter 3 Plugin is a professional tool for After Effects and Premiere that eliminates all the tedious and time-consuming work of step-by-step animation. No more struggling with hours of keyframes or manually adjusting motion graphs. With just a few clicks, everything is ready.
Key Features:
- Automatic Step-by-Step Movement: Layers and clips appear one by one without manual positioning.
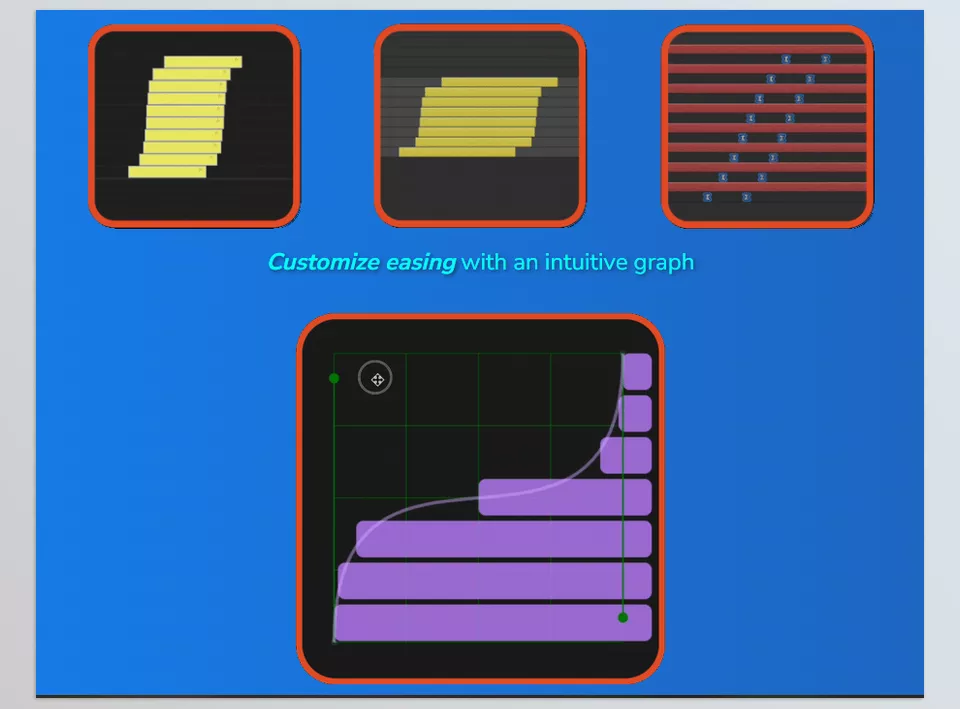
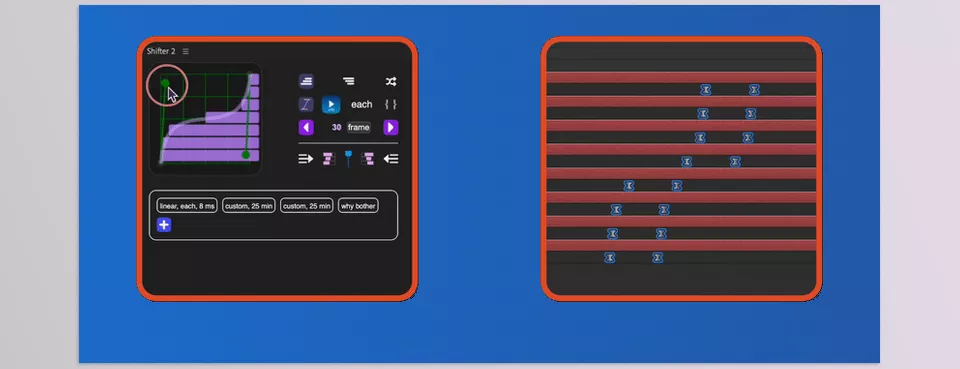
- Easy Speed and Motion Control: A visual graph allows you to make movements smooth and natural, like real professional animation.
- Custom Direction: Ascending? Descending? Or a random, dynamic order? The choice is yours.
- Full Timing Control: Adjust In and Out for each item to control exactly how long it appears or moves.
- Live Preview: See changes instantly without waiting for long renders.
- Preset Saving: Save your favorite settings and reuse them in future projects without rebuilding everything.
How You Can Use It Right Now
Imagine you’re working on a motion graphics or promotional video project with several texts or images that need to appear sequentially. With Shifter 3 Plugin:
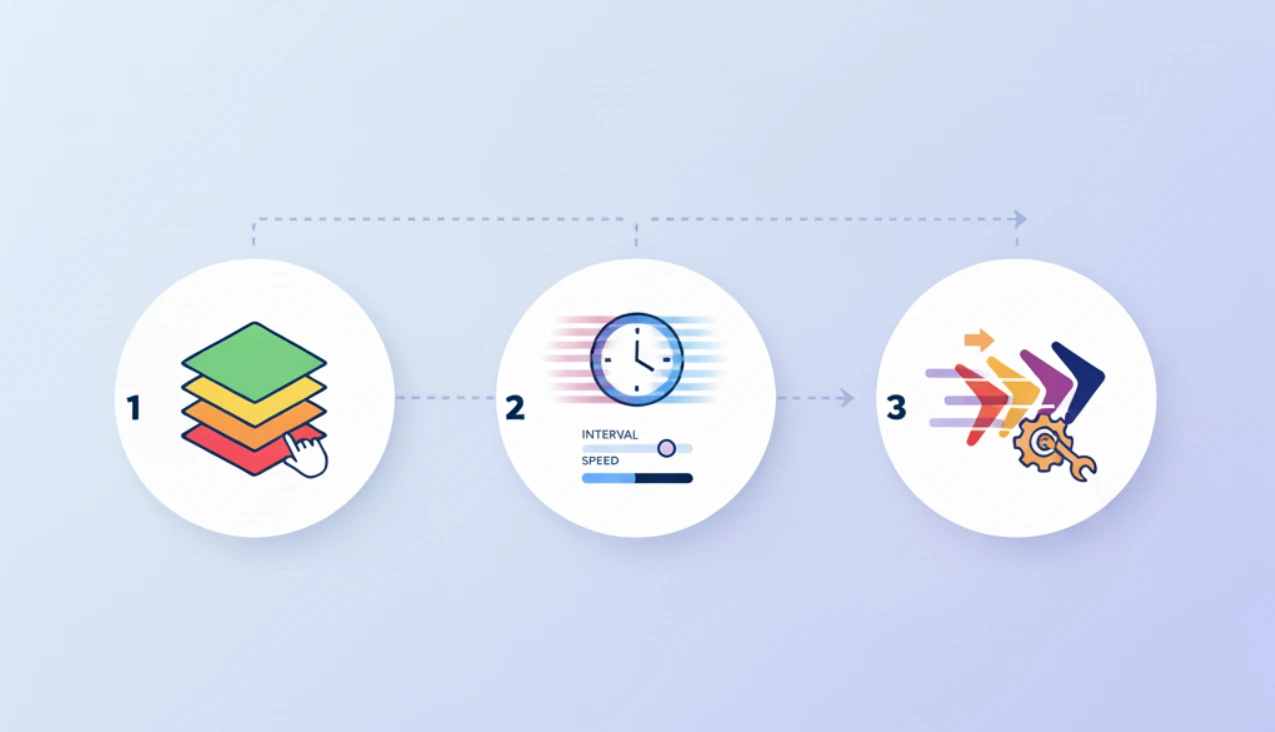
- Select all your items.
- Set the time interval between each item and their movement speed with a few clicks.
- Check the live preview and make adjustments if needed.
- Once satisfied, save the settings as a preset for easy reuse in future projects.
It’s that simple. Without manual keyframing or complex settings, you can create a clean, smooth, and professional step-by-step animation.
Tips to Make Your Work Look Professional
Here are some easy tips for a more professional and appealing step-by-step animation approach:
- Apply Presets: If you created something good in a step-by-step process, you can apply it as a preset. The next time you create a project, you can just apply the preset and get to work instead of repeating what you did before.
- Make it Natural: Play around with the motion graph. Smoother, abrupt, and fast transitions between items give your project a more natural feel and professionalism. Sometimes small tweaks make all the difference.
- Change Up the Order: Always doing things in an ascending or descending order gets boring. Randomization makes the project feel better and more in control.
- Live Preview Always: Always use live preview to check if something works before applying it to the project. This way, you don’t have to render the whole thing just to see one small thing that could have been fixed easily.
- Spacing and Rhythm: The time adding/rhythm between the different things can always be adjusted. Sometimes it looks good when things move faster or slower apart from each other. Making things more engaging leads to better projects.
- Mix and Match: Shifter 3 Plugin can always be combined with Fade/Scale/Rotation effects, which means that things can come in and out in a more complex fashion, yet still allow you to maintain control over the entire project.
These are all simple tips that will make your projects more orderly and effective in execution without having to go back and keyframe or spend additional hours just trying to make things professional.
How the Shifter 3 Plugin Makes Your Work Easier
With the Shifter 3 Plugin, you no longer waste hours on keyframes and manual timing. Everything is done with a few clicks: step-by-step, smooth, and organized animations are created without moving layers individually or manually adjusting motion graphs.
This means your projects look clean, professional, and visually appealing, while you can focus your energy on creativity and design instead of repetitive, time-consuming tasks. If you want a fast, controllable, and attractive way for items to appear and move, the Shifter 3 Plugin is a huge help and a real time-saver.
Don’t just use After Effects — learn how to make it your ultimate creative playground with our in-depth guide covering all the most useful After Effects tools and plugins professionals rely on.



