

When Image Edges Stand Out in Compositing
Have you ever created anything using the Extendo Plugin? Almost anyone who has worked in motion graphics or visual effects has experienced this moment: you separate the subject, place a new background, but the result doesn’t look quite natural. Everything is in place, yet there’s a subtle sense that something is off—something that’s hard to ignore.
If you look closely, the problem usually lies at the edges. The pixels on the perimeter are either too black or still have a bit of the old background. This is compounded by videos in motion or blurred backgrounds; it really makes the subject feel like it doesn’t “belong” to the new background.
Interestingly, this problem doesn’t just occur in weak or beginner work. Edges are the boundary between the subject and its surroundings, and even the smallest mistake here is immediately noticeable. That’s why edges are among the most sensitive and decisive parts of any composite.

Where Edge Problems Come From and Why They Matter
In subjects extracted through rotoscoping or greenscreening, edge pixels are often contaminated with the features of the previous background; they still hold the color of the subject but also retain some of the features of the background through the cut-out process. This is most clear in motion blur or hair/clothing detail. This means that, regardless of how correct everything else is in the composite, the subject never looks like they belong to their new background.
Common Methods in After Effects Without Professional Tools
By default, After Effects users are stuck with manual tools and hacks to control and fix edges, which include:
- masks with feathering to soften the perimeter of the actor
- Matte Choker or Simple Choker applied to choked or expanded alpha
- Screen Shrink / Screen Softness in Keylight
- blurred duplicated layers re-combined with alpha
- Refine Edge for hair-like details
However, they hide the problem, and pixel coloration at the edge can never be perfectly controlled. Especially in cases of motion blur and speed, edges can be excessively shrunk or expanded (by accident), which gives them a lost look. More often than not, halos exist as remnants of the process that are more than distinguishable to the untrained eye.
When Edge Extension Comes to After Effects
This is where the workflow changes completely with the Extendo Plugin. Instead of struggling with edges and hiding imperfections, Edge Extension addresses the root of the problem. Extendo Plugin brings a professional technique—used for years in high-end compositing software like Nuke and Flame—into After Effects. Rather than blindly blurring or contracting edges, it intelligently reconstructs them.
This approach discards the bad edge pixels (those blurred by corruption) and replicates the good colors (those growths coming from within the subject) and spreads them outwards. Not only do the edges become softer, but they are also “correct” as they contain real image information from the subject. This is particularly cool for hair, clothing, and hands; anything that might be in motion, a little more detail.
Key features of this approach include:
- Natural edge restoration without losing details
- Highly stable performance in moving shots and motion blur
- Full compatibility with rotoscoping and all types of keying
- Fast, smooth workflow thanks to GPU acceleration
Ultimately, the result is a clean, cohesive, and believable composite, where the subject doesn’t just appear “pasted” onto the image, but truly feels part of the new scene.
Tips for More Professional Use
Edges are always the most problematic part of any composite, and even professional keying tools must be treated with care for realistic results. By following these guidelines, you will not only make edges look good and natural, but also make your whole project look professional and cohesive without spending hours on manual edge cleanup:
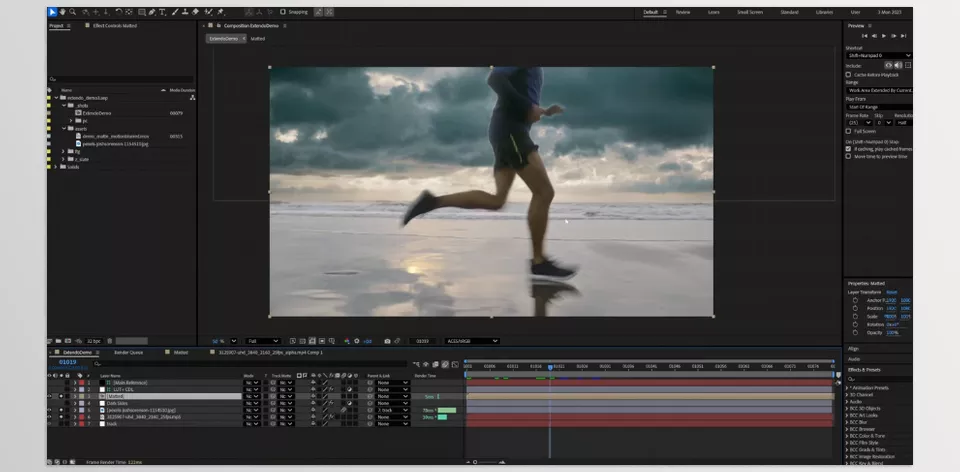
- Apply Extendo after Keying or Roto
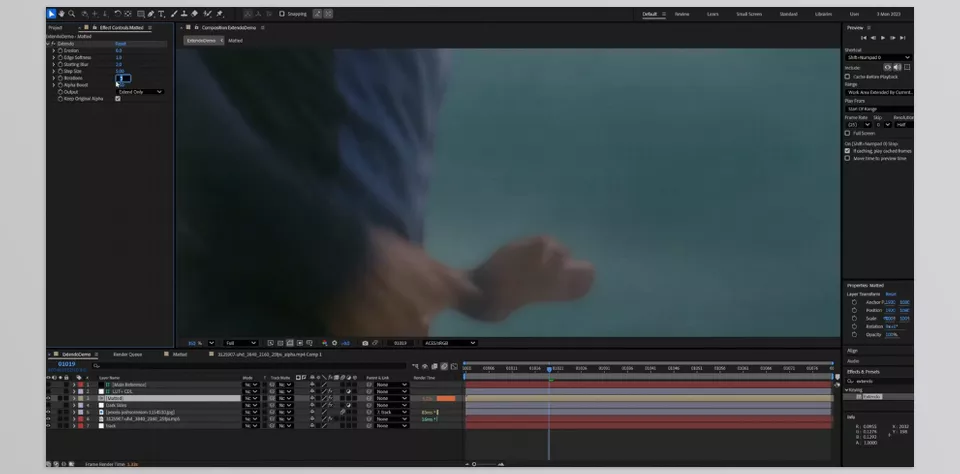
Apply Extendo after you have finished keying or rotoscoping the subject. This way, the edges will be applied on a precise mask and can be treated accurately. - Increase erosion value slowly
Erosion value should be increased slowly to prevent over-contracting the edges. If you bump the number up drastically, you’ll end up removing hair/clothes that make edges look unnatural. - Combine with Light Wrap
If Edge Extension is used in combination with Light Wrap, the result becomes more natural and cohesive with the background; The edges blend well since they assume the light of the background color, which makes it look more realistic. - Apply before Final Color Correction
This allows for all elements to be applied on clean edges before going into final color correction; all aspects will be cohesive. - Apply carefully and subtly
Extendo is not used to create an effect, but rather, it is used for repair work and makes composites less obvious if used gently; this increases the value of your project.
Taking into consideration such simple rules, it’s not only possible to make edges look natural, but also, it’s possible to ensure that the entirety of the project looks good and does not need to spend time cleaning up those edges by hand.
Small Details That Transform Quality
Sometimes the smallest details have the greatest impact on a project’s final quality, and edges are exactly one of those sensitive details. Even if lighting, color, and motion are perfect, a misaligned edge can create a sense of unreality and ruin the composite.
Tools like the Extendo Plugin help make this critical step faster, more precise, and more reliable. Its main focus is on naturally reconstructing edges without halos, cuts, or lost fine details, resulting in a final composite that looks completely believable and professional.
With proper use of tools like the Extendo Plugin, even complex and high-motion projects can look clean and cohesive, making the subject truly feel like part of the new scene—without the viewer noticing any flaws.
If you’ve ever felt lost in the sea of After Effects tools, our full article will simplify everything and show you exactly how to use plugins and add-ons to speed up your workflow.



