

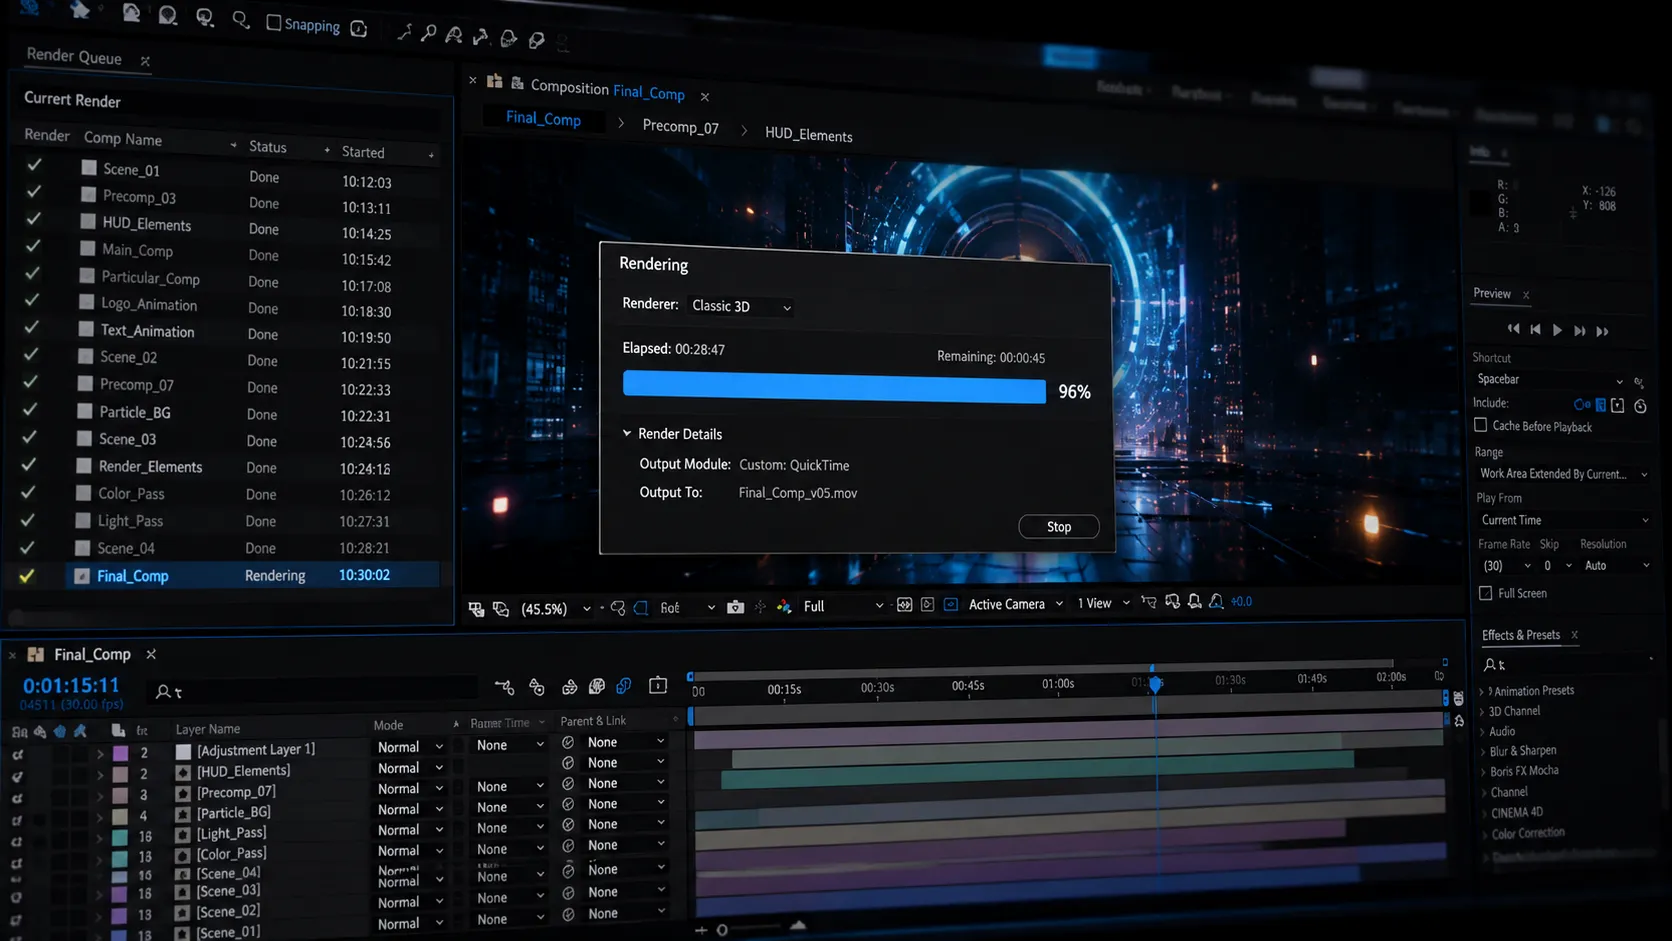
🎬 When Rendering Turns Into Deadline Night Stress
Are you familiar with the workflow of the RenderSmith Plugin by aescripts? If you’ve worked with After Effects, this scenario will probably feel very familiar: a heavy project that gets slower the further you go, the timeline starts gasping for breath, pre-comps are stacked on top of each other, and every time you hit Play, it feels like your system is struggling just to keep up. Then you finally click the Render button and wait for the export to finish, but just when you think everything is done, either After Effects crashes halfway through, the output comes with bugs or quality loss, or worst of all, you realize that an important section didn’t render correctly and you have to start all over again.
That’s when you gradually realize that the story isn’t just about creating motion graphics or designing scenes. Very often, a project that is creatively complete and technically ready on paper is still stuck in a critical, exhausting stage called rendering. A stage where you constantly have to worry about project complexity, preventing software crashes, making sure your settings are correct, managing files and versions… and all of these happen at the exact moment when time is the one thing you don’t have.
The reality is that in serious projects, rendering isn’t just the final step—it’s a challenge in its own right, sometimes even more difficult than the design process itself. Instead of focusing on ideas and creativity, you spend most of your time preventing errors, rebuilding broken exports, and rescuing a project that needs to be delivered before it falls apart.

⚙️ Rendering Isn’t Just Exporting—It’s a Complex Pipeline
Rendering in After Effects is often misunderstood. Most people think it’s simply about pressing the Render button and getting the final output. But the truth is that before you ever click that button, there’s a long, multi-layered process that, if not managed properly, can consume both your time and your patience. From optimizing your project and preparing layers to testing heavy sections and checking for potential issues, all of these are actually part of the rendering process—not something separate from it.
If you break this workflow down step by step, it usually looks something like this:
- To make the timeline usable, you switch to Proxy, so your footage plays back more smoothly.
- To reduce the load from heavy sections, you create Pre-comps and sometimes pre-render certain parts of the project.
- As the project becomes heavier and the risk of crashes increases, you manually lower the preview quality or reduce the playback resolution.
- To avoid losing your work, you create a new Save As version every few minutes so previous project versions remain safe.
On the surface, all of these steps seem logical and even necessary. But the real problem is that none of them are connected. Each one is a separate tool, a separate decision, and a separate risk. Instead of focusing on creativity, your attention shifts to managing this fragmented chain—a chain where even a single mistake can affect the entire output, resulting in wasted time and even more stress.
🧰 When Everything Is Done Manually: Traditional Render Management
Before dedicated render management tools entered the picture, almost the entire export process in After Effects depended on the user. You had to decide which parts of the project were too heavy, where optimization was needed, and when it was finally time to render. There was no unified system, and every project relied on a combination of experience, trial and error, and several disconnected tools.
A typical manual workflow usually included:
- Using After Effects’ Render Queue for the final export.
- Manually creating Proxy files to improve performance with heavy footage.
- Pre-rendering complex compositions and replacing them inside the project.
- Constantly creating Save As versions to preserve different project revisions.
At first glance, these methods seem perfectly reasonable, and for years they were the standard workflow for many motion designers. The problem is that each step operates independently, with no unified workflow connecting them.
⚠️ The Problem With These Methods
The biggest issue with these manual workflows isn’t that they don’t work—it’s that they’re heavily dependent on the user’s accuracy and organization. Small projects may remain manageable, but as soon as a project becomes larger or more complex, this scattered workflow starts falling apart. Every stage requires a separate decision; every decision introduces another opportunity for mistakes, and even a small error with a Proxy, a Pre-render, or file versioning can impact the entire rendering process. The result is usually an endless cycle of failed renders, time-consuming fixes, and stress that shows up right in the middle of a deadline.
🛠️ RenderSmith: When Rendering Becomes a System
This is where the story shifts from manual render management to a true rendering system. RenderSmith is an After Effects panel that transforms the entire rendering workflow from a scattered, decision-heavy process into a unified and manageable system. Instead of constantly switching between Proxy workflows, Pre-rendering, render settings, and file version management, everything is organized inside a single workspace where every stage has its proper place.
In practice, this means that instead of managing multiple tools and making countless separate decisions, you can focus entirely on building your project while the rendering workflow moves forward like a well-designed production pipeline. From optimization and preparation to final output and backups, everything is designed to work together as one connected process.
✨ Key Features
⚡ Complete Render Pipeline Management
Instead of manually switching between Proxy, Pre-render, and Final Render, all stages are combined into a single seamless workflow. With a single click, you can move through the entire pipeline without repeatedly adjusting settings or manually managing files. This is the core of RenderSmith: it turns the entire rendering process into a single, continuous workflow.
👻 Ghost Mode for Faster Performance
When a project becomes heavy, the biggest issues are usually a slow timeline and unusable previews. Ghost Mode temporarily hides heavy layers without deleting or modifying anything. This allows you to preview and test your project at a much higher speed, then instantly restore everything with a single click.
🧪 Intelligent Pre-rendering
Instead of re-rendering the entire project—or even an entire composition—RenderSmith pre-renders only the heavy sections. It then automatically reconnects them to the original project structure. The result is faster performance and reduced system load without disrupting your project organization.
🎯 Safe Final Rendering With Versioning
One of the most common problems is accidentally overwriting exports or mixing different versions together. RenderSmith automatically creates versioned outputs (such as v01, v02, and so on) and performs background rendering through aerender. Every render becomes an independent, traceable version without replacing previous files.
🛡 Safe Mode & Crash Recovery
If After Effects crashes during rendering, the system doesn’t simply stop and leave you on your own. RenderSmith detects the situation, identifies the likely cause (such as a problematic effect or a heavy layer), and suggests restarting the render in Safe Mode. Even in failure scenarios, your rendering workflow doesn’t completely collapse.
🔍 Quality Guard
One of the most frustrating situations is when a render finishes successfully but produces an incorrect result. Before rendering begins, Quality Guard scans the entire project and detects potentially risky plugins or sections, such as certain GPU-intensive effects. When necessary, it automatically switches to safer rendering options to help ensure an accurate and reliable final output.
💾 True Auto Backup
Before every important operation, RenderSmith automatically creates a project snapshot. These backups are stored quietly in the background and multiple versions are preserved without interrupting your workflow. If anything goes wrong, you’ll always have a recent restore point ready to recover your project.
Ultimately, what separates RenderSmith from a simple utility isn’t just its list of features—it’s how it makes the entire rendering workflow more predictable and far less risky. Once this system becomes part of your project workflow, many decisions that used to cause stress—such as managing final renders or organizing project versions—become routine, reliable tasks.
The important point, however, is that you’ll get the best results only when you use the tool correctly, not simply by enabling it and expecting it to do everything automatically. A few simple habits and configuration tips can make your final renders cleaner, faster, and much more reliable. In the next section, we’ll cover exactly those practical tips and techniques that help you use RenderSmith like a professional in your projects.


🎯 A Few Tips for Using RenderSmith More Professionally
Once you make RenderSmith part of your workflow, a few simple habits can make your renders much cleaner and more reliable. These tips aren’t so much about advanced techniques as about bringing structure to your workflow, allowing the tool to truly work in your project’s favor.
- Start with Proxy, Then Move to Pre-rendering. It’s always better to optimize your project with Proxy first to smooth the timeline, then move on to pre-rendering the heavy sections. This order reduces the load on your system while making your optimization decisions more accurate.
- Take Quality Guard Seriously Before the Final Render. Especially in heavy or GPU-intensive projects, this feature can prevent incorrect renders. A quick scan before rendering can often save you from spending hours re-rendering everything.
- Don’t Disable Auto Backup. It may seem unnecessary at first, but in real-world projects, it’s the feature that saves your work when crashes or human errors happen. In practice, it ends up rescuing you far more often than you’d expect.
- Take Output Versioning Seriously in Long-Term Projects. When you render multiple times, it’s very easy for files to get mixed up or accidentally overwritten. Versioning ensures you always have a clear history of every rendered output.
- Don’t use Ghost Mode only for performance optimization. This feature can also be used for quickly testing animations before the final render. It allows you to review motion behavior more accurately without the full weight of the project and catch issues much earlier.
Ultimately, these tips have the greatest impact when they become part of your regular workflow rather than something you only use occasionally.
🔚 When Rendering Is No Longer the Bottleneck
RenderSmith is one of those tools that makes you realize, after spending enough time in After Effects, just how much you needed it. Because the real challenge isn’t simply exporting your project—it’s making the entire journey to that final output predictable, manageable, and free from unnecessary stress. This tool fills the gap that has always existed between building a project and successfully delivering a reliable final render.
In practice, RenderSmith allows you to stop worrying about unexpected crashes, repeated renders, overwritten files, or projects that spiral out of control halfway through production. Instead, your focus returns to what actually matters: the creative work itself. Rather than spending your energy rescuing your project, you can spend it improving it.
And perhaps that’s the biggest change RenderSmith brings. Rendering is no longer a stressful and unpredictable stage of the production process. It becomes a dependable part of your workflow—a stage where, even when your project is large or highly complex, you still feel like you’re in complete control. That’s exactly what transforms RenderSmith from a simple utility into an essential part of many creators’ everyday workflow.
Take your After Effects workflow to the next level. Discover practical tools and easy methods that help you work faster and more efficiently. Read the After Effects Tools guide now.



