

When Layers Get Crowded
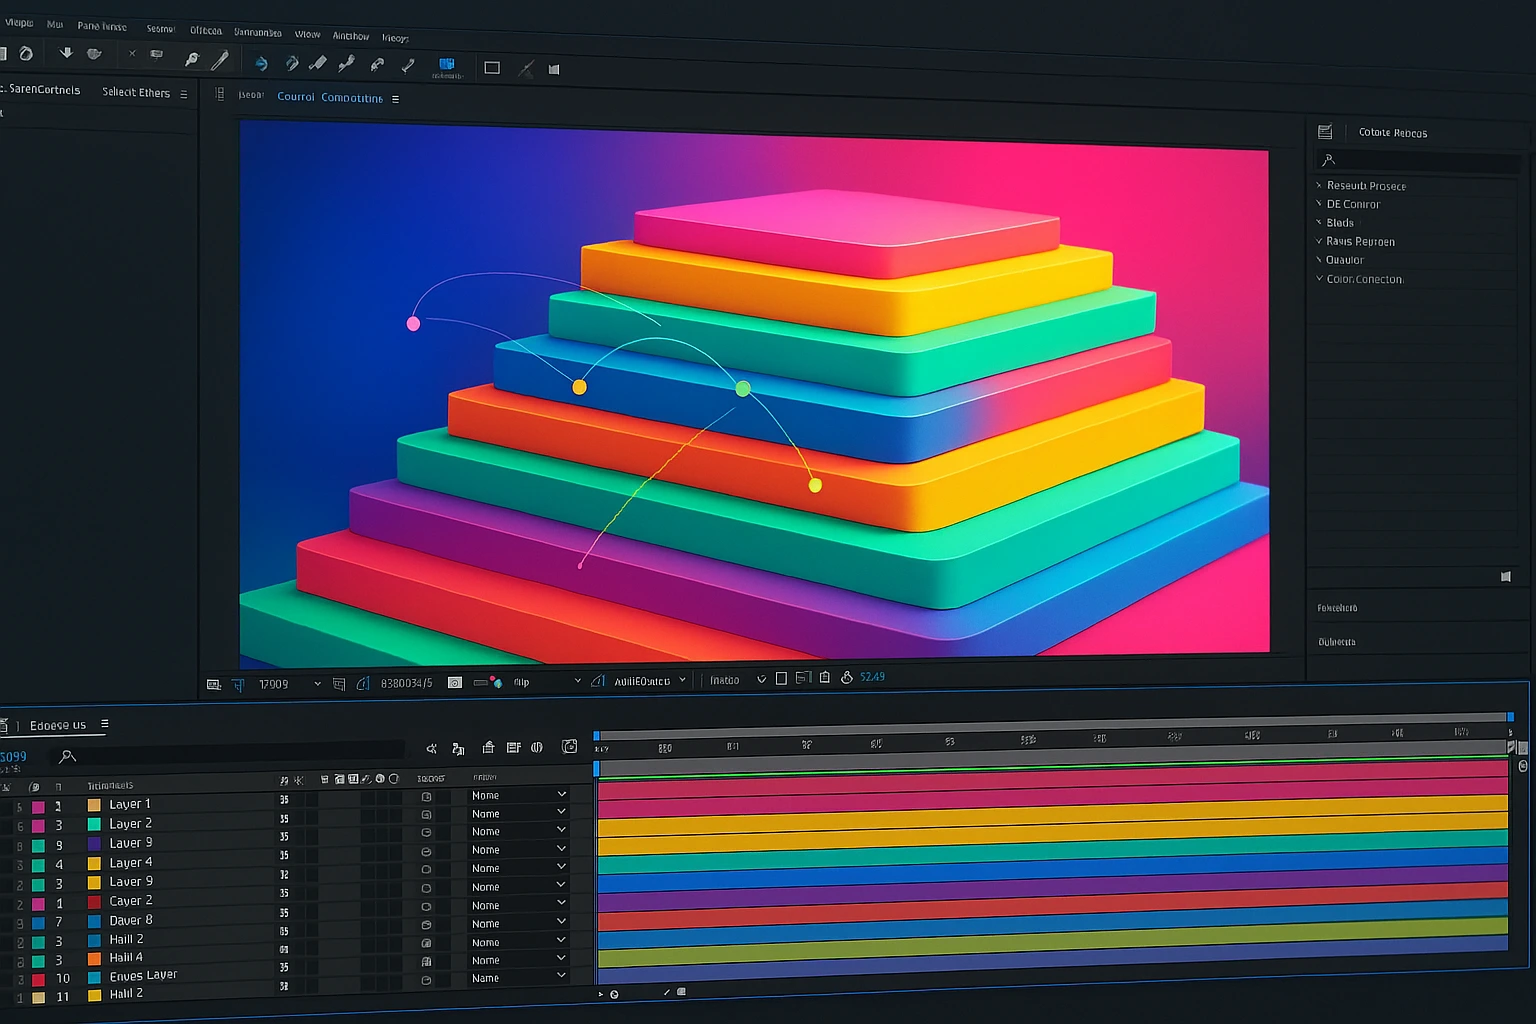
Effective After Effects layer management is crucial for handling complex projects. If you have ever worked with After Effects, you surely know that managing layers can sometimes be a real headache! When a project is large and full of different layers, parenting them, coordinating animations, or even finding a specific layer among hundreds of others can be very time-consuming and exhausting.
On the other hand, making precise changes to Shape Layers, creating complex animations, duplicating layers at specific intervals, or morphing and distorting layers can sometimes feel like solving a difficult puzzle with After Effects’ standard tools. All of this wastes a lot of your creative time and makes the workflow somewhat daunting.
That’s why learning smart layer management techniques and having precise control over properties and Shape Layers is one of the essential skills for any animator or motion designer.
How to Make Working with Layers Easier
Now that we are familiar with the challenges of working with layers, let’s see what we can do to make the workflow a bit easier and more enjoyable:
- Organize layers from the beginning
Good After Effects layer management starts with organizing layers from the very beginning. Take some time to categorize layers, give them clear names, and assign specific colors for each type of layer. It may seem simple, but later when searching for a specific layer, this will be a lifesaver! - Use Pre-Comps and Nulls
Parenting layers and managing them in groups with Nulls is one of the best tricks. When you control multiple layers with a single Null, not only does your workflow speed up, but the animations also become more organized and precise. - Copy and Offset Carefully
Before duplicating layers or creating an animation, plan ahead. Determining the number of layers, spatial and temporal intervals, and their exact order ensures a more natural result without confusion. - Manage properties patiently
Control key properties like Position, Scale, Rotation, and Opacity in an organized way. This prevents mistakes and misalignments, ensuring that every change produces the desired result. - Be patient and practice with Shape Layers and Morphing
Shape Layers are powerful, but as projects get complex, controlling Paths, Strokes, Fills, and Transforms requires patience and practice. The more familiar you are with these tools and the more techniques you try, the easier and faster your work becomes.
Tools That Make Working with Layers Simple and Professional
Now that we are familiar with the challenges and general solutions, it’s time to talk about some professional tools and plugins that can make working with layers and Shape Layers extremely fast and precise. These plugins are designed for animators and motion designers to:
- Quickly parent and manage layers
- Easily select and edit complex Shape Layers
- Coordinate properties and animations with high precision
- Duplicate, offset, and morph layers
- Even distort and shape layers quickly and accurately
Next, each plugin is introduced in a friendly and practical way so you can see which one fits your project and solves which problem.
Layer Sitter – Your Best Friend in Layer Management
If you’ve ever struggled with After Effects layer management and didn’t know how to quickly parent multiple layers, Layer Sitter is exactly what you need. This small but powerful tool makes working with layer hierarchies a breeze.
With Layer Sitter, you can:
- Quickly parent layers without endless scrolling or complicated Pick Whip
- Create custom Nulls and move them within the Composition or Timeline
- Use Quick Parents for frequently used layers so you don’t have to reset settings each time
Even if layers are already parented, Layer Sitter doesn’t disrupt the existing Parent-Child chain. In short, this plugin acts as a loyal assistant that brings order and speed back to your crowded projects.
bq_Shape Layer Navigator – Smart Guide for Shape Layers
If you have worked with Shape Layers, you know that when their number grows, finding the right path and editing precisely can get confusing. This is where bq_Shape Layer Navigator comes in, acting like a smart guide to help you navigate through complex groups and sub-groups effortlessly.
For precise control, effective After Effects layer management is essential. With this tool, you can:
- Isolate Shape Layers and focus only on the desired part
- Quickly select and edit properties such as Stroke, Fill, Paths, or Transform
- Easily manage the contents of groups and sub-groups and move between properties and groups
- Link and merge properties with expressions without hassle
Simply put, bq_Shape Layer Navigator functions as a magical controller for Shape Layers, making complex editing and animation much faster and more precise.
Shape Layer Toolbar – Control All Shape Layer Components at a Glance
If you have ever had to constantly switch between layers and different Shape Layer properties, you know how time-consuming and exhausting it can be. Shape Layer Toolbar is designed exactly for this: a simple and practical panel that provides all the necessary tools to control Shape Layer components.
This plugin enhances After Effects layer management, saving time and effort. With this plugin, you can:
- Quickly access all Shape Layer components like Paths, Strokes, Fills, and Transforms
- Save and apply custom settings for each Shape Layer component
- Use Expression Controls for complex animations without hassle
- Select all components of a specific type with one click, even using simple shortcuts
In short, Shape Layer Toolbar helps you keep everything under control without wasting time searching for properties or minor settings.
Layer Converter – Transform Layers in the Blink of an Eye
Sometimes you need to convert different layers to Nulls or Point Lights, especially when working with plugins like Trapcode Particular or Plexus. This is where Layer Converter comes to the rescue and simplifies the hard work.
Converting layers is much easier when you follow smart After Effects layer management techniques. With this tool, you can:
- Quickly convert layers to Nulls or Stage/Point Lights with a single click
- Preserve all keyframes and important properties during conversion
- Automatically rename layers for easier use in particle plugins
- Work with both 2D and 3D layers without any hassle
In short, Layer Converter is a small but extremely practical tool that makes your Particle or Geometry projects faster and hassle-free.
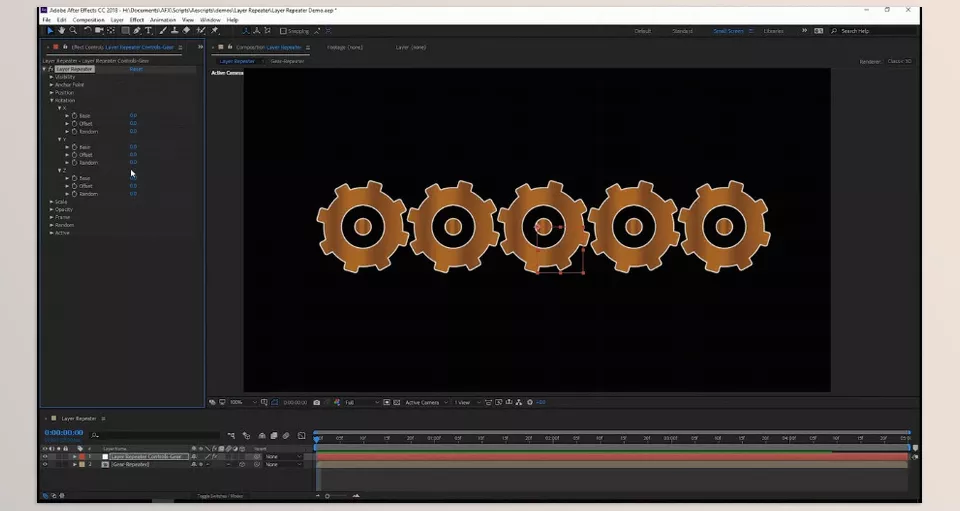
Layer Repeater – Duplicate Layers Without Hassle
When you want to duplicate a layer multiple times with specific temporal or spatial intervals, doing this with After Effects’ default tools can be confusing and time-consuming. This is where Layer Repeater is very useful.
With this plugin, you can:
- Quickly repeat layers as many times as you want
- Precisely control properties like Position, Rotation, Scale, Opacity, and even Anchor Point
- Create a controlling Null to manage all repeated layers
- Offset layers in time and space and even randomize for natural and attractive effects
Simply put, Layer Repeater makes your motion graphics projects faster, more organized, and flexible, without spending hours adjusting layers manually.
BAO Layer Sculptor – Precise Bending and Shaping of Layers
Sometimes you need to bend, distort, or morph layers into a desired shape, but After Effects’ default tools cannot do this with enough precision or speed. This is where BAO Layer Sculptor comes in, making your work incredibly simple.
With this plugin, you can:
- Precisely distort and bend layers using masks at specific points
- Use multiple masks to control distortion details
- Easily create morphs and animated changes with high accuracy
- Use the In-betweener tool to generate intermediate masks and smooth transitions
- Control mesh and sub-sampling for full precision on every layer detail
In short, BAO Layer Sculptor allows you to shape layers exactly as you want without spending hours on manual adjustments.
All these tools and plugins help you achieve maximum control over layers and Shape Layers with minimal hassle. From quick management of parents and Nulls to duplicating, morphing, and distorting layers, each one acts as a professional assistant for your motion graphics projects. Using these tools not only increases your speed and precision but also allows you to focus on creativity and design without getting lost in technical details.
Why These Tools Are Essential for Every Animator
For any motion designer, mastering After Effects layer management is crucial to avoid errors and save time. If you have ever been stuck in complex After Effects projects, you know how exhausting and time-consuming managing layers, controlling properties, and editing Shape Layers can be. Any small mistake can cost hours of your time and sometimes limit your creativity.
This is where professional tools and plugins like Layer Sitter, bq_Shape Layer Navigator, Shape Layer Toolbar, Layer Converter, Layer Repeater, and BAO Layer Sculptor come in. These tools not only make your workflow faster and simpler but also allow you to work with full precision and control—from duplicating and morphing to distorting and parenting layers.
In fact, whenever you need an assistant to just do busy work while you focus on the creative and aesthetic components, this tool is it. If you want to enhance your After Effects projects in both efficiency and professional quality, these tools are truly essential.
Incorporating these plugins into your workflow ensures professional-level After Effects layer management.
If you want to get familiar with all kinds of After Effects add-on tools, don’t miss our comprehensive guide to After Effects tools!



