

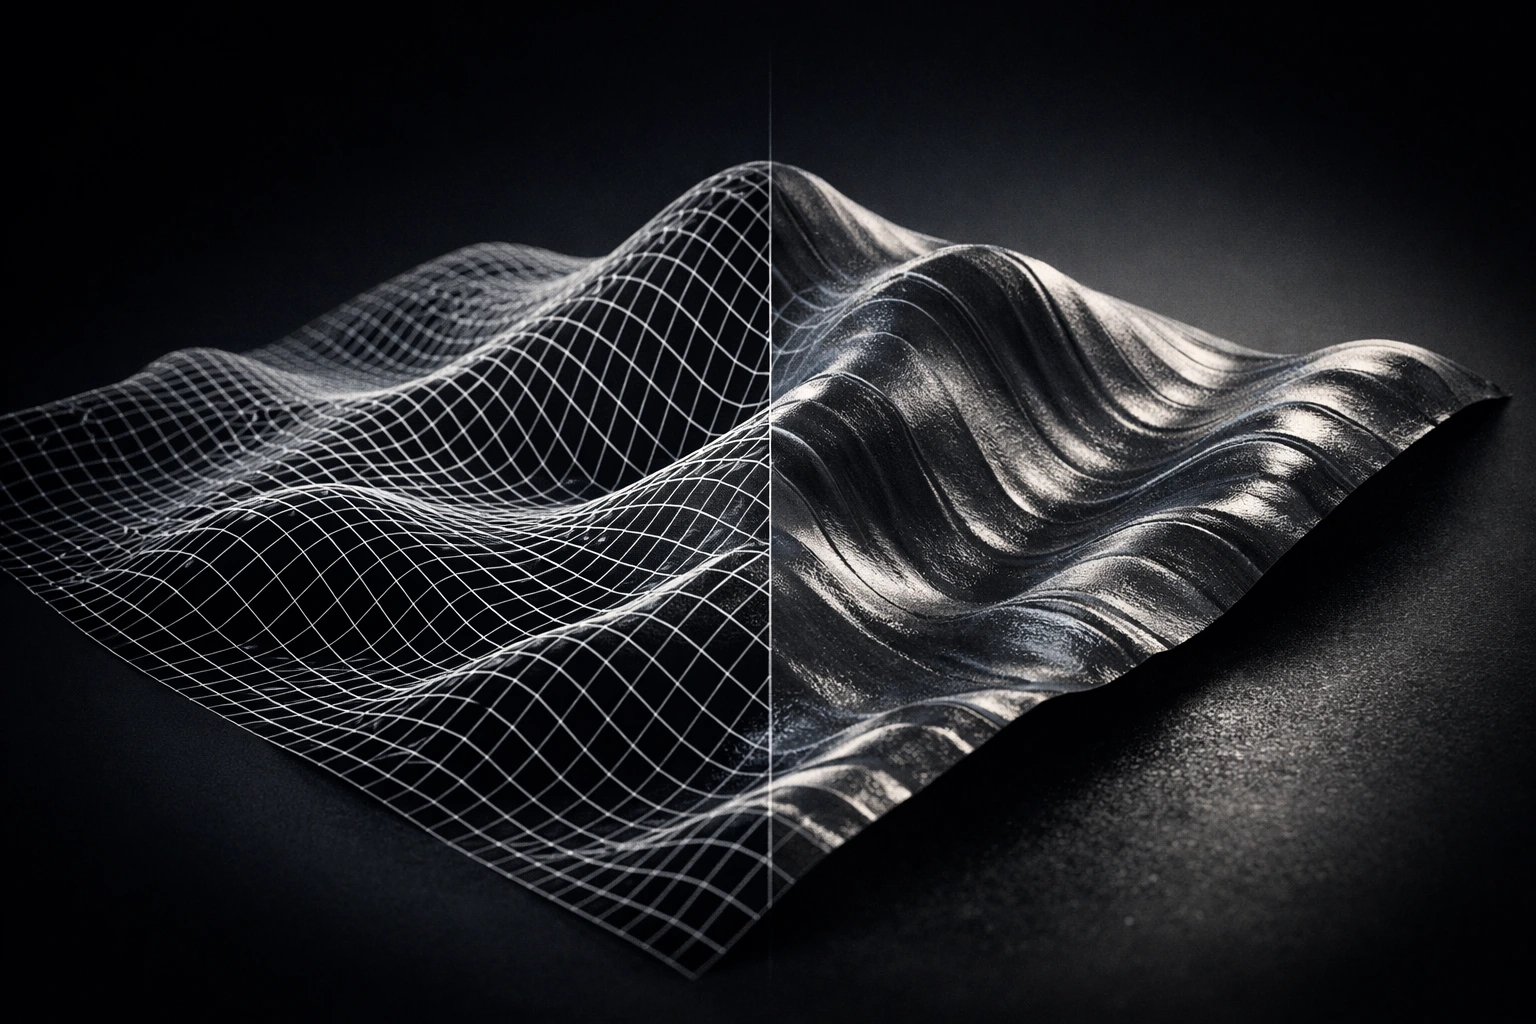
From the Illusion of Depth to Real Depth
Have you seen or used the FreeForm Pro Plugin by aescripts before? In many motion graphics projects, there comes a point where the usual effects just don’t cut it anymore. You want to make a flat image wavy, bend a poster in space, or turn a simple map into a realistic terrain—but the further you go, the more you feel like the image is still “flat.”
The reason is simple: most default tools create the illusion of depth, not real depth. When you don’t have actual geometry, light and shadow don’t behave naturally, and your surface never gets that convincing physical feel. This is exactly where the concept of a 3D mesh comes into play.

What Does a 3D Mesh Actually Do?
In its simplest definition, a 3D mesh is a network of points that together form a surface. When you can move those points along the X, Y, and Z axes, the surface truly deforms in space. That means you’re no longer just shifting pixels—you’re dealing with real geometry.
This simple difference completely changes the result. A surface can bend, twist, or gain elevation without merely creating an optical illusion.
Main Uses of a 3D Mesh
With this structure, you can:
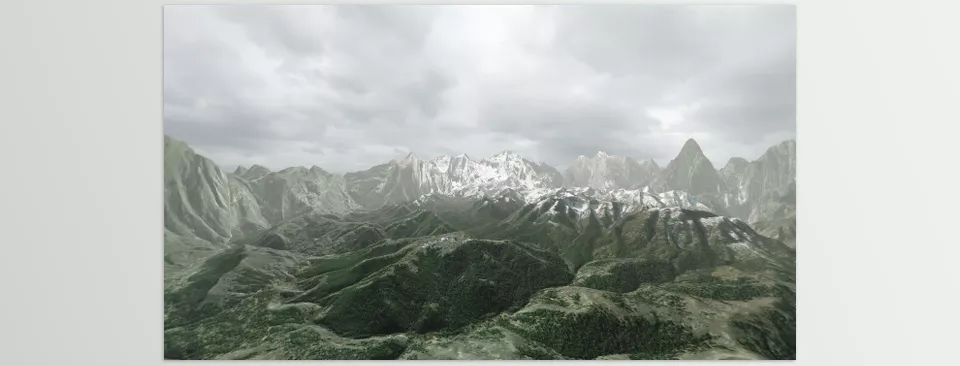
- Build mountains and valleys from a black-and-white image
- Simulate water waves or fabric folds
- Bend logos and typography in 3D space
- Design volumetric and organic backgrounds
The major advantage of this method lies in the natural behavior of light and shadow. When a surface truly has geometry, light spreads more logically, and materials appear more realistic. That’s what makes your final output feel more professional and convincing.
How Far Can You Go with After Effects Alone?
Before jumping into plugins like FreeForm Pro Plugin, it’s fair to say that After Effects itself isn’t weak. With some creativity, you can achieve decent results. For example:
- Use Mesh Warp to deform a surface
- Use the Displacement Map to shift pixels based on a grayscale map
- Enable 3D layers and add cameras and lights to create a sense of depth
- Even use the Puppet Tool for localized point control
For lighter projects or social media content, these tools often get the job done. But when you want to create a truly volumetric surface or apply serious deformation, the limitations start to show.
You’ll usually face challenges like:
- Deformations are still fundamentally 2D
- You can’t truly control each point along the Z axis
- Displacement only pushes pixels forward or backward—no real geometry is created
- Light and shadow don’t behave as naturally as they should
- Building a proper terrain becomes complex and time-consuming
- The project quickly gets messy and heavy, making it harder to manage
In the end, yes—you can reach a result. But usually with a lot of pre-comps, tricks, expressions, and trial and error. For more serious projects, this process becomes exhausting, and you start feeling like you’re going in circles. That’s exactly when many people begin wondering: isn’t there a cleaner and simpler way?
What Does FreeForm Pro Plugin Change?
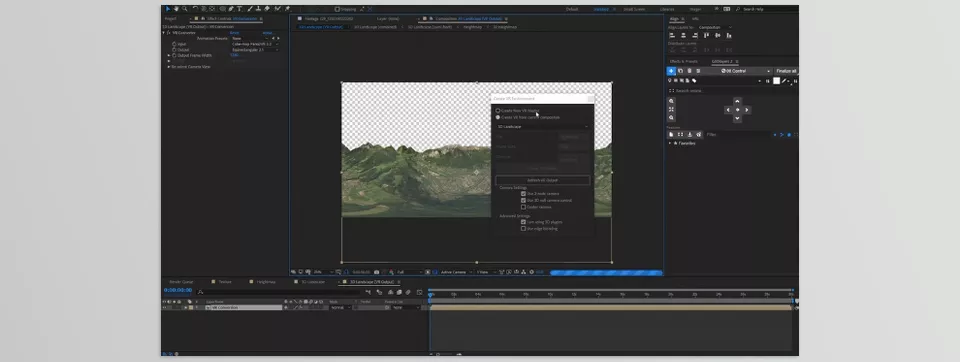
If the main issue so far has been the lack of real geometry, FreeForm Pro Plugin adds exactly that missing piece. This plugin converts a 2D layer into a true 3D mesh. Instead of working with a flat image, you’re now dealing with a volumetric surface that has depth, reacts to light, and behaves like a 3D object.
The key difference is this: instead of simulating depth, you actually create depth. That shift in approach dramatically increases your control and gives you much more creative freedom.
Features That Truly Make a Difference
1. Full 3D Mesh Control
You can add a large number of control points to a layer and move each one individually in 3D space. That means you’re truly bending, twisting, or folding the surface—not just stretching it visually. For creating folds, dynamic forms, or even complex deformations, this is the core of the workflow.
2. Real Displacement Mapping
With a grayscale image, you can create elevation: whites move up, dark areas move down. The result is a volumetric surface—not just an effect applied to an image. It’s incredibly useful for creating mountains, water waves, topographic terrains, or any other organic surface. You can even animate the displacement itself to generate natural movement.
3. Light and Material Control
Settings like Diffuse, Specular, Roughness, Reflection, and Fresnel allow the surface to behave like a real physical object. You can create the feel of polished metal, transparent glass, or a wet surface—without leaving After Effects.
On top of that, with Subdivision control, you can decide how much detail the surface has—lower for faster previews, higher for cleaner final renders.
4. Creating Repetitive Structures
Using Generators and Primitives, you can convert a layer into various geometric shapes or distribute multiple instances of an object in space. This feature is especially useful for graphic structures, abstract motion, or commercial projects, allowing you to manage complexity with centralized control.
In practice, FreeForm Pro Plugin feels more like a built-in 3D geometry engine inside After Effects rather than a simple decorative effect. It allows you to create and shape real surfaces within the familiar environment—without having to switch to a separate 3D software. And for many projects, that’s a serious advantage.
A Few Tips for More Professional Results
When working with a 3D mesh, simply activating the FreeForm Pro Plugin isn’t enough. The quality of your output depends on the details. Small adjustments can make the difference between an average result and a clean, professional one.
To make your results more natural and convincing, these tips really help:
- Manage Subdivision intelligently.
Keep it low during previews so your workflow stays fast. Increase it at the final render stage so the surface appears smooth and clean. - Apply a subtle Blur before using Displacement.
If your grayscale map has sharp edges, the result will look artificial. A soft blur helps the elevations form more naturally. - Add a rim light.
A light from the side can dramatically enhance the perception of volume in your mesh. This is especially powerful when the surface is twisted or wavy. - Don’t exaggerate Reflection.
Too much reflection often makes the surface look plastic. A balanced use of Reflection combined with Fresnel creates a more natural and professional look. - Add subtle noise to the elevation.
Perfectly smooth surfaces usually look artificial. A bit of gentle noise can create a more organic feel—especially for terrain, rock, or fabric.
In the end, these seemingly simple settings are what transform your output from “a good effect” into “a professional piece.” In 3D work, details always make the difference.
So, Is It Worth It for You?
The truth is that the FreeForm Pro Plugin isn’t for everyone. Suppose most of your projects involve simple motion, social media posts, or light deformations. In that case, the After Effects tools will do just fine, and there’s no need to reach for more advanced tools with every project. However, there are times when you need real depth in a design.
Some projects are made for real depth and volume. If you ever find yourself working with environments or surfaces that need to take a certain form, at least having something like FreeForm Pro to add 3D mesh systems into After Effects might be just the thing you need. Arguably, it’s better than trying to work around depth when the entire project calls for it.
The FreeForm Pro Plugin is not magic—it won’t replace your need for 3D software. But it opens up a clean and direct path to real volumetric work without leaving After Effects. For many designers, it’s a game-changer.
Take a more professional approach to After Effects by exploring our AE Tools guide filled with workflow tricks, plugin recommendations, and time-saving techniques.



