

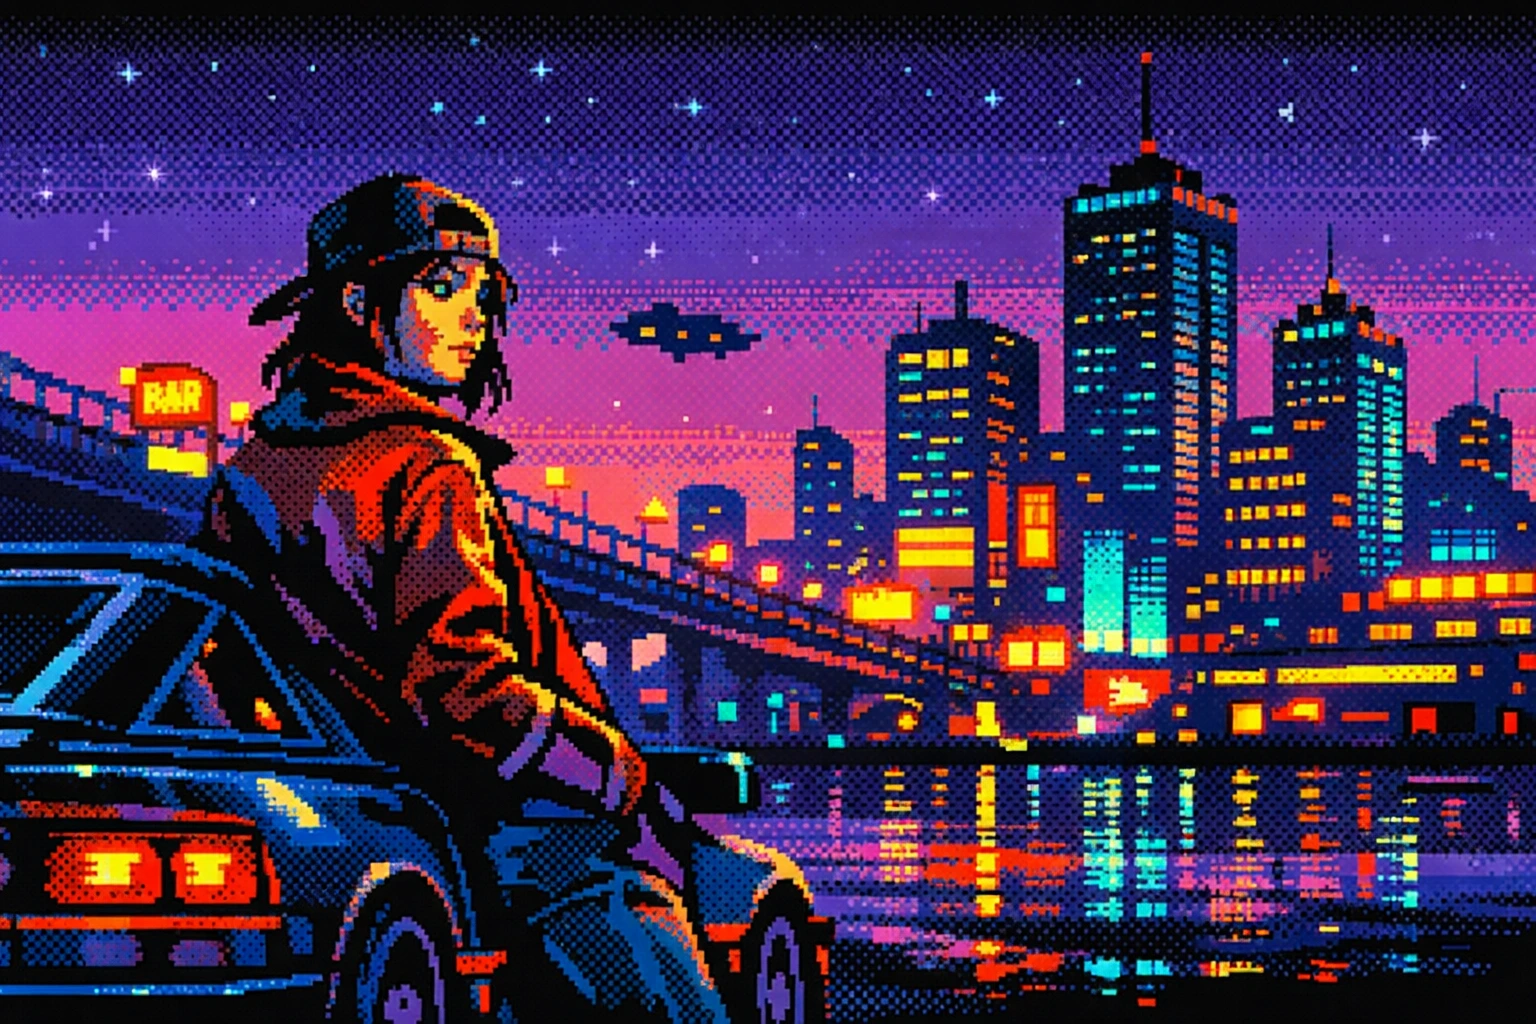
When Your Image Is Too “Clean” and Modern…
Have you ever created anything using the RetroDither Plugin by aescripts? Sometimes the problem isn’t that your project doesn’t turn out well; the problem is that it looks too good and modern. Everything is sharp, consistent, and flawless — but that nostalgic feel of old computers or ’80s and ’90s games just isn’t there. That’s when many people start tweaking colors, pixelating the image, or imitating retro patterns… and usually halfway through they realize that a “retro look” doesn’t come from simply lowering the resolution.
What often goes unnoticed are the tiny details: the real color limitations, the way pixels are distributed, and the pattern that allows gradients to still look acceptable with a small number of colors. This is exactly where the concept of dithering enters the story — and where the difference between a simple effect and a true retro style becomes clear.

What Exactly Is Dithering and Why Does It Help Motion?
Dithering, at its core, was a solution to a limitation: older systems couldn’t display many colors, so to create shadows and a sense of gradient, they arranged colored pixels intelligently next to each other. The result was that with only a few limited colors, the image looked more “alive” and smoother, without actually having more colors available.
From a motion graphics perspective, dithering isn’t just an effect; it’s a kind of visual language that quickly conveys a sense of time, technology, and mood. When used correctly, it can make even modern footage look like output from old consoles or classic home computers — something incredibly effective for storytelling, trailers, music videos, or even a short transition.
A Few Tangible Use Cases You Can Easily Imagine:
- Motion graphics with an “8-bit and 16-bit game” vibe
- Nostalgic sequences inside ads and social media videos
- Creating titles/intros with an old-computer feel
- Style-driven projects like dither-punk or pixel-art motion
Traditional Methods Inside After Effects
Even without a plugin, you can build a retro look directly inside After Effects. You just need to follow several steps in sequence. Typically, the process starts by pixelating the image, then reducing the number of colors, and finally trying to add a texture reminiscent of old computers.
Fortunately, After Effects has tools for each of these stages:
- Mosaic → Turns the image into large squares to create a pixelated look
- Posterize → Reduces the number of colors
- Colorama → Helps limit colors to a specific spectrum
- Lowering the resolution and then scaling it back up → Makes pixels more visible
- Adding a bit of Noise or Pattern → To simulate an old texture
By combining these, you can achieve a fairly acceptable pixel look — especially for simple or practice projects.
What’s the Problem with These Methods?
The main challenge is that the result usually ends up just “pixelated,” not truly similar to old system graphics. That’s because older computers used specific methods to distribute colors — known as dithering algorithms — and these algorithms aren’t readily available inside After Effects.
So you’re forced into trial and error, constantly adjusting settings to get closer to the desired result. And when working with video or motion, patterns may break during movement or make the image appear unstable. In the end, you often have to reconfigure everything from scratch for each project, and rarely reach a fast, consistent setup.
RetroDither Plugin: When You Want Retro, Precisely and Fast
When it comes to building a retro style, it’s not just about pixelating an image; the real issue is whether the image truly carries the feel of old graphical limitations. The RetroDither Plugin is designed exactly for this. This GPU-accelerated plugin works inside After Effects and focuses on two things: precise color palette control and proper implementation of dithering algorithms.
Instead of combining multiple effects and hoping the result resembles old systems, you’re working with a focused tool built specifically for this style. The output isn’t just a simple pixelated image; it feels more like the image has genuinely been processed with old hardware limitations. This subtle difference makes the result look more natural, cohesive, and professional.
Speed matters too. Because it’s GPU-based, it runs more smoothly on footage and heavy projects, and you don’t need to manage multiple effect layers separately every time.
🎨 Classic and Adaptive Color Palettes
One of the most important parts of any retro style is its colors — and the RetroDither Plugin takes this seriously.
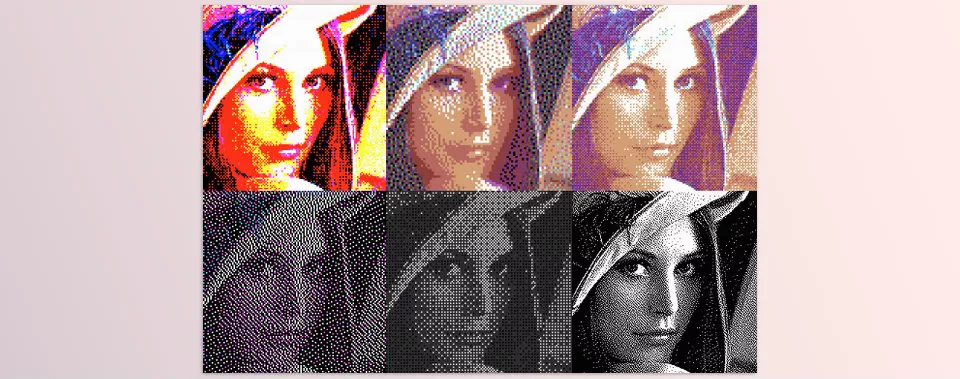
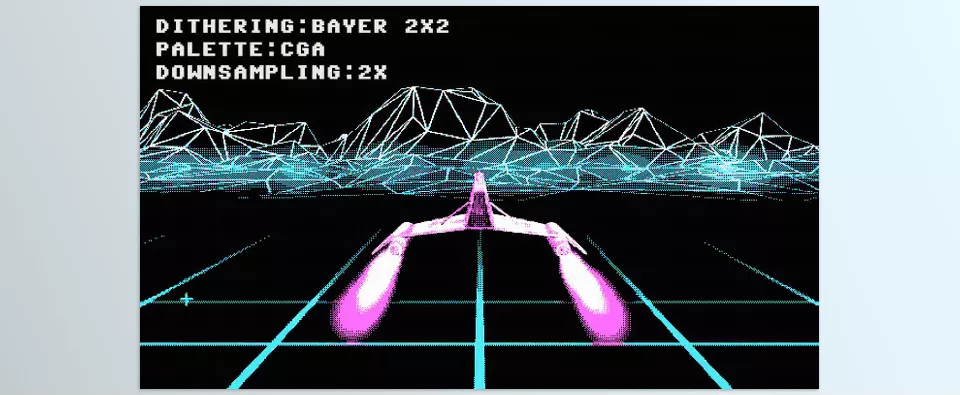
- Classic hardware palettes like C64, CGA, ZX Spectrum, Apple II, MSX
- Adaptive palettes that analyze and limit image colors similar to “Save for Web” logic
This means you can simulate the feel of a specific system precisely — not just reduce the number of colors.
🧠 Real Dithering Algorithms
This is where the RetroDither Plugin truly differs from manual methods. The plugin provides several standard dithering algorithms:
- Ordered Dithering (such as Bayer Matrix)
- Error Diffusion (such as Floyd-Steinberg, Atkinson, and other models)
Each algorithm behaves differently with light and shadow. Some make the image appear smoother; others create a more granular texture. This variety allows you to choose a more precise style instead of being limited to a single fixed pattern.
🖼 Custom Palette; Define the Color Yourself
The Custom Palette feature is one of the most appealing parts of this plugin. Instead of only using preset palettes, you can:
- Provide a reference image so the plugin extracts its colors
- Even use a video as the palette source
For example, if you have an old poster with a specific color combination, you can bring that exact color mood into your project. This feature is extremely useful for building a distinct visual identity.
⚙ Precise Controls for Styling
RetroDither Plugin isn’t just an on/off switch; it offers control tools that help shape a more refined result:
- Downscale up to 8x for a more pixelated look
- Threshold to control dithering pattern intensity
- Grayscale Mapping for more creative outcomes
- Serpentine Scan to change how errors are distributed in algorithms
These controls allow you to move between a very raw 8-bit look and a softer 16-bit style.
A Tangible Example in a Real Project
Imagine you’re working on a music video or promotional teaser and want a section of the image to suddenly shift into an “old console” space. If you do it manually, you’d need to adjust Mosaic, Posterize, color limitation, and texture separately — constantly testing to approach the desired result.
With the RetroDither Plugin, the path is usually simpler:
Choose the palette + select the dithering algorithm + adjust Downscale and Threshold slightly.
This simple combination often gets you to the result faster — and more importantly, the output remains consistent across the entire sequence without unwanted frame-by-frame changes.
In the end, what you get isn’t just an effect; it’s a controlled style that can build a distinct visual identity in motion projects, music videos, title sequences, or even social posts 🎮✨
A Few Professional Tips for a More Natural Output
When working with a retro style, the result doesn’t depend only on choosing a palette or algorithm; how you use the settings is just as important. Sometimes the difference between an average output and a professional one lies in these small details. These tips will help your image look more natural and controlled:
- Don’t push the effect to the point of “image destruction.” Being retro doesn’t mean ruining details; the goal is for limitations to feel natural, not unreadable.
- Precomp before applying the effect and logically lower the resolution. When you reduce dimensions first and then scale up, pixels feel more intentional and less like a random filter.
- Choose Downscale intelligently, not randomly. Too low makes the image overly blocky; too high weakens the retro feel. Run a few quick tests to find balance.
- Select the Custom Palette carefully. If you’re after a specific vibe (like ’90s posters or Game Boy), provide a relevant reference image for a more accurate palette.
- Adjust the threshold based on your footage type. Don’t lock it to a fixed number. Dark, bright, or highly detailed footage each requires different settings.
- Simplify extremely smooth cinematic movements slightly. Pixel styles often work better with clearer, less ultra-smooth motion.
- Avoid heavy Motion Blur. Excessive blur feels modern and clashes with retro texture.
- Check patterns in motion. If your footage has a lot of movement, review key frames to ensure dithering doesn’t flicker frame-by-frame or create unwanted noise.
- Place the effect at the end of your adjustment chain. If you have color correction or lighting changes, finalize those first, then apply RetroDither for a more controlled result.
- Sometimes less is more. A subtle but precise setup usually looks more professional than an exaggerated, intense effect.
Ultimately, these fine adjustments ensure your output isn’t just a retro effect, but a cohesive style that maintains consistency and professionalism throughout the entire project.
Who is the RetroDither Plugin for?
If you just want your image to be slightly pixelated with limited colors, After Effects’ built-in tools are often enough, and with some patience, you can reach an acceptable result.
But if you’re after a true retro style — meaning specific palettes, proper dithering patterns, and fast control over the result — RetroDither Plugin feels more like a professional shortcut that delivers cleaner and faster output.
In the end, the charm of retro comes from its limitations. And when those limitations are recreated correctly, your project doesn’t just look “old” — it feels nostalgic in a way that still works today 🎮✨
If efficiency matters to you, our After Effects Tools guide introduces tools and plugins that professionals use to speed up production without sacrificing quality.



