

When Colors Tell the Story of a Photo 🎞️
Have you ever experimented with The Green Pack Pro Plugin for Capture One by The Archetype Process? Some photos capture your attention from the very first moment. Not because they have a more distinctive subject or were taken with a more expensive camera, but because their colors convey a different feeling. Those same colors can make a photo look warmer, softer, or even more nostalgic, keeping your eyes on the image for a few seconds longer.
The problem is that creating this kind of style is not always easy. Usually, the first thing we do is start moving the color, contrast, and Curve sliders back and forth. We may even reach the result we want after a few minutes, but we have to repeat the same process for the next photo.
This is where film profiles become extremely useful. Instead of starting from scratch every time, you begin with a professional color foundation applied to your photo, and then you only need to personalize it slightly according to your own taste.

What Is a Film Profile, and How Does It Help with Editing? 📸
When you open a RAW file in Capture One, the software initially shows you a basic interpretation of the information captured by the camera. This is where film profiles come in: a ready-made color style you can apply through the Base Characteristics section to change the overall appearance of the image.
In practice, a film profile acts as a color foundation for editing. For example, instead of manually creating the skin tones, contrast, color saturation, and overall mood of the image from the beginning, you select a profile such as Fujifilm Pro400H, and the photo immediately moves toward a specific film-like appearance. After that, you can still adjust the lighting, white balance, contrast, or color details according to your own preferences.
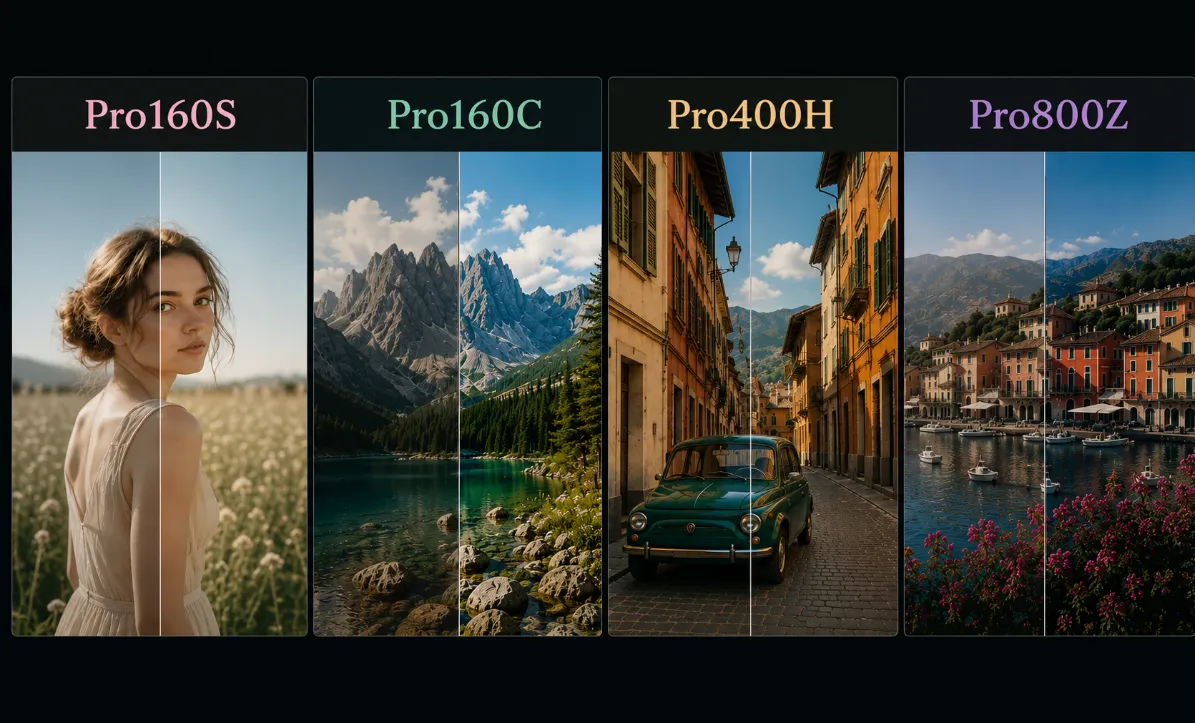
The important difference between a profile and a simple filter is that it does not merely place a layer of color over the photo. Instead, it changes how the different colors and tones in the image are displayed. That is why choosing the right profile can have a major impact on the final mood of the photo. For example, a soft profile such as Pro160S can make skin look more natural and delicate in portraits, while a profile such as Pro800Z creates stronger colors and higher contrast.
This becomes especially noticeable when you are working with a large number of photos. For example, in a wedding project, you can apply a suitable profile to many images and then make only minor adjustments to each one. This not only speeds up the editing process, but also gives the entire collection a consistent color mood.
Traditional Methods for Creating Film-Like Colors in Capture One 🎨
Before ready-made profiles became available, most photographers adjusted everything manually to achieve a film-like appearance. This meant working with several different tools inside Capture One until you gradually reached the mood and color you had in mind.
This process usually included the following steps:
- Adjusting White Balance: First, you had to correct the color temperature of the photo so the colors would look more natural or move toward a warmer or cooler mood.
- Working with Curve and Levels: To change the contrast of the photo, control the shadows, and create a softer or more cinematic appearance.
- Adjusting the Color Editor: To separately modify specific colors such as green, blue, or red and achieve your desired color combination.
- Using Color Balance: To add warm or cool tones and create different moods in various parts of the image.
These tools can be used to create many different color styles, and even to simulate the appearance of analog film to some extent. However, achieving a truly good result usually requires experience, because you need to understand how every small adjustment affects the overall mood of the photo.
What Is the Problem with This Method? ⏳
The problem begins when you want to repeat the same process for a large number of photos. Creating good color is not simply a matter of moving a few sliders. You also need to pay attention to the subject’s skin tone, color balance, contrast, and consistency between the images.
For example, a setting may work very well on one portrait, but when you apply the same setting to the next photo, the skin tone or lighting may not create the same feeling. For projects such as weddings, fashion, or commercial photography, where you may have hundreds of photos, this means spending hours readjusting settings you have already created.
This is where having a ready-made color foundation can make the editing process much faster and easier. Instead of starting from scratch every time, you continue working from a point that is already close to the final result.
The Green Pack Pro: Popular Fujifilm Film Colors, Ready for Capture One 🌿
The Green Pack Pro is a collection of color profiles for Capture One that simulates the appearance of several of the most famous films in the Fujifilm Pro series. Instead of spending hours struggling with Curve, Color Editor, and other color tools to get close to a film-like look, you can begin with a ready-made, professional color foundation applied to your photo.
These profiles are applied to RAW files and change elements such as skin tones, contrast, color intensity, and the overall mood of the image. As a result, photos that may look slightly flat and ordinary in their original state can reach an appearance similar to Fujifilm analog films much more quickly.
However, there is one important point: The Green Pack Pro has been created exclusively for Capture One. If you work with Lightroom or Adobe Camera Raw, these profiles cannot be used in those applications.
🌸 Pro160S: When You Want Soft and Natural Colors
Pro160S is one of those profiles that quickly gives a photo a sense of softness and calm. This version has lower contrast than the other profiles and displays colors in a slightly softer and more natural way.
One of the most important strengths of this profile is the way it handles skin tones. In portrait photos, faces do not become overly harsh or artificial, and the natural, delicate feeling seen in film photography is preserved.
For this reason, if you mainly work in areas such as wedding, portrait, or fashion photography, Pro160S can be a very good choice, especially for photos that you want to feel emotional, luxurious, and slightly nostalgic.
🌄 Pro160C: When You Want More Vibrant Colors
While Pro160S is more suitable for soft and calm images, Pro160C has a slightly stronger personality. This profile displays colors more vividly and adds more contrast to the image.
This difference makes environmental details stand out more and gives colors a stronger presence in the image. That is why it works very well for landscape, architecture, urban photography, and certain fashion projects.
If you want your photos to feel slightly more energetic and you want the colors to attract more attention, Pro160C will probably suit your work better.
🌿 Pro400H: The Most Popular Profile in The Green Pack Pro Collection
Among all Fujifilm films, Pro400H is one of the most well-known. Many photographers love this film for its soft colors, beautiful skin tones, and natural feel.
The version included in The Green Pack Pro brings the same mood into Capture One. The photos gain a film-like appearance while still remaining natural, so you do not feel that a heavy effect has been placed over the image.
This balance has made Pro400H one of the most popular choices for wedding, portrait, fashion, and even commercial photography, especially when you want the photos to look professional while still preserving their authentic and emotional feeling.
🌈 Pro800Z: When You Want the Colors to Stand Out More
Some projects need the photo to feel a little bolder, with stronger colors and more energy in the image. This is where Pro800Z comes in.
Compared to the other profiles, this one has higher color saturation and stronger contrast. The result is a set of more striking photos that attract the viewer’s attention more quickly.
For fashion projects, commercial work, distinctive portraits, or photos intended to receive more attention on social media, Pro800Z can be an appealing choice.
Frontier and Noritsu: Two Different Interpretations of the Same Film 🎞️
One interesting feature of The Green Pack Pro is that it provides two different versions of each film: Frontier and Noritsu.
These two versions simulate two different methods of processing and printing analog film, allowing a single profile to produce two different appearances.
Frontier Version
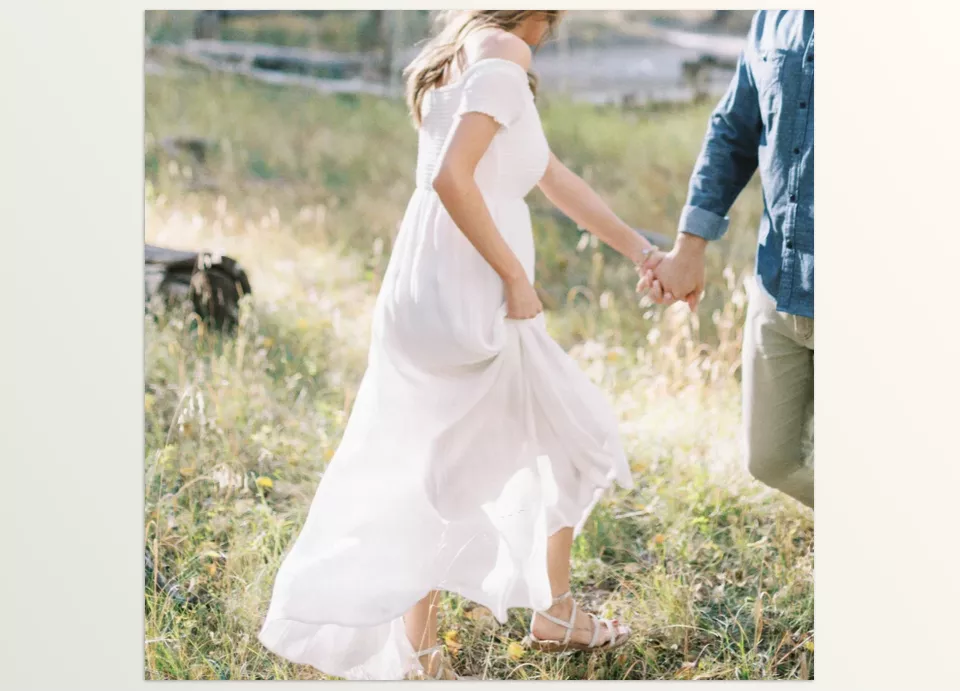
Frontier usually has a softer, more classic feel. The colors appear slightly warmer, and the final result is closer to older film photographs.
If you are looking for photos with an emotional, delicate, and slightly nostalgic mood, especially for wedding and portrait photography, this version may be the better choice.
Noritsu Version
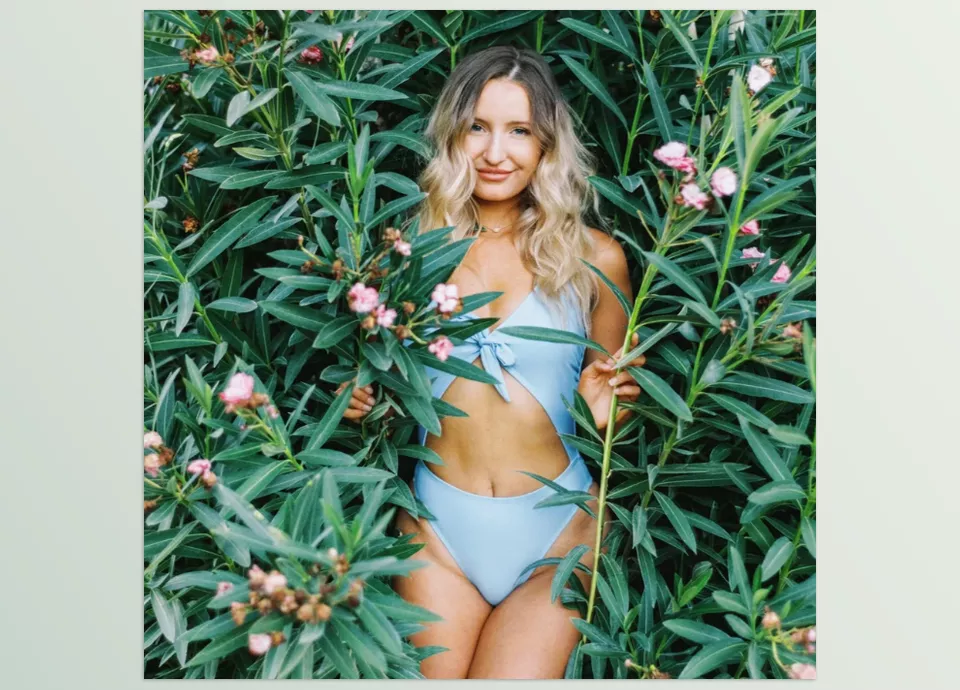
Noritsu works slightly differently in comparison. The colors usually appear more neutral, and the image gains slightly more contrast.
This version is suitable when you want the photo to look more modern, clearer, and more detailed.
The appealing point is that you do not always have to choose only one of them. In many cases, simply switching between Frontier and Noritsu allows you to achieve exactly the color mood you were looking for without making extensive adjustments. This flexibility gives you more freedom when choosing the final style.
A Few Tips for Getting Better Results from The Green Pack Pro💡
- Before applying the profile, adjust the White Balance first. This simple step helps the colors appear much more accurately.
- Choose the profile according to the subject. Pro400H or Pro160S are usually better choices for portrait and wedding photography, while Pro160C produces more appealing results for landscape and architecture.
- Do not stop editing after applying the profile. The profile is only the starting point. With small changes to Exposure or Contrast, you can fully customize the result according to your own taste.
- Make sure to compare Frontier and Noritsu. Sometimes, simply switching between these two versions gives you a better result without any additional adjustments.
- Use one base profile for an entire project. This helps all the photos look more consistent and professional when viewed together.
With these few simple tips, the profiles become more than just a ready-made color adjustment. They turn into a powerful tool for building your own visual style and creating a result that perfectly matches the mood of the project.
When Your Time Is Spent on Creative Editing, Not Building Color from Scratch ✨
In the end, it is not only about making the colors in a photo look more beautiful. What becomes more noticeable is that you no longer need to build the color from scratch for every project and constantly move sliders up and down. Your workflow becomes faster, and all the photos in a project look more consistent when placed together.
At the same time, the appearance of analog film remains one of the most popular color styles among photographers. Achieving this style manually is entirely possible, but it usually requires a great deal of trial and error and a significant amount of time. Having profiles that shorten this process can genuinely make the editing workflow easier.
If you do most of your editing in Capture One and want to achieve colors that are both natural and inspired by classic film without unnecessary difficulty, The Green Pack Pro can become one of those tools that, after using it a few times, you will probably find difficult to remove from your workflow.
If you enjoyed learning about The Green Pack Pro, you might also like our article about AI Color Match. While The Green Pack Pro gives your photos a beautiful film-inspired look, AI Color Match automatically matches the color, exposure, and white balance between different shots, making it much easier to create a consistent and professional-looking project.
