

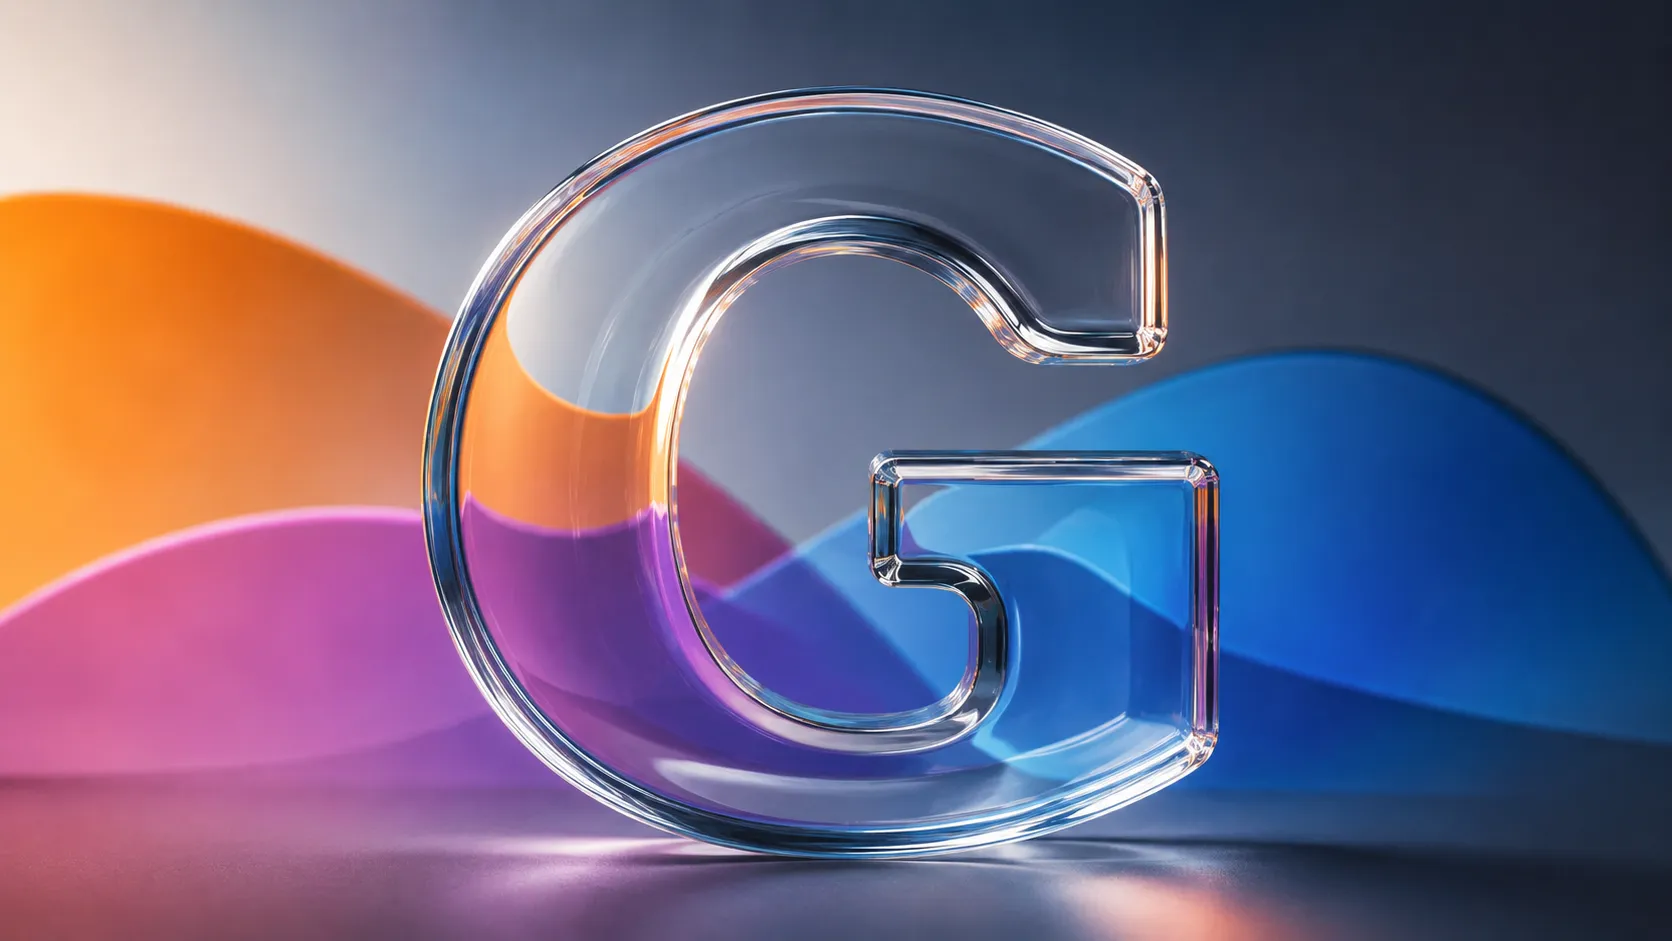
Making a Layer Look Like Glass Is Easier Than You Think
Are you experienced in using the Glaze Plugin by aescripts? Have you ever had a text layer or logo and wanted to give it a cool glass look? Not the kind of glass where you just lower the Opacity and add some Blur behind it! 😄 I mean actual glass—where the image behind it bends, light catches on the edges, and the layer itself feels like it has real thickness.
This is where things get a little complicated 😅 because to achieve this look in After Effects, you need to combine several effects, create Displacement, adjust Reflection and Blur, and constantly check the result so your glass doesn’t end up looking like nothing more than a blurry, transparent layer.
Now imagine applying that same effect to multiple texts, logos, or different Shapes—or maybe the text is supposed to change and move in the middle of the animation. At that point, rebuilding and adjusting all these combinations every time can become seriously time-consuming 😵💫, and something that was supposed to be a simple effect turns into an entire separate part of the project.

What Exactly Makes Up a Glass Effect? 🧊✨
First of all, one important point: glass isn’t just a transparent layer! 😄 When a glass surface is placed in front of an image, the image behind it bends and shifts slightly, light refracts across its surface, and the edges have their own distinct reflections. The glass’s thickness and material also affect the final result, which is why a good Glass Effect needs to simulate these details so it feels like glass—not just a transparent, blurred layer.
You can also use these effects in many different ways 🪟. For example, in Glass UI, you can create panels where the content behind them is slightly blurred and distorted. For a Logo Reveal, you can turn the logo into a piece of glass that light and imagery pass through. Or for a regular Title, you can combine Refraction with the movement of the letters. You can even go for Liquid Glass, Frosted Glass, and Crystal looks, or increase the Reflection to push the appearance closer to Chrome.
Creating Glass with After Effects’ Built-In Tools 🛠️
Yes, you don’t necessarily need a plugin to create a Glass Effect. After Effects itself includes various tools that you can combine to achieve the result. For example, you can use Displacement Map to bend the image behind the glass, Turbulent Displace for Distortion, Blur to create a Frosted look, and tools like CC Glass to add depth and raised-surface detail. Alongside these, you can also use a few simple techniques for Reflection and highlights to make the glass look more natural.
Depending on what you want to create, you usually have several different methods available:
- Displacement Map: To make the image behind the glass actually bend and shift slightly.
- Turbulent Displace: To create soft, irregular Distortions, especially for Liquid Glass.
- Blur and Matte: To create matte and Frosted glass.
- CC Glass: To create a sense of raised detail, light, and depth on the surface.
- Reflection and Highlight: To add light reflections and make the glass surface look more realistic.
The Problem Starts When the Project Gets Bigger 😅
The issue isn’t that After Effects can’t create a Glass Effect; in fact, it gives you all the tools you need. The real trouble starts when you want to control the same result in a clean, precise, and repeatable way. For a single text layer, you might have several helper layers, Mattes, and Pre-comps, and even the smallest change to the layer’s shape or content may require adjusting part of the setup again.
Now, if you have several different layers that all need to be seen through the same glass, the number of adjustments increases even more, and something that was originally supposed to be a simple effect gradually becomes a relatively cluttered, time-consuming structure.
Glaze: Glass That Actually Behaves Like Glass
Glaze is designed to turn regular layers inside After Effects into more realistic glass surfaces—from Text and Shapes to Logos and Footage. The important thing is that it reads the shape of the glass directly from the layer’s Alpha, so you don’t need to use 3D modeling, Track Mattes, or complex structures to create the glass form.
Even if you have an intricate logo, text with very thin strokes, a Shape with internal holes, or an Alpha Movie, Glaze uses that exact form as the base shape of the glass.
This means you can turn a layer directly into glass and still work with it just like before—you can move it, change its Scale and Rotation, or edit its text without having to rebuild the entire effect from scratch every time something changes. This is especially useful for projects with lots of elements or elements that change frequently. 🧊
Glass with More Realistic Thickness, Not Just a Simple Warp
One of the most interesting parts of Glaze is that the glass isn’t simply placed on the layer as a flat surface. The plugin creates more realistic Thickness from the Alpha shape, and you can control how thick it is. As a result, when light reaches the edges of the text, logo, or Shape, those edges behave differently, and the image behind the glass is also affected by its thickness.
For example, imagine a simple title that looks as if it were made from a thick piece of glass. The image behind the letters bends slightly, the edges catch the light, and the surface gains depth. This is where the result starts to feel much more like a real material than simply using low Opacity + Blur.
Five Models for Changing How the Glass Behaves 🔮
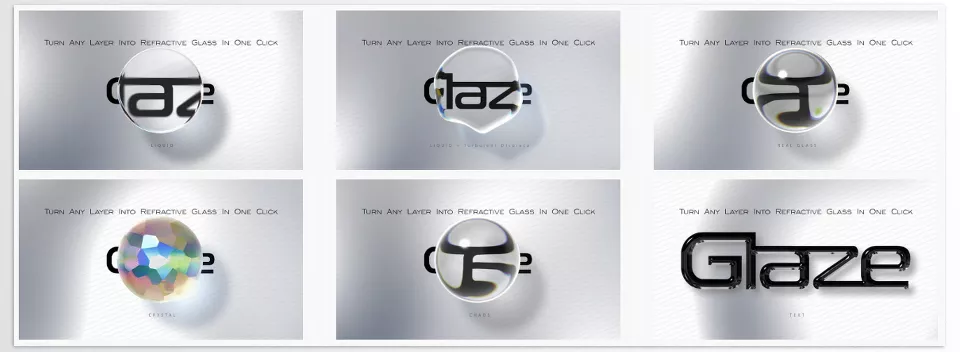
Glaze gives you five different modes for Distortion and Refraction, each designed for a particular style:
- Solid: For clean, standard glass; suitable for panels, text, and simple elements.
- Liquid: For soft, fluid looks similar to a water droplet or liquid lens.
- Chaos: For stronger and more irregular Distortions; suitable for abstract and distinctive effects.
- Crystal: For creating multifaceted refractions and a crystalline appearance.
- Real Glass: For thicker, more optical glass where light behavior across edges and surfaces looks more natural.
So you don’t need to build a different Setup for every type of Glass Effect. One project can have a simple glass panel, the next can use Liquid Glass, and you can even go for a Crystal look on a Title—all adjustable within the same system.
Refraction, Reflection, and Frost—all in One Place 🎛️
Once you’ve created the glass form, it’s time to control its appearance and material. Glaze provides controls for Refraction, Roughness, Frost, Glass Blur, Reflection, and Chromatic Aberration, letting you precisely define how the glass should look.
Refraction determines how much the image behind the glass is refracted and distorted. Roughness moves the surface away from a perfectly smooth, glossy look toward a softer material. With Frost and Glass Blur, you can also create matte and frosted glass while still preserving the form and behavior of the glass.
On the other hand, Reflection controls surface reflections, while Chromatic Aberration can introduce slight color separation into light refractions for a more optical look. Combining these controls lets you go from completely transparent, glossy glass to a Frosted panel or even a highly reflective surface close to Chrome. ✨
You Can Also Control the Image Behind the Glass 👀
Glaze doesn’t focus only on the layer itself; you can also specify what should be visible through the glass. You can provide a Background Layer as the background so the image passes through the glass surface, or if you don’t want to use a specific layer, you can use Glaze’s Built-in Studio.
This Studio isn’t just for display; you can also use it to create Reflection and lighting on the surface. In addition to the built-in Studios, you can use your own HDRI, so if your project has specific lighting, you can match the glass’s appearance to it.
Glass Across the Entire Layer Stack!
One important feature in the new version of Glaze is Glaze Adjustment. This mode is designed for situations where you don’t want to turn just one layer into glass and instead want to place a glass surface over all the layers underneath it.
For example, imagine you have a glass panel with several Text layers, Shapes, images, and Footage behind it. With Glaze Adjustment, you can view all these layers through a single glass surface, with Refraction applied across the entire Stack—without selecting the Background separately or building a complicated Adjustment Layer yourself.
Glaze handles this Setup for you, and even if you later move the layers, change their Scale or Rotation, or modify the content of a Text layer, the glass remains aligned with the layer structure. If you want to revert the Setup, you can undo the changes with a single Undo.
The Image Behind the Glass Can Stay Sharp Too 🔍
A common problem with thick glass is that the more you increase Refraction and Distortion, the softer and blurrier the image behind it becomes. Glaze addresses this with a control called Refraction Sharpen, which helps background details stay clearer even when viewed through thick glass.
This feature is especially useful for UI, text, logos, and motion graphics where you don’t want the image behind the glass to disappear completely, while still wanting the glass itself to have noticeable Thickness and Refraction.
Cleaner Edges with Anti-Aliasing 🎯
To make the final result look cleaner around the edges of text and Shapes, Glaze also includes an Anti-Aliasing option, with 2x and 4x modes available. This is especially important for small letters, thin lines, complex logos, and forms with lots of edges, because light refraction and Distortion can make those details appear rougher.
See Everything Instantly ⚡
One of the most frustrating things when creating heavy effects is having to wait for a Render after every small change. Glaze focuses on Real-Time Interactive Preview, letting you see the result instantly as you change Thickness, Refraction, Roughness, and other settings.
This is especially useful when you’re searching for a specific look because you can quickly increase or decrease Refraction, adjust Frost, move the Reflection, or switch the Distortion model and immediately see which result works best. In version 1.0.2, the speed of the first Render and performance with animated Shapes have also been improved, giving you a smoother Workflow. 🚀
For Professional Work, Appearance Isn’t the Only Thing That Matters 🎬
Glaze is built for projects where glass is genuinely part of the design and Animation—from Logo Reveals and Titles to Liquid Glass UI, Frosted Panels, Social Graphics, Lower Thirds, Crystal, and even Chrome and Metal Looks.
For processing, it also supports GPU acceleration through CUDA and Metal, with CPU Fallback when a GPU isn’t available. This means you can use the best processing method for your system and project needs.
Overall, what makes Glaze appealing isn’t just the large number of controls. It’s that the elements you would normally assemble separately with multiple effects and layers to create professional-looking glass are brought together in a single integrated tool.
A Few Tips to Keep Your Glass from Looking Artificial 🎯
Now that you have the tool, there’s one important thing to remember: more effects don’t necessarily mean better results. In fact, glass tends to look better when you adjust Distortion and Reflection according to the scene.
- Don’t push Refraction too high. For many projects, subtle light refraction looks much more natural than extreme Distortion.
- Match Thickness to the layer itself. Thin and delicate text usually looks strange with extremely high thickness.
- Reflection should match the scene lighting. If you have very strong reflections without appropriate scene lighting, the glass will look artificial.
- Use Frost in a controlled way. The image behind the glass shouldn’t disappear completely; it’s better if you can still tell that something is behind it.
- Keep Chromatic Aberration subtle. A small amount can create an interesting feel, but too much makes it look more like a digital effect.
- For animated text and logos, treat Refraction as part of the Animation too. When the layer itself moves, changes in the image inside the glass can make the motion much more interesting.
In the end, good-looking glass depends less on piling on effects and more on using the right settings and matching them to the scene. So before pushing every slider all the way up, make a few small adjustments and see which combination actually works best for your project.
So, Who Is Glaze For? ✨
If you work with glass effects often, you probably already know that creating them in After Effects is completely possible, but combining Displacement, Blur, Reflection, and helper layers can become seriously time-consuming. Glaze brings much of this process together in one place so you can get to the result faster. 🪟
From Glass UI and glass typography to Liquid Glass, Crystal, and Chrome, you can create different looks while controlling Thickness, Refraction, Frost, and Reflection at the same time. And when the text or Shape changes, you don’t need to rebuild the entire Setup from scratch every time. ⚡
Ultimately, Glaze lets you spend more time designing and less time wrestling with multiple effects and helper layers. If Glass Effects regularly show up in your projects, having a tool like this can genuinely make your Workflow faster and easier. 🚀
Interested in learning more about After Effects tools? We’ve put together a detailed After Effects tools guide explaining the most common resource types, including plugins, scripts, presets, and templates, so you can easily find the right tool for your workflow.



