

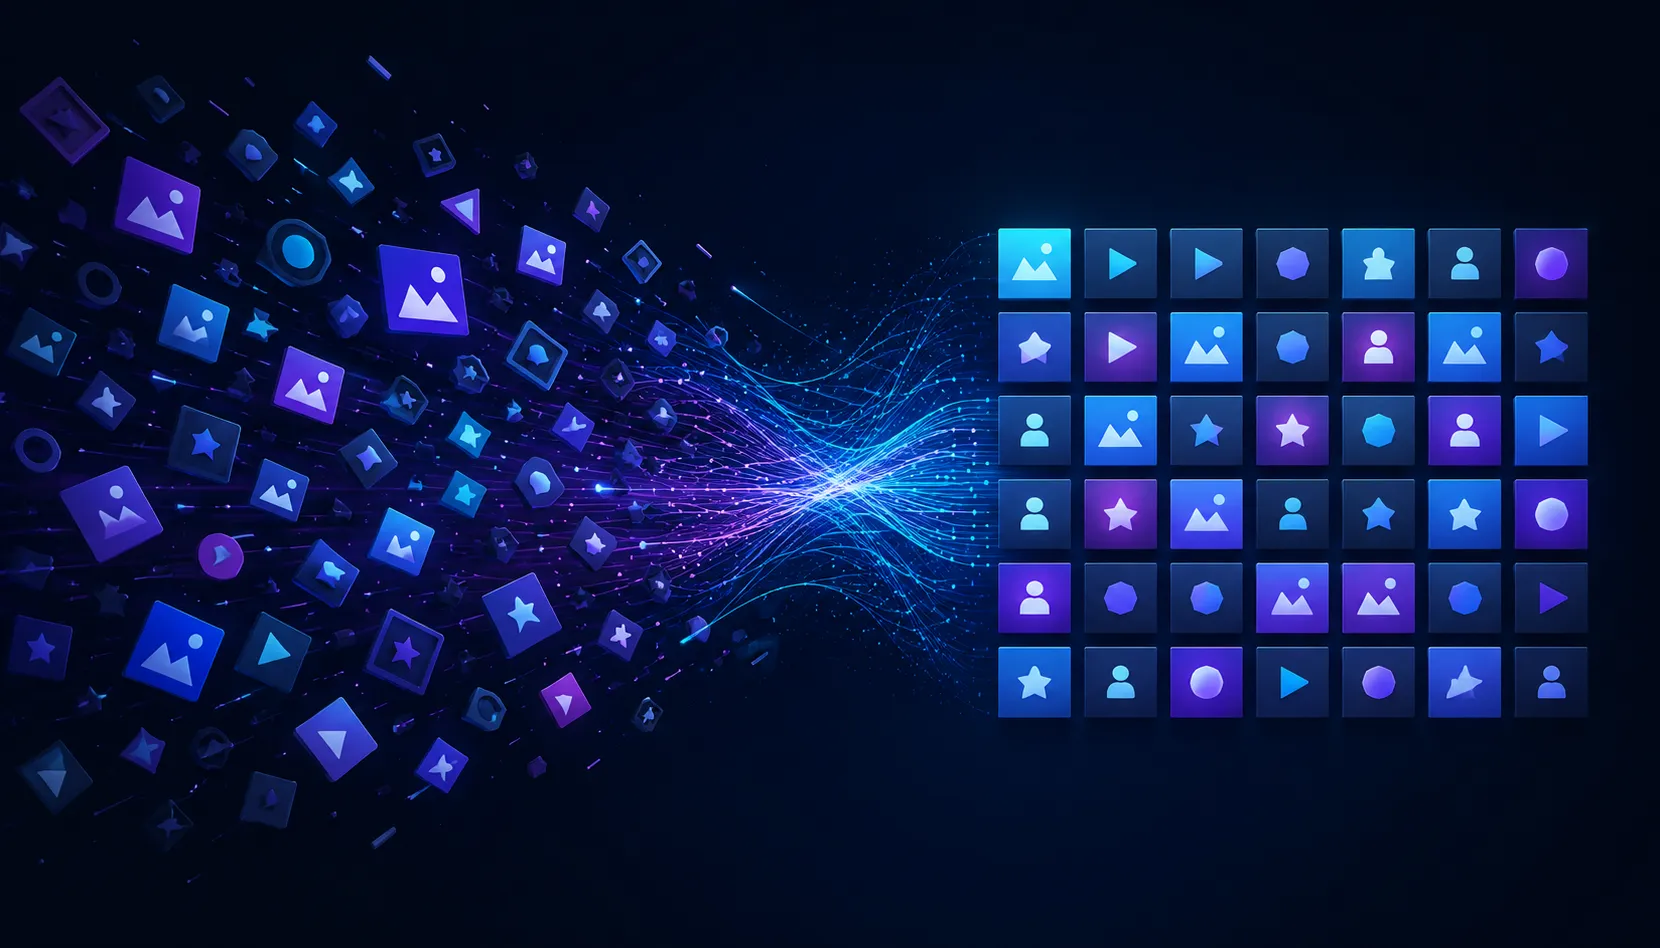
When Multiple Layers Turn into a Major Headache 🎬
Are you familiar with the Grid Builder Plugin by aescripts? Have you ever thought it would be easy to create an animation that contains many different images, logos, text, and shapes? You probably thought it would be easy to set up your project by adding each of these different elements into your composition, setting up your layout, and animating them. Yet, as soon as you attempt to add many of these different Elements to your composition, you find that it becomes more and more difficult to manage each of these elements and their movements.
The problem becomes even more noticeable when you want to make a change midway through the project. For example, you might decide to transform the Grid from a row-based layout to a circular one, change the spacing between elements, or make all layers behave in a particular way. In these situations, you usually have to adjust the Position, Rotation, and Scale one by one, spending a lot of time getting everything right again.
On the other hand, the larger the project becomes, the more difficult layer management gets. The Timeline fills with different Layers, and figuring out which part needs to be changed becomes a challenge in itself. That is why many Motion Designers look for a way to control a large number of Elements more easily, without having to perform countless manual adjustments every time they want to make even the smallest change.

What Is a Grid in Motion Graphics, and Why Is It Important? 🧩
To put it very simply, a Grid is an organized method of arranging Elements side by side. Instead of manually moving every layer around and searching for the correct position, you have a defined structure that helps everything remain organized and aligned.
In Motion Design, a Grid becomes especially important when you are working with a large number of Elements. For example, imagine you want to arrange several images, logos, text elements, or shapes within a scene. You may not have any problems with a few layers, but as the number increases, adjusting spacing, organizing the position of each element, and coordinating their movement gradually become difficult and time-consuming.
This is where a Grid helps everything proceed more smoothly. Instead of adjusting every layer individually, you have an overall structure that makes the design cleaner, changes easier, and animations more professional.
For example, a Grid can be highly useful in projects like these:
- Displaying Multiple Images or Products in an Advertisement:
For example, a brand may want to introduce several products or images in one video. With a Grid, you can arrange all these images neatly and animate them easily. - Creating a Wall Animation with a Large Number of Elements:
Some motion graphics are filled with cards, logos, text, or small objects that together form an animated wall. Without an organized structure, controlling the project becomes very difficult. - Animating Logos, Cards, and Brand Elements:
When multiple logos or Graphic Elements need to move simultaneously, a Grid helps preserve the spacing and coordination between everything. - Creating Technology Effects and UI Animation:
Many user interfaces, dashboards, digital networks, and Futuristic animations use Grid-based layouts.
However, the important point is that a Grid is not only used for organizing layers. What truly matters in motion design is how easily you can modify and animate the layout after creating it. Being able to move the entire structure, adjust spacing, switch layout styles, or control multiple Elements simultaneously helps you achieve the result you want much faster.
That is why having a good Grid system can be one of those things that may not seem very important at first, but once you start working on larger projects, you will clearly notice the difference.
Creating a Grid in After Effects Without Additional Tools; What Options Do We Have? ⚙️
After Effects itself provides several tools and methods for creating a Grid. If the project is simple, these built-in tools can often get the job done. However, to achieve a more professional result, you usually need to combine several different techniques.
One common method is to use the Align panel to organize layers. With this method, you can place multiple Elements side by side and adjust the spacing between them. For simple layouts involving a few images, text elements, or Shapes, this method is fast and practical.
Other methods commonly used for creating a Grid include:
- Shape Layer and Repeater:
By using Shape Layers and the Repeater feature, you can create repeating patterns, such as multiple squares, lines, or similar Elements arranged side by side with defined spacing. - Expressions:
For more complex projects, Expressions can automatically control the Position, Rotation, or Scale of multiple layers. This method provides greater flexibility and is useful for creating more precise animations. - Null Controller:
By creating a Null and linking multiple layers to it, you can control the overall movement or changes of the Grid. This method makes project management easier, especially when the number of layers increases.
Overall, these methods work well for many projects, and if you are working with a limited number of layers, they will probably meet your needs. However, as the project grows and the number of Elements increases, the limitations of these methods become more noticeable.
Limitations of Creating a Grid Manually
The main problem is that as the number of layers increases, controlling these structures becomes much more difficult. Any change, such as moving a section of the Grid, changing the spacing between elements, or transforming one Layout into another, may require many manual adjustments. Creating more complex layouts, such as spherical Grids, arranging elements along a Path, or creating interactive behaviors, also usually requires longer Expressions and more time. As a result, instead of focusing on design and creativity, a large portion of your time is spent managing and organizing layers.
Grid Builder: A Professional Grid-Building Engine for After Effects 🚀
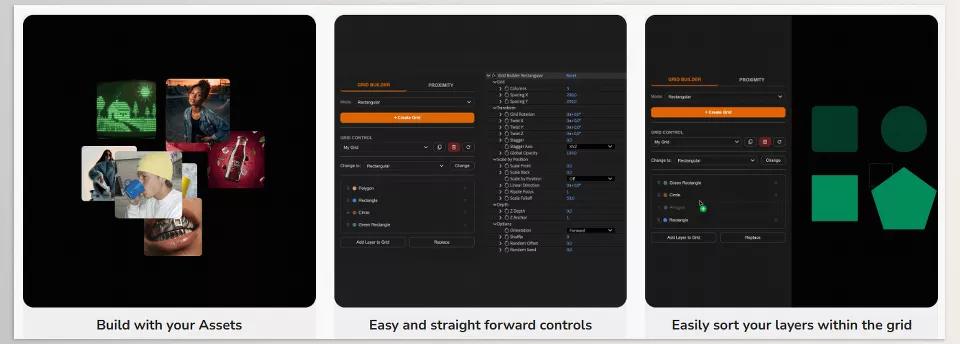
This is where Grid Builder enters the picture. This tool is a professional engine for creating, managing, and animating Grids inside After Effects. Instead of dealing with dozens of layers and manual settings, it allows you to manage everything through a controlled system.
The main idea behind Grid Builder is to simplify complex structures. It does not matter whether you are working with text, Shapes, vectors, images, Footage, or PreComps; you can add them to the Grid, define how they should be arranged, and then easily create animations across the entire structure. All the main controls are also available through a Null Controller, helping the project remain more organized while giving you greater control over the final result.
Create Four Different Types of Grids for Any Type of Project 🧩
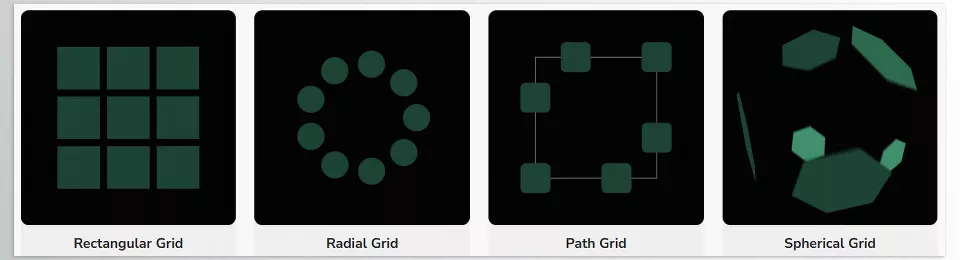
One of the most interesting aspects of Grid Builder is that it does not offer only one simple layout style. The tool includes four different Grid modes, each designed for a particular type of design and animation.
Rectangular Grid: Organized and Classic Layouts
This mode provides the familiar row-and-column Grids commonly used in many everyday Motion Design projects. If you want to arrange a large number of Elements side by side with precise spacing, this mode completes the task very quickly.
For example, you can use it for:
- Image Galleries:
Creating a wall of photos or displaying multiple images in an introductory animation. - Product Displays:
Arranging several products, cards, or promotional items inside an organized Layout. - Organized Typography:
Creating text animations in which multiple words or letters need to move according to a specific structure. - UI Animation:
Designing user interfaces, dashboards, or screens containing a large number of organized Elements.
Radial Grid: Creating Circular and Eye-Catching Layouts
In Radial Grid mode, the elements are arranged in a circular layout rather than in rows and columns. This layout is highly useful for creating motion graphics that convey movement, rotation, or focus around a central point.
For example, it can be used for:
- Rotating logos and branding animations
- Circular infographics
- Technology and Futuristic motion graphics
- Creating effects in which Elements move around a central point
Using this type of Grid makes creating these animations much faster compared to manual methods.
Path Grid: Placing Elements Along a Custom Path
Sometimes you do not want the Elements arranged in a flat or circular Grid. You may want them to move along a specific path or be arranged according to a particular shape. This is where Path Grid becomes useful.
In this mode, you can select a predefined path or create your own custom path so that the layers are placed along it. This feature is highly useful for creating animations in which Elements follow a line, curve, or specific path.
For example:
- Moving multiple icons along a path
- Creating Abstract paths
- Data-driven and technology animations
- Arranging elements in unusual shapes
Spherical Grid: Creating Three-Dimensional Structures
If you want to distribute Elements in a spherical, three-dimensional arrangement, Spherical Grid makes it possible. This mode is highly appealing for creating space-themed, Abstract, technology, and 3D animations.
Instead of placing the layers one by one in three-dimensional space, Grid Builder distributes them in a completely organized way across a spherical structure.
Control Everything with One Null; Without a Cluttered Timeline 🎛️
One common problem when working with a large number of Layers is that the Timeline quickly becomes cluttered. Grid Builder solves this problem with its centralized control system.
Every Grid you create receives its own dedicated Null Controller, and all the main settings are controlled through it. This means that instead of searching through dozens of different Layers, you can make most changes from a single point.
With this method:
- The Timeline remains more organized.
- Controlling the Position, Rotation, Scale, and Grid settings becomes easier.
- Modifying the entire structure becomes faster.
- You still retain individual control over each Layer.
For example, you can create a Grid containing multiple logos, rotate the entire structure, adjust the spacing between the logos, and simultaneously apply a separate Effect or Animation to an individual logo.
Proximity Effects: When Elements React to Their Surroundings ✨
One of Grid Builder’s most advanced features is the Proximity system. This feature allows the Elements within the Grid to do more than perform a simple animation—they can react dynamically as an Effector or control object approaches.
In other words, you can create a control point and define how the surrounding Elements should behave.
For example:
- The Elements become larger as the Effector approaches (Scale).
- The visibility of the Elements changes as a control point moves (Opacity).
- The layers rotate toward or look at the Effector (Look At).
- The Elements move closer to or farther away from a point (Attract / Repel).
- The Rotation of the layers changes based on their distance from the Effector.
This feature transforms Grids from simple layouts into more interactive and dynamic systems.
Multiple Proximity Groups for More Precise Control
One of the great advantages of Grid Builder is that you are not limited to a single behavior. You can create multiple Proximity Groups and assign a different function to each one.
For example:
- Group 1: The approaching Effector changes the Scale.
- Group 2: The same movement affects the Rotation.
- Group 3: It influences the Opacity of the Elements.
You can even place multiple Effectors inside the same group so that all of them influence a single behavior.
This means you can build animations with multiple simultaneous reactions without having to write complex Expressions for every Layer.
Morph Between Grids; Change the Layout Without Rebuilding Everything 🎨
Another impressive feature of Grid Builder is the ability to morph between different Grid layouts. This means you do not have to rebuild everything every time you want to change the project’s Layout.
Imagine that you have a collection of Elements arranged in a rectangular Grid, but later in the animation, you want those same Elements to smoothly transform into a spherical structure or another completely different arrangement.
With the Morph feature, you can perform this transformation using a single control and create a smooth Transition between different layouts while still maintaining control over the Layout and its primary settings.
This feature is especially useful for creating Intros, Transitions, logo animations, and Abstract motion graphics because it allows complex structures to animate much more quickly.
Overall, Grid Builder is much more than just a tool for creating Grids. It is a complete system for managing and bringing large numbers of Elements to life inside After Effects. What makes it so useful is the combination of multiple features working together—from quickly creating different Layouts, to controlling everything with a single Null, generating Proximity-based interactions, and Morphing between different Grid layouts. Instead of spending your time organizing layers and repeating the same manual adjustments, you can focus more on your ideas and the final design while creating more complex animations with greater speed and control.
Tips for Achieving More Professional Results with Grid Builder 💡
Grid Builder offers many powerful features for creating complex animations, but how you use them significantly affects the final result. A few simple tips can help make your projects cleaner, more natural, and more professional.
- Organize Your Layers Before Creating the Grid
Before you begin, decide which Elements should remain independent and which ones should be placed inside a PreComp. This makes the project much easier to manage later. - Use Proximity to Create a Sense of Life
Instead of animating every movement manually, let the Elements react to Effectors. This makes your animations feel more natural and engaging. - Keep the Motion Controlled
Excessive changes in Scale, Rotation, or Position can make the final result look cluttered. In most cases, smooth and coordinated movement creates a more professional appearance. - Combine Multiple Grid Types
Do not limit yourself to a single Layout. Combining different Grid types and using the Morph feature can create more interesting Transitions and more creative structures.
By following these simple tips, you can use Grid Builder for much more than simply arranging Elements—you can create more creative and professional animations.
When Managing Hundreds of Layers Becomes Easier 🎯
Ultimately, the real value of Grid Builder lies not simply in arranging several layers within a Grid. What truly makes this tool stand out is that it removes many repetitive and time-consuming tasks from your workflow. Instead of spending hours adjusting spacing, repositioning Elements, and coordinating the movement of dozens of Layers, you can build the structure you need much faster and dedicate more time to the creative side of your project.
If you frequently work on projects filled with images, logos, text, Shapes, or various Elements, you already know how time-consuming it can be to manage so many layers. Grid Builder helps you stay in control even when your project becomes large and complex—from creating different Layouts to building responsive animations with Proximity and transforming between Grid layouts with Morph.
In reality, Grid Builder is a tool designed to make the life of Motion Designers easier. Not simply because it creates Grids, but because it helps you bring your ideas to life more quickly while spending less time on repetitive manual work. If multi-layer animations, complex layouts, or Element-heavy motion graphics are an important part of your workflow, this is one of those tools whose absence you will eventually notice in your projects.
Are you searching for a clear explanation of After Effects tools and their categorization? Check out our guide to After Effects tools to learn more about the most common tools within After Effects and their differences.



