

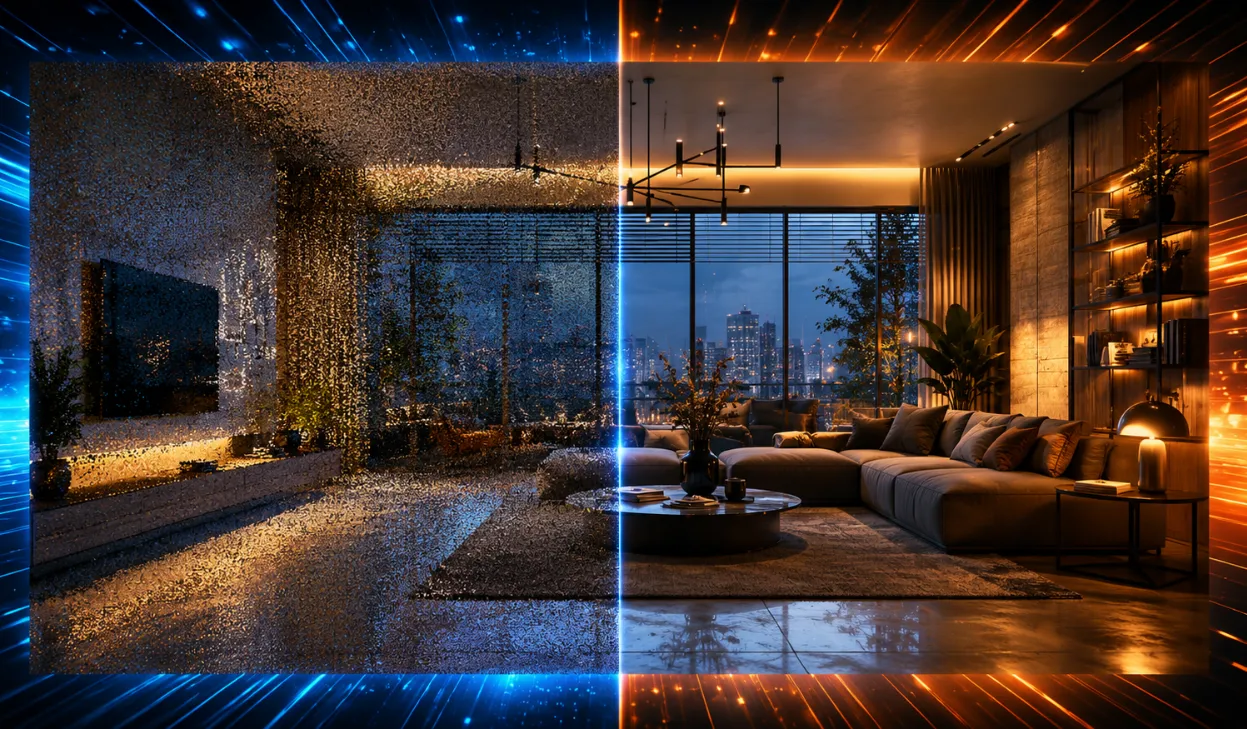
🌪️ When Rendering Is No Longer the Bottleneck of Your Project
Are you experienced in using the K-Cycles? If you’ve ever worked on a heavy animation or motion graphics project, you’ve probably experienced this before. Everything is going smoothly… you’re completely in the zone, the scenes are coming together, the lighting is falling into place, and the project is finally coming to life. But the exact moment you think you’ve reached the finish line, you step into the hardest part of the journey: rendering.
Here, your computer likely began to struggle. Complex projects require substantial computational power to render the correct image frames at the desired resolution. At this point, your viewport may have become sluggish, noise in your images may have become visible, and you may have found yourself in a cycle of rendering your scenes over and over again to make adjustments.
And that’s exactly where the real problem begins. At this stage, it’s no longer just about building a great scene. What actually makes the process difficult is that you can’t quickly see what your work will really look like. The speed of reviewing the result and controlling the final output becomes the biggest bottleneck of the entire project.

🎯 Rendering Isn’t Just an Output — It’s a Living Process
In animation and motion graphics, rendering isn’t simply about exporting an image or a video at the end of your project. It’s much more like a continuous cycle—a living process where you’re constantly reviewing, refining, and testing your work. Every small change to the lighting, materials, or camera can completely transform the final result, forcing you to preview the output repeatedly until it matches what you envisioned.
🌫️ Heavy Noise at Low Sample Counts
When rendering quick previews with low sample counts, the image usually becomes filled with visible noise and grain. That noise often makes it difficult to accurately judge whether your lighting or materials actually look good. Before you can even evaluate your scene properly, you have to wait for a cleaner render just to know whether you’re heading in the right direction.
⏳ Long Wait Times for Usable Results
On complex projects—especially when using Cycles—it can take a significant amount of time to achieve a clean, production-ready render. Even a single frame may require several minutes or even hours. This slows down the entire decision-making process because every minor adjustment means waiting once again before you can evaluate the result.
💡 Challenging Lighting Control in Complex Scenes
As scenes become more detailed—with multiple light sources, various materials, and deeper compositions—lighting becomes much more delicate and demanding. A single lighting adjustment can unexpectedly affect many other parts of the scene, forcing you to repeatedly tweak, test, and rebalance everything until you achieve the desired look.
👁️ Limited Accuracy Between the Viewport and Final Output
One of the biggest challenges is that what you see inside the viewport isn’t always identical to the final render. Effects, denoising, final color grading, and post-processing usually appear only in the completed render. Because of this difference, you’re never completely certain what the final result will actually look like until the render finishes.
All of these factors together turn rendering from a simple final step into an integral part of the creative process itself. The larger and more professional the project becomes, the more frequently this cycle repeats—making the workflow both more time-consuming and more mentally exhausting.
🧰 What Happens Before Advanced Tools?
Under normal circumstances, Blender users rely entirely on the application’s built-in rendering workflow. Every part of the process must be managed manually, and every decision has to be made by the artist. From the main render to lighting and final output, everything depends on Blender’s standard toolset.
The most commonly used components include:
- The Cycles render engine for final rendering.
- Built-in denoisers such as OptiX and OpenImageDenoise for noise reduction.
- Manual adjustment of lighting, samples, and bounce settings to balance quality and render time.
- Using the Compositor for color correction, visual effects, and final output adjustments.
With this workflow, almost everything depends on the user’s experience and continuous trial and error.
⚠️ The Challenges of This Workflow in Real Projects
The main issue is that although this workflow is reliable and widely accepted, it quickly becomes slow and exhausting for demanding production work. Achieving a satisfying result usually requires countless render passes, constant parameter adjustments, and endless testing. As a result, a large portion of the project is spent waiting for renders instead of designing and creating.
At the same time, the lack of an accurate real-time preview and limited instant control make decision-making much more difficult and unpredictable—especially as scenes become larger and more complex.
⚡ When K-Cycles Becomes Part of the Workflow
This is where K-Cycles changes the experience from the ground up.
What you’re getting isn’t just another add-on or an extra rendering option. It’s an optimized version of Blender built around three core goals: more speed, more control, and immediate visual feedback.
Instead of constantly dealing with long render times and repetitive testing, many creative decisions can now be made directly inside the viewport in real time. The workflow shifts from “Render it and see what happens” to “Adjust it and instantly see the result.”
🚀 Key Features and Capabilities of K-Cycles
🌫️ Ultra Denoiser (Ultra Temporal Denoiser + GPU Denoising)
Removes image noise much faster and more intelligently while preserving fine details. Especially in demanding renders or scenes with complex lighting, it allows you to achieve clean, usable results even with lower sample counts. Parts of the denoising process are also GPU-accelerated and performed before the Compositor stage, resulting in even faster performance.
🎬 Real-Time Playback System
Allows lighting, materials, and scene changes to become visible almost instantly. Instead of entering a full rendering cycle for every small adjustment, many creative decisions can now be made directly inside the live viewport.
💡 Ultra Lighting & Light Mixing
One of the most important parts of K-Cycles, transforming lighting control beyond the traditional workflow.
You can manage lights live, switch between Light Groups, solo individual lights, independently adjust intensity, color, and exposure, and even create presets for entire scenes or different lighting groups.
This gives you complete control over the final mood of your image without relying on guesswork and lengthy testing.
🎨 Viewport PostFX (Viewport Post Processing)
A collection of real-time effects built directly into the viewport—effects that would normally be added later in the Compositor—including:
- Bloom
- Lens Flare (Anamorphic, Glow, Ghosting)
- Tone Mapping
- Lens Effects such as Vignette, Chromatic Aberration, and Film Look
The important part is that all of these effects are simulated directly on the final image while you’re working—not only during final rendering.
📷 Advanced Render Camera (Per-Camera System)
Each camera can have completely independent settings, including lighting, PostFX, resolution, and output configuration.
This allows every shot to have its own visual style without affecting the rest of the scene.
🎥 Render Cameras (Multi-Camera Rendering System)
Supports rendering from multiple cameras either simultaneously or individually.
Outputs can be previewed inside the Image Editor, automatically stored in separate slots, or organized by camera name.
This feature is especially valuable for animation and shot-based production workflows.
💡 Advanced Ultra Lighting Features
One of the areas where K-Cycles fundamentally changes the lighting experience is its Ultra Lighting system. Here, lighting is no longer just a source of illumination—it becomes a fully controllable, layered creative tool for shaping the mood of your image.
With Light & Shadow Linking, you can precisely define which objects each light affects and exactly where its shadows should appear. Lighting moves beyond scene-wide adjustments into a highly detailed artistic workflow where every light can be directed exactly as intended.
The Lightgroup-based Control system lets you organize lights into manageable groups. Instead of dealing with dozens of scattered lights individually, you can control them through structured groups, making complex scenes significantly easier to manage.
Controls such as Solo, Visibility, Exposure, and Color for each light make it possible to instantly evaluate how each light performs, individually or alongside others. Lighting becomes a fast creative process rather than a slow cycle of guessing and testing.
Everything becomes even more powerful with Real-Time Lightgroup Mixing, which lets lighting groups be mixed live and instantly preview the result—without waiting for lengthy renders.
Finally, Compositor Integration extends this workflow beyond the viewport, allowing lighting passes to move directly into compositing while preserving the same professional lighting structure.
⚡ Performance System (Rendering Optimization)
The K-Cycles Performance system focuses on accelerating and optimizing the entire rendering pipeline.
One of its most important features is GPU Boost, which optimizes GPU usage, especially VRAM management and processing performance. Heavy scenes become more stable while reducing performance drops.
Global Illumination Presets let you instantly switch between lighting quality modes without diving into complex settings.
Sampling Presets follow the same philosophy, allowing you to quickly balance quality and render time without constantly adjusting sample values manually.
Reducing Viewport Updates also keeps navigation smoother, especially in larger scenes with many objects.
Ultimately, the entire workflow runs on an Optimized Rendering Pipeline for both Cycles and EEVEE, designed to make everything—from viewport preview to final rendering—as smooth, fast, and predictable as possible.
🧠 Advanced PostFX Controls
The PostFX system focuses on making final image effects available directly in the viewport rather than limiting them to the final output stage.
One of the most important capabilities is Masking, allowing you to specify exactly which objects or regions each effect should influence. For example, Bloom can affect only selected areas instead of being applied uniformly across the entire scene.
The Preset System allows PostFX configurations to be saved and reused later in different projects or shots without having to rebuild everything from scratch.
Viewport Match is one of the most valuable features because it ensures that what you see in the viewport accurately matches the final rendered output. This makes decisions about color, lighting, and visual effects much more reliable.
Animation-ready controls also allow every effect to animate over time rather than remain static on a single frame.
Finally, Transparency Support makes these effects equally suitable for sprites, decals, and layered production workflows without being limited to conventional rendering scenarios.
Ultimately, what makes K-Cycles different isn’t simply the addition of new tools. It’s the fact that it transforms the entire workflow from a slow, repetitive process into a living, controllable, and predictable creative system.
Instead of constantly waiting for results, you’re continuously viewing, adjusting, and making creative decisions—the exact workflow professional animation and motion graphics projects demand.


🧠 Tips for Getting the Best Results
To get the most out of K-Cycles, here are a few simple yet important practices to streamline your workflow and make it more professional.
- 🔥 If you’re working on a heavy project, use Ultra Denoiser so you can achieve clean, usable renders with lower sample counts while significantly reducing render time.
- 💡 Test your lighting using Light Mixing to quickly explore different moods and reach the final lighting setup without performing full renders repeatedly.
- 🎨 Use Viewport PostFX for fast creative decisions, allowing you to preview the final look before rendering.
- 📷 For multi-camera projects, manage Render Cameras independently so every shot can be controlled separately, making animation workflows cleaner and more organized.
Ultimately, these practices are designed to help your workflow move away from slow, repetitive rendering cycles so you can reach the creative vision in your mind much faster.
🔚 When Rendering Stops Being a Step and Becomes an Experience
In the end, the real story is that the biggest difference with K-Cycles isn’t simply “more speed.” The whole way you work changes. It’s no longer that moment where you start a render, walk away to make a cup of tea, and hope the result turns out the way you wanted.
With K-Cycles, any adjustments to the project will immediately be reflected in the screen’s output. You can work with the project’s output as you work on it. This provides more control and less frustration with the project and less wasted time on performing the same renders in a row.
For animation and motion design projects specifically, this workflow change will significantly impact the work performed in Blender. This is one of the many ways in which K-Cycles can change the way that you work in Blender.
If you liked K-Cycles and you want a complete understanding of Blender tools and how to use them effectively in your projects, don’t miss our Blender Tools article, which walks you through every tool step by step.



