

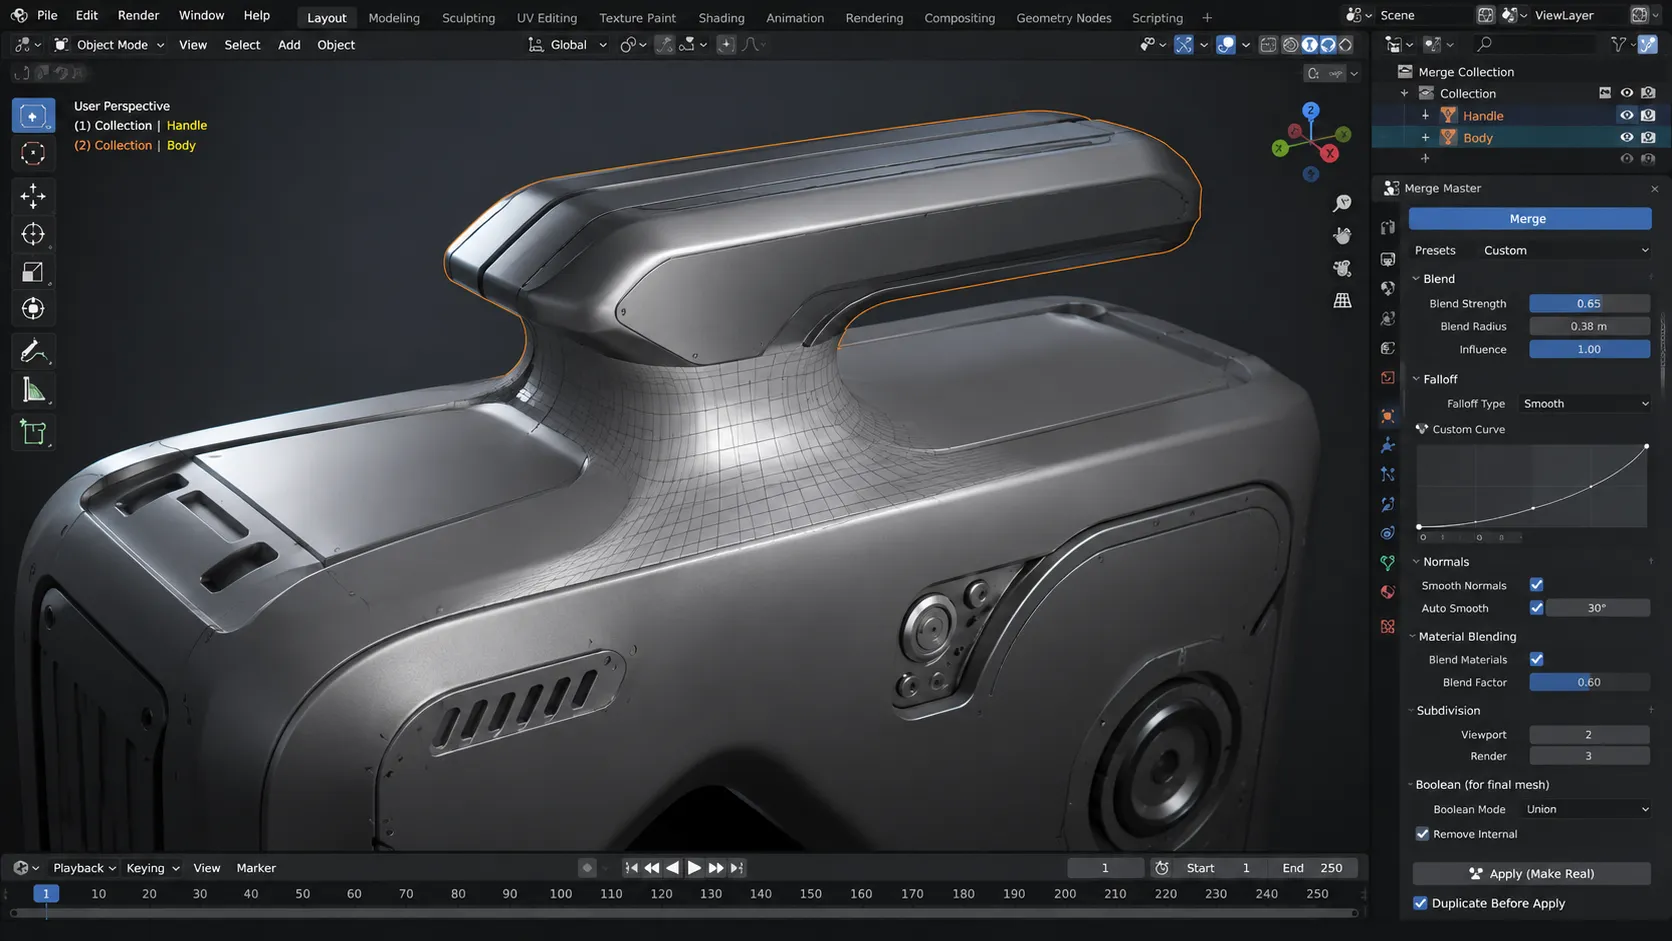
From Two Separate Objects to One Unified Model—Without Ruining the Mesh ✨
Are you familiar with how the Merge Master Addon by Superhivemarket works? Have you ever wanted to connect two 3D models together, only to end up with something completely different from what you had in mind? For example, adding a part to the body of a product, combining multiple forms into one, or creating a smooth transition between two meshes—only to use a Boolean operation or manual editing and realize the surface isn’t clean, and the model doesn’t have the seamless look you were aiming for.
The main challenge is that creating a natural connection between two objects isn’t just about placing them next to each other. The transition between the two surfaces needs to look smooth and realistic, the model’s details should remain intact, and if you decide to change the shape of the connection midway through the design process, you shouldn’t have to spend hours fixing the mesh all over again. This becomes especially important when working on product design, hard-surface models, or 3D concepts where you’re still experimenting with different ideas.
That’s where a faster, more flexible way to combine models can eliminate a lot of the frustration of modeling. A method that lets you control the connection between two meshes more easily, see the results instantly, and experiment with different ideas without damaging the original model.

Creating Seamless Connections in 3D Models 🧩
In 3D modeling, simply placing two objects next to each other often isn’t enough. What makes a model look professional is when the connection between its different parts is so natural that it feels like they were always a single piece.
When adding on a button to a product, for instance, the connection between the product and the button has to be seamless. No matter how good the materials look on the product or how good the lighting is going to be, a bad connection between the two objects will ultimately work against the model as a whole. However, a smooth and seemingly connected transition between the two objects will produce an end model that is professional and realistic in its appearance.
This isn’t limited to industrial models. In organic models and creative concepts, when you’re blending multiple forms together, it’s equally important that the boundaries disappear and everything looks like one continuous shape. That’s why tools that simplify the process of connecting and blending meshes can significantly speed up the design workflow and make it much easier to experiment with different ideas.
Common Methods for Connecting Models in Blender 🛠️
Before specialized tools existed for this purpose, most artists relied on Blender’s built-in features to combine objects. These methods are still useful today and work perfectly well for many projects, but each follows a different workflow.
Some of the most common methods include:
- Boolean: One of the fastest ways to combine two models or create cuts between them. It allows you to quickly add one object to another or subtract part of it. It’s extremely useful for creating base shapes and testing ideas.
- Remesh: With this method, Blender recalculates the geometry so that multiple objects become a single unified volume. It’s especially effective for organic models and forms that require smooth transitions.
- Manual Editing in Edit Mode: If you need more control, you can manually adjust vertices, edges, and faces in Edit Mode. Although this method takes more time, it provides greater flexibility for projects where fine details are critical.
The Challenges of Traditional Methods 😅
Although these techniques can produce good results, their limitations become more noticeable in larger or more complex projects. After combining models, you’ll often spend a significant amount of time cleaning the mesh, fixing edges, or resolving topology issues. On top of that, if you decide to change the shape of the connection midway through the design process, you may have to repeat several steps from scratch.
This becomes particularly frustrating during the concept phase, when you’re experimenting with different ideas. Even a small change can result in a lot of repetitive work and wasted time.
Merge Master—Connecting Models Without Damaging the Original Mesh ✨
This is where Merge Master comes in. This Blender add-on is designed to simplify one of the most time-consuming parts of modeling—connecting multiple models together—without forcing you to permanently alter the original mesh or make irreversible changes from the start.
All you have to do is select the two models that you want to connect and activate Merge Master. The two models will automatically connect. You can then tweak the blend strength, the amount of fusion between the models, the smoothness of the connection between the models, and a variety of other parameters until the models look exactly as you would like them to look.
Nothing is permanent with Merge Master until you want it to be. This means that you can experiment with a variety of connections between the models until you find the one that you like. Once you do, you can convert the connection between the two models into actual geometry that Blender can understand and use in your project. In this way, you can always see the result of your modeling efforts first before you commit to it by finalizing the merge.
What Makes Merge Master So Useful? 🎯
Live Connections—See the Result Instantly
One of the most impressive aspects of Merge Master is that everything happens in real time. When you connect two models, you don’t need to repeatedly run operations, wait for calculations, or go through multiple steps. Every adjustment you make is reflected on the model immediately.
Want to see how a softer transition looks? Or what happens if the blend depth is increased? Simply adjust the settings and the result updates instantly. This is particularly valuable during the design phase because it encourages experimentation without fear of making irreversible changes.
Preserve the Original Topology and Mesh Structure
One of the biggest drawbacks of traditional workflows is that combining two models often alters the mesh structure, making the project harder to manage.
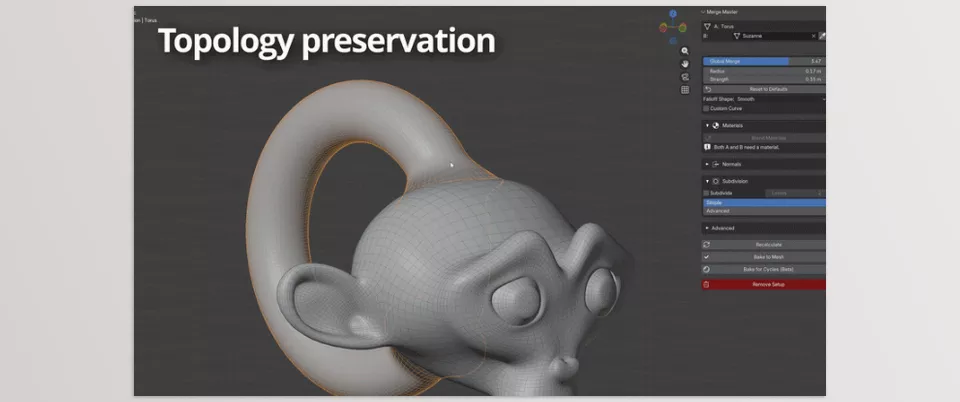
Merge Master is designed as a non-destructive workflow, allowing your original models to remain untouched. Important data such as mesh structure, vertices, faces, and topology are preserved.
This means that if you decide to reshape one of the parts later, you don’t have to rebuild everything from scratch. You remain in full control of the original model. For projects that go through multiple design iterations or are still in the concept phase, this can save a significant amount of time.
Preserve UVs for a Smoother Workflow
In 3D projects, geometry isn’t the only thing that matters—texture and material data are equally important. One common issue with some mesh-combining techniques is that geometry changes may require you to recreate your UV mapping.
Merge Master is designed to preserve the models’ UV information whenever possible, allowing you to continue using the same textures, materials, and downstream workflows after creating the connection. This is particularly useful for artists working on render-ready assets, product design, or texture-heavy projects.
Full Control Over the Shape of the Connection
Every connection requires a different appearance. Sometimes you want two parts to blend together as smoothly as possible, such as in an organic model or product design. Other times, the connection should retain a stronger, more industrial appearance.
Merge Master allows you to control the blend strength, blend radius, and the way the transition spreads between two surfaces. By adjusting these settings, you can determine how wide the connection should be, how soft it appears, and how well it integrates with the original shape.
Smooth Normal Control for More Natural Surfaces
In 3D modeling, geometry alone doesn’t determine quality—the way light interacts with the surface is just as important. Merge Master includes controls for managing normals around the connection area, helping surfaces appear smoother and more natural during rendering. This becomes especially important for close-up renders, glossy materials, and product visualization, where even small shading inconsistencies can become highly visible.
Combine Multiple Objects onto a Single Base Model
Imagine having one primary body with several separate components attached to it. For example, an industrial product consisting of multiple parts, or a conceptual model built from several independent forms. With Merge Master, you can connect multiple objects to a single base surface while managing each connection individually.
You can even use a model that has already been merged as the foundation for another connection, allowing you to continue building your design without finalising previous steps.
More Natural Material Blending at the Connection
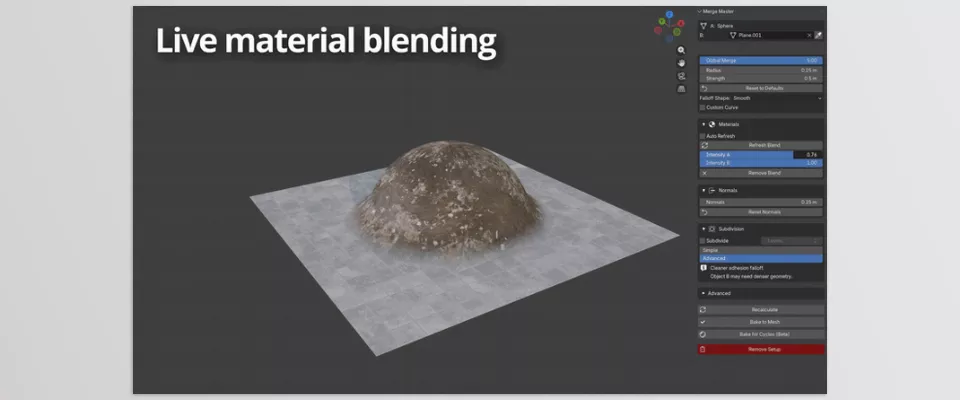
Sometimes the issue isn’t the geometry—it’s the abrupt transition between different materials. Merge Master also supports blending materials around the connection area, making the transition between two surfaces appear much more natural. For example, when combining two objects with different materials or surface appearances, you can soften the transition so the boundary becomes far less noticeable.
Control How the Blend Spreads with Falloff Curves
One of Merge Master’s more advanced features is the ability to control how the blending effect spreads across the surface. You can define exactly how the influence of the connection fades outward from the merge point.
Several preset falloff modes are available, including smooth, linear, and sharper transitions. If none of them matches your needs, you can create your own custom falloff curve. This allows the final result to more closely match your intended design.
Higher Quality Through Subdivision Control
To make transitions appear smoother and more natural, Merge Master also provides controls for mesh subdivision. This allows you to balance speed and quality—working quickly during the design phase while increasing mesh quality for the final output.
Boolean Option for Specialized Outputs
In some workflows—particularly when preparing models for manufacturing or 3D printing—extra internal geometry can become problematic. Merge Master includes an optional Boolean mode that removes unnecessary internal geometry, resulting in a cleaner model that’s better suited for final export.
Convert the Connection into Final Geometry
Once you’ve achieved the result you’re looking for, you can convert the generated connection into real mesh geometry. This gives you complete creative freedom during the design process while still allowing you to produce a finalized mesh for rendering, exporting, 3D printing, or further modeling. You can even save a backup of the previous state, making it easy to return to earlier settings if needed.
Overall, what makes Merge Master stand out isn’t simply that it connects two models together—Blender already provides tools for that. The real difference is that it transforms the entire process into a fast, controllable, and non-destructive workflow that can save hours of cleanup, revisions, and trial-and-error in real-world modeling projects.
A Few Tips for Better Results with Merge Master 💡
Although Merge Master simplifies the process of connecting models, the quality of the final result still depends on proper model preparation and how you use its settings. Here are a few tips to help you achieve cleaner, more natural connections:
- Prepare your models first: Before creating a connection, make sure the models have the correct scale and that there are no issues with normals or mesh topology. Proper preparation often leads to much cleaner results.
- Start with the default settings: Instead of making drastic adjustments immediately, evaluate the initial result first. The default settings usually provide a solid starting point, and small tweaks are often enough to achieve the desired look.
- Pay extra attention to close-up assets: If the model will be used in close-up renders, product visualizations, or marketing images, spend more time refining the transition area. Even subtle improvements in surface smoothness can make the model appear significantly more realistic.
- Experiment before finalizing: One of Merge Master’s biggest strengths is its non-destructive workflow. Try multiple variations before converting the connection into final geometry to ensure you’ve found the best possible result.
Ultimately, the best results come from combining the flexibility of the tool with careful model preparation and attention to detail. Merge Master makes connecting models much easier, but your design decisions and final adjustments are what make the finished model look truly professional.
When Ideas Turn into Models Faster 🎯
In 3D modeling, the problem is often not a lack of ideas. The problem is that executing some ideas becomes so time-consuming that you would rather not attempt them at all. When every small change requires you to fix the mesh again, rebuild the connections from scratch, and repeat several steps, a large amount of your energy is spent on technical tasks instead of creativity.
Merge Master helps make this process easier. Being able to quickly try different forms, see the connection result instantly, and make changes without worrying about damaging the original model gives you greater freedom in the design process. In fact, instead of constantly dealing with model issues, you can focus more on finding a better form and developing new ideas.
If you work in product design, hard-surface modeling, 3D concept creation, or professional rendering, having a tool that simplifies one of the most time-consuming parts of modeling can make a major difference in your workflow. Merge Master is not just a tool for attaching two models together. It is a way to experiment faster, make changes more easily, and turn ideas you may have previously abandoned because of the complexity of execution into reality.
If you really want to understand Blender tools from the ground up and actually know how to use them in your own projects, make sure you don’t miss our full Blender Tools article—we’ve explained everything step by step in a super clear way.



