
📺 A Special Feeling That Still Has Fans…
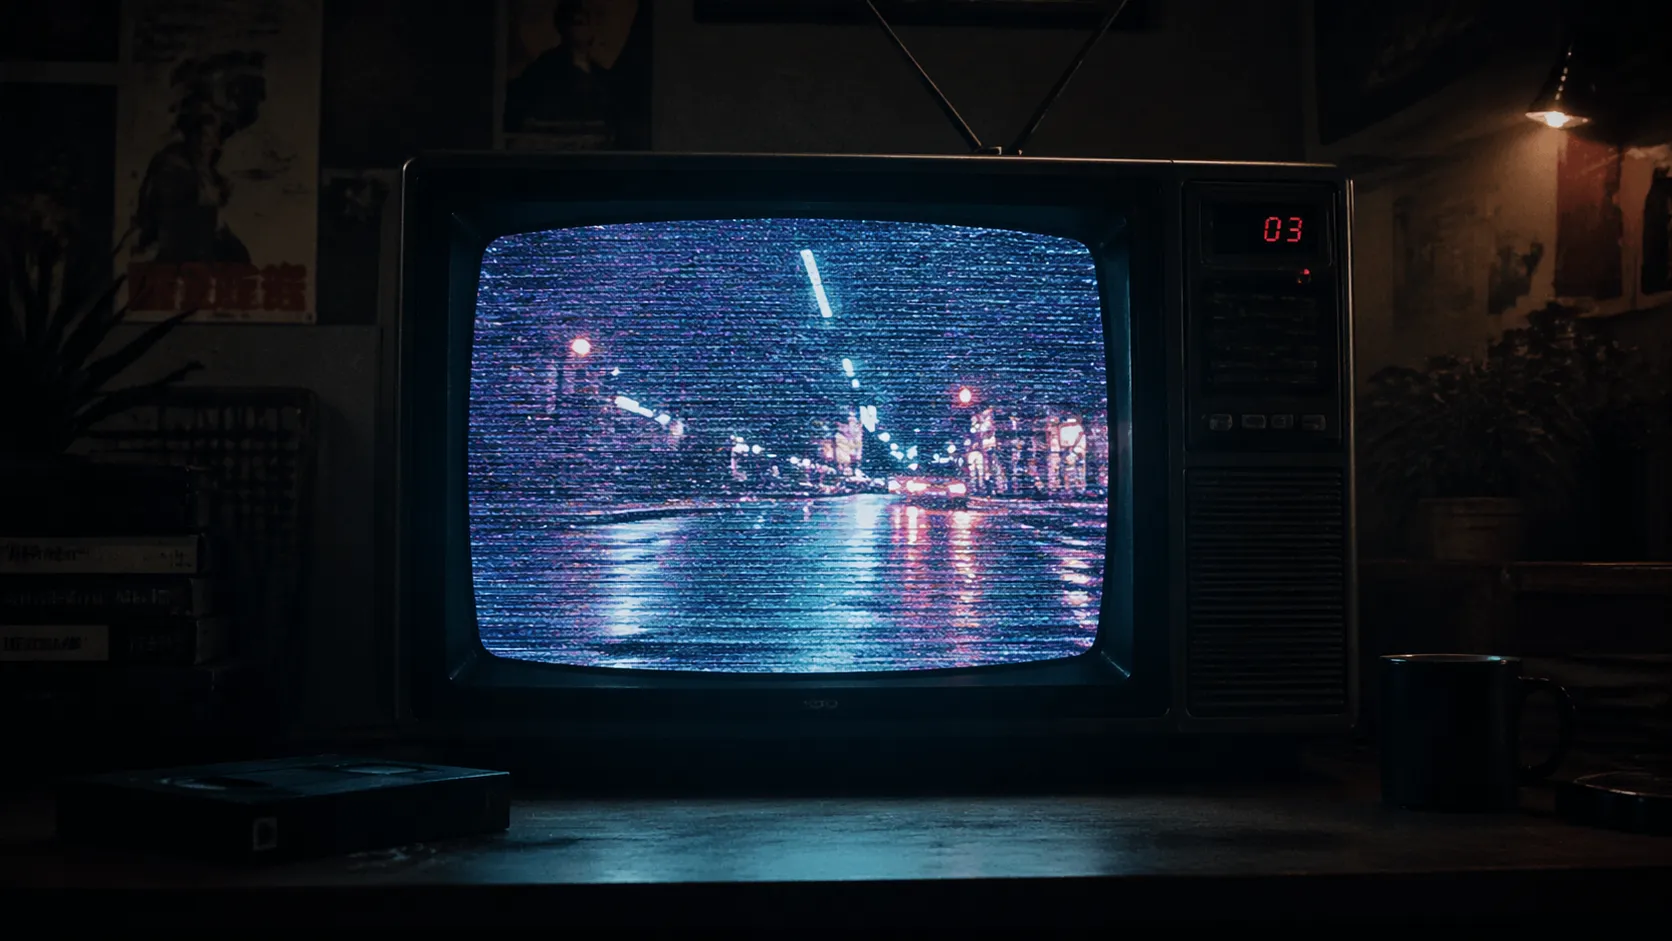
Are you familiar with using the CRT Simulation Plugins? You’ve probably experienced this: you watch an old video and suddenly find yourself drawn to it without even realizing why. That particular image—with its fine lines, subtle noise, and slightly bleeding colors—creates a different kind of feeling that quickly grabs attention.
This type of image has a nostalgic vibe—a warm, lively, and slightly unpredictable feeling that makes the video seem more natural and tangible. Something many audiences still connect with.
That’s exactly why many designers and editors try to recreate this feeling in their work. But the question is: how can you bring this atmosphere into a video in a proper and controlled way? 🎬
📺 What Exactly Is CRT Simulation and Where Is It Useful?
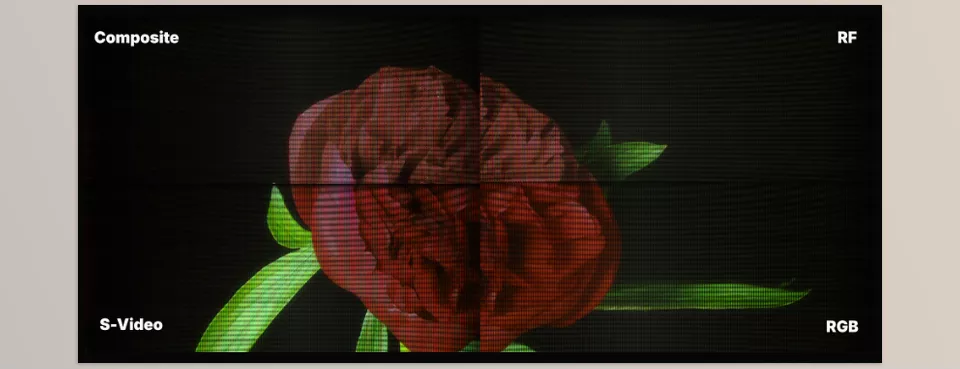
When we talk about the “CRT effect” in editing and design, we’re actually referring to a visual style whose goal is to take the image out of its overly clean, digital state and give it a more lively, nostalgic, and sometimes even rough feel.
This style is usually recognized by a set of identifiable features—things like fine scan lines on the image, slight color bleeding, controlled noise, or light halos that prevent the image from looking too polished and artificial. These are the same details that subconsciously make the viewer feel like they’re looking at something more “real,” not an overly processed output.
The important point is that these effects aren’t just for aesthetics—they’re expressive tools. That means you can use them to change the mood of your work. For example:
- In retro music videos, this effect quickly takes the audience back to the vibe of past decades
- In titles or motion graphics, it helps the work feel less rigid and formal
- In styles like Analog Horror, that same noise and imperfection become a source of tension and unease
In fact, CRT simulation can be seen as a kind of “design with imperfection.” Instead of keeping the image flawless, you intentionally add visual flaws to give it more character. This helps your image stand out from other clean and similar works.
In simple terms, CRT is a tool to give your image identity—an identity that can be nostalgic, creative, or even unsettling and different.
🛠️ What If You Don’t Have Specialized Tools?
Even without professional tools, achieving these effects is possible—but the process is usually more complicated. Most people use built-in effects in After Effects or Premiere, such as Noise, Blur, Wave Warp, or Color Correction. Some even recreate the look using Blender or by combining multiple techniques.
The problem is that these methods are often time-consuming, and the results don’t always look natural. The effects may feel too artificial, or you may have to rebuild everything from scratch for each project. Precise control isn’t always easy either.
Simply put, it’s doable… but it either takes a lot of time or the final quality doesn’t match what you had in mind.
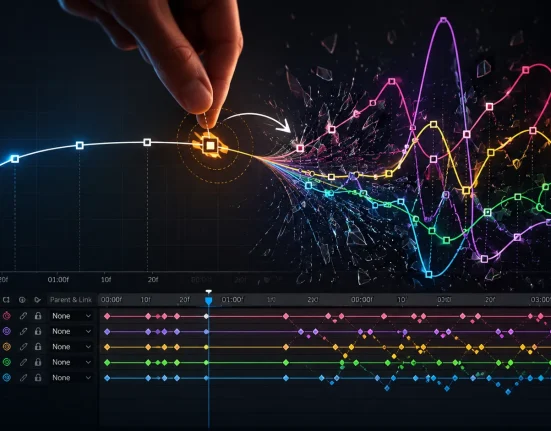
⚡ CRTX; When the Image Actually Starts to “Behave”
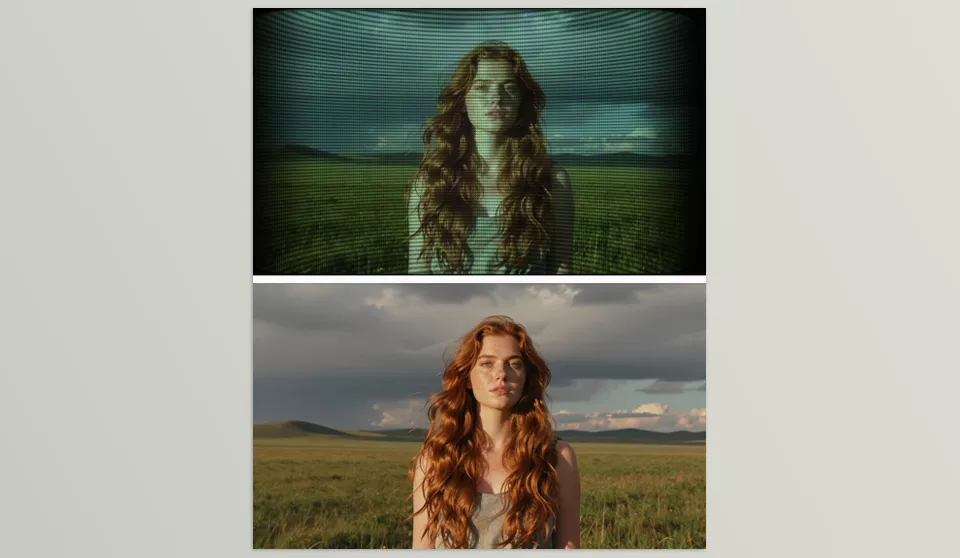
CRTX isn’t one of those tools that simply applies a ready-made effect onto your image. Its core idea is to treat the image like a living system that reacts based on its content. That means the output isn’t only dependent on your settings—the video itself also plays a role in shaping the result.
For example, brighter areas may produce more glow and light diffusion, or edges and details may take on a more distinct character. This prevents the effects from looking repetitive and uniform, making them feel more natural.
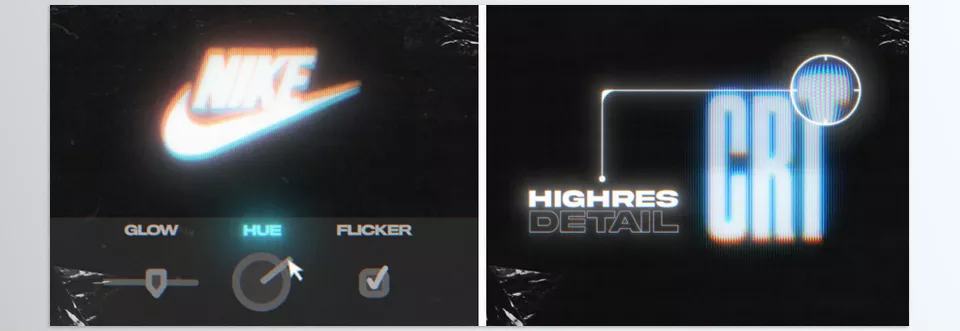
In terms of capabilities, you have a lot of control. You can adjust different aspects of the image, such as:
- The intensity and type of scan lines and the overall structure
- The level of color bleeding and blending
- The type of noise and distortion (from subtle to heavily glitched and degraded)
- Effects related to VHS, weak signal, or even severe breakdowns
With over 150 ready-made presets, you can quickly reach a solid starting point. But the key is that these presets are just the beginning. In serious projects, they’re usually customized further to achieve a unique style.
CRTX is most useful when final quality really matters, and you want your output to feel believable—like in music videos, branding projects, or any work where details are critical.
🎨 CRT Tool for AfterEffects and Premiere Pro; Fast, Simple, and Hassle-Free
On the other hand, the CRT Tool takes a completely different approach. The goal here isn’t to simulate everything from scratch, but to reach a good result quickly.
This tool is essentially a ready-made package of projects and presets designed in advance. You don’t need to build the effects—you just select and apply them. This makes it much faster to get results, especially when time is limited.
Using it is very straightforward:
- Drag & drop the effect
- Apply it to video, text, or logo
- Adjust a few simple settings if needed
The included effects typically cover things like glitch, distortion, noise, and various CRT simulation styles, all ready for quick use. Since it doesn’t require plugin installation, it’s a more convenient option for many users.
CRT tool is better suited for:
- Social media posts
- Quick titles
- Projects with tight deadlines
- Or even testing visual ideas
In essence, it’s designed to help you get a solid and attractive result without getting into complex details.
⚖️ Practical Comparison: Which One Is Right for You?
If you look at these two tools side by side, the main difference comes down to “level of control” and “speed.” CRTX is for those who want full control over details and highly precise, natural results. In contrast, CRT Tool is for situations where speed matters more than deep control.
In short:
- If you want to craft a unique style and spend time on it → CRTX is the more professional choice
- If you want a quick, solid result without hassle → CRT Tool gets the job done
Ultimately, the choice depends on your project and your workflow. In many cases, combining both approaches can even lead to more interesting results.
🎯 A Few Simple Tips to Make Your Work More Professional
Even with the best tools, the final result depends heavily on how you use them. Here are a few simple but effective tips:
- Don’t overdo it
Too much CRT simulation effect quickly looks artificial. Subtlety usually feels more professional. - Combine lighter effects
Instead of one heavy effect, mixing noise, blur, and color shift creates a more natural result. - Take motion seriously
Effects look far more realistic when they move—even with very subtle motion or shake. - Customize presets
Don’t just use them as-is—tweak them so your work doesn’t look like everyone else’s. - Add a bit of randomness
Small randomness makes the image feel more alive and natural.
Overall, the CRT simulation effect is like seasoning—use it properly and in moderation, and it can elevate your work by several levels 😉
💬 Sometimes Breaking It Is the Best Way
Today’s world is full of clean, flawless visuals—but that same perfection can sometimes make things feel repetitive and lifeless. CRT simulation effects come into play exactly when you want to break that excessive order and add a bit of emotion, nostalgia, and a different atmosphere to your image.
The key point is that these effects aren’t just tools—they’re a visual language. Whether you work manually or use ready-made professional tools, what matters is knowing where and how much to use them. Because using them correctly can make your work look significantly more professional.
In the end, what often makes your work stand out is those “controlled imperfections”—those small irregularities that give the image personality and help the audience connect with it 😉
If you’re ready to elevate your After Effects expertise beyond foundational skills, our comprehensive After Effects Tools guide provides the depth and structure you need.