

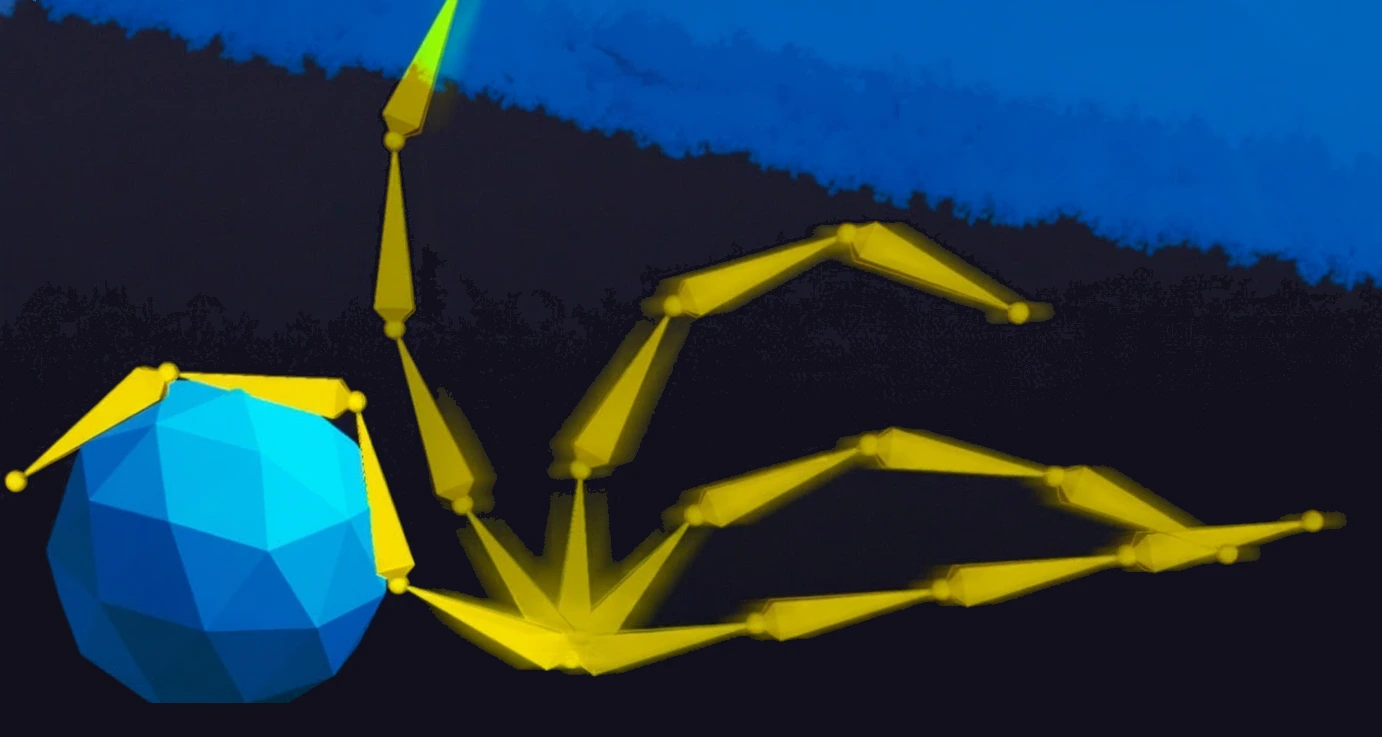
When Everything Moves Too Stiffly
Do you have any hands-on experience with the BoneDynamics? Have you ever animated a character and technically everything is correct, but it doesn’t feel “alive”? The keyframes are in place, the timing is fine, yet there’s an artificial feel in the motion that prevents the animation from being believable.
The tail, hair, clothing straps, or dangling accessories move exactly with the body—no delay, no sway, no weight. It’s as if these parts are glued to the body rather than reacting to its motion. This is something that always exists in real life but is often missing in animation.
This is when an animator feels that something is missing without knowing exactly what it is. The problem usually isn’t the modeling or the animation itself; it’s the lack of secondary motion, the small details that make a character truly feel alive.

What Are Bones, Meshes, and Physics?
In Blender, what you see and render is the mesh—the 3D model itself, such as the character’s body, tail, hair, or clothing. But a mesh alone cannot move or react naturally, which is why we attach bones to it.
Bones are invisible and not part of the model; they act as control handles for movement. They define which part of the model bends, stretches, or rotates, and when. For example, when you move a character’s tail, the bones define the motion path, and the mesh follows them.
Physics makes motion look more natural and alive. Mesh physics means giving the model itself to simulations like Cloth or Soft Body. This is precise and realistic but heavy and hard to control. Bone physics, on the other hand, applies physical behavior to the bones instead of the mesh itself. When a bone lags slightly, sways, or bounces, the mesh attached to it inherits that natural feel.
In simple terms, instead of the model shaking, the control handle shakes, and the model just follows. This is exactly what makes tails, hair, and clothing straps feel alive without the animator having to keyframe every frame manually.
How to Create This Feeling Without Professional Tools
In default Blender, there are several common ways to simulate natural movement, but none are completely hassle-free:
Manual Keyframing
How it works: You manually adjust each frame or minor movement of tails, hair, straps, or accessories to add lag, sway, or bounce.
Advantages: Full control over every detail.
Disadvantages: Extremely time-consuming and often results in slightly artificial motion, especially with many bones.
Visualization: Imagine moving a character’s tail and having to tweak each segment individually to feel natural.
Mesh Simulation (Cloth / Soft Body)
How it works: The mesh follows physics rules to move naturally, simulating weight, stretch, and collisions.
Advantages: Very realistic and lifelike results.
Disadvantages: Heavy, slow, and precise control is difficult. Subtle motions like tail or strap sway may become unpredictable.
Visualization: When the tail or strap moves, all parts react naturally, but you may not have precise control.
Constraints and Combined Tricks
How it works: A mix of constraints (Limit Rotation), damped follow (Damp Track), and Copy Location is used to approximate natural movement.
Advantages: Adjustable and flexible for small projects or detailed control.
Disadvantages: Requires experience; even minor changes can disrupt the entire motion.
Visualization: For example, ensuring hair or tail moves precisely with the body requires checking and adjusting every constraint, which takes time and patience.
All these methods work, but either they are time-consuming or inefficient for real projects like games or cinematics. This is exactly where professional tools like BoneDynamics make a difference, creating fast, natural, and controllable motion.
BoneDynamics: When Motion Feels Real
BoneDynamics is an amazing Blender add-on that gives soft physics to bones without giving the mesh too heavy a simulation. This means tails, hair, straps, or any soft details of a character can lag slightly, sway, and settle naturally. These motions make the character appear alive, something very hard to achieve with conventional methods.
Natural Bone Reactions
With BoneDynamics, you can adjust bones individually or in groups to react to the character’s movement and environment. For example, when a character spins or jumps, tails or hair lag, sway, and settle back naturally. Without this tool, such motions would require hours of manual keyframing or heavy simulations—both time-consuming and harder to control.
Chain Mode and Bone Chains
One cool feature is Chain Mode, which allows a series of bones to move in sync, like a tail or hair, where all segments sway together. Without Chain Mode, you’d have to control each segment separately, which is slow and often looks artificial.
Stretching and Bone Flexibility
BoneDynamics allows you to stretch bones, meaning their length changes slightly during motion. For example, a tail or horn stretches and then compresses, making movements feel more natural with weight and flexibility.
Dynamic Parenting and Environmental Reaction
Dynamic Parenting lets bones attach dynamically to each other or other objects, reacting naturally. Imagine a shoelace or a tail stretching slightly when the character jumps and then returning. All of this happens without extra keyframes or complex setup, appearing very natural.
Displacement Mode and Subtle Details
Displacement Mode simulates small, natural oscillations. For instance, when a character spins quickly, the tail and hair react subtly without needing extra keyframes. This adds life and believability to minor motions.
Professional Features and Baking
The Pro version allows live adjustment of physics parameters, letting you see and tweak the softness or stiffness in real-time. With Enhanced Baking and Transfer Animation, you can move motions from one rig to another and bake them with frame-step control. Secondary motions become ready for games, cinematics, or any animation without extra hassle.
The model doesn’t move—the bones move, and the mesh follows. This makes secondary motions like tail sway, hair, and straps feel real and alive without manual keyframing or heavy simulation.
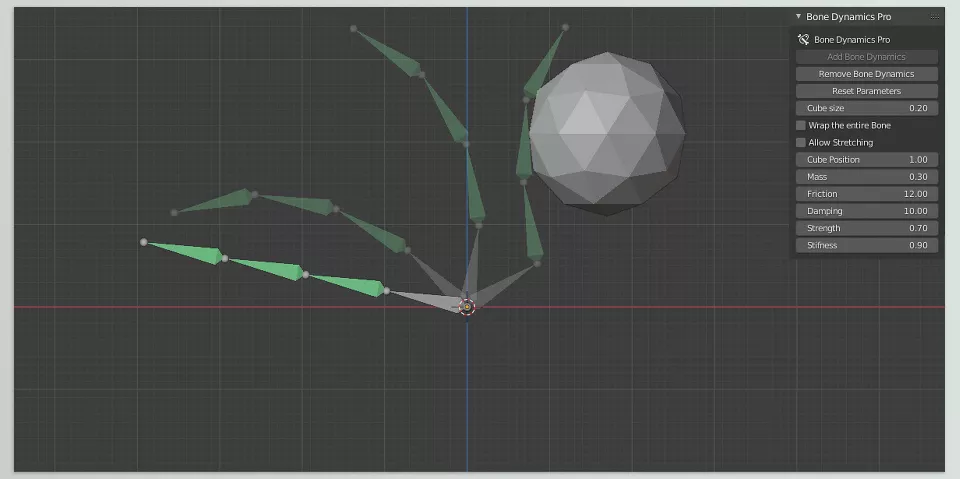

When and How to Use BoneDynamics Professionally
To get the most out of BoneDynamics, remember it’s designed for secondary motions—things that shouldn’t be the focus but whose absence is noticeable. Following a few professional tips ensures the motions feel natural and believable:
- Primary Motion First: Always set keyframes for the main movement (walking, running, jumping) before adding BoneDynamics for secondary motion.
- Subtle, Controlled Sway: Small amounts of movement usually look more natural. Exaggerated motion can appear artificial.
- Bake for Performance: For games or heavy rigs, baking keeps animation lightweight and smooth without heavy simulation.
- Fine-Tune Small Details: Adjust physics parameters gradually for subtle movements like tail or shoelace shake, checking the viewport for natural results.
- Use Chain and Dynamic Parenting: For long or multi-segment motions like tails or hair, chain and dynamic parenting ensure synchronized reactions.
Following these guidelines makes secondary motion natural, lively, and easy to control—no hours of manual keyframing or heavy simulations required.
Why This Tool Matters
BoneDynamics is a rapid, logical approach to making secondary character movements natural and believable. No more feathering through keyframes for secondary movements or employing mesh simulation that takes hours with every click. BoneDynamics takes care of the little movements seamlessly.
So if your work has tails, hair, straps, or even soft details, BoneDynamics will cut down time and allow you to implement your ideas for the more critical parts of the project. This allows motions to be natural and adjustable, with the benefit of not having to keyframe every little move that could also be weighted down by heavy simulations.
No, it’s not a tagline, but it’s a philosophy; dynamics work better when it’s physics on bones, not a headache. It reduces dynamics time, makes the work joint better for believable movement and professional animation/game renderings, yet easier to achieve.
Mastering Blender requires more than just knowing the interface—it’s about understanding how to use every tool efficiently. Our detailed guide about Blender Tools covers all Blender tools and demonstrates their use in real projects to ensure you gain practical mastery.



