

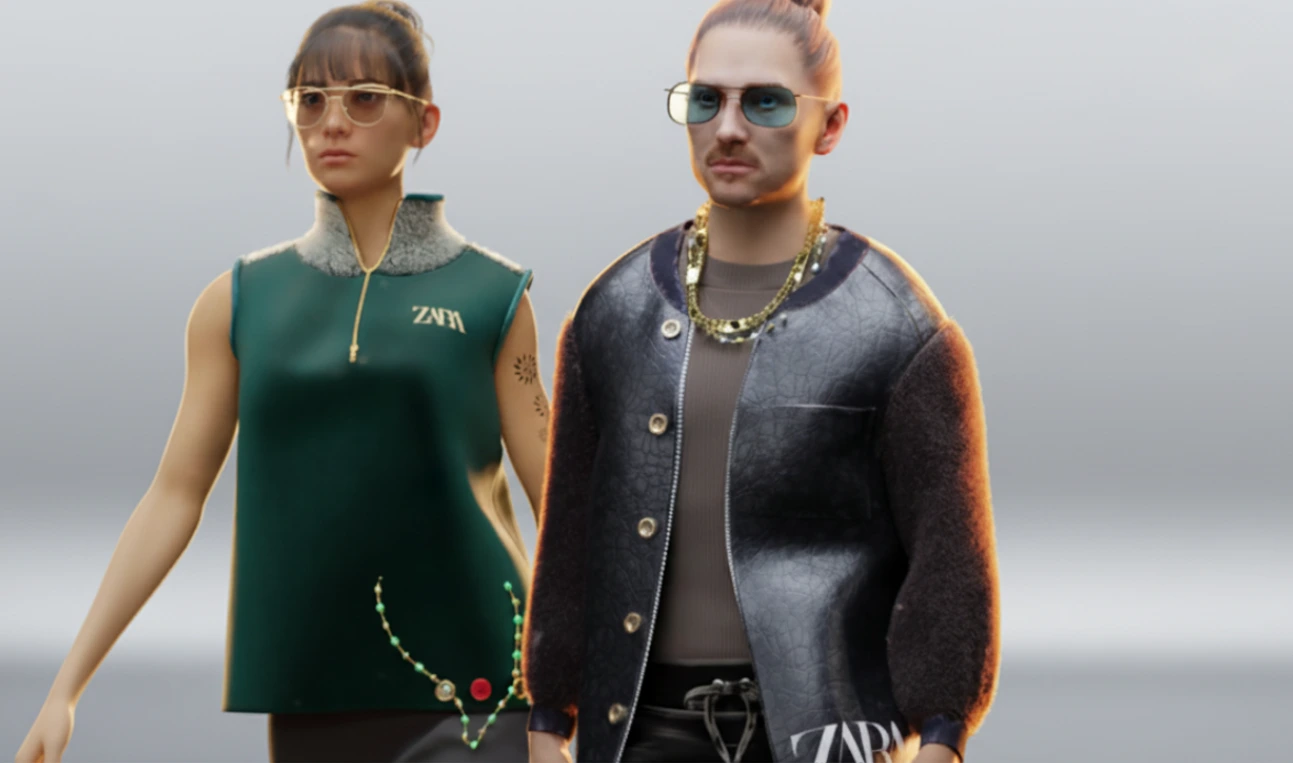
Is Your Character’s Outfit Ready?
Have you tried the Divine Cut (also called DivineCut) at any point? Imagine you’re working on an animation or game project and everything is ready… except one very important thing: your character’s clothing.
You want to add a puffer jacket, or maybe a long-sleeve shirt with fine details, but… well, modeling clothes from scratch can be a real nightmare.
Every small change means tweaking modifiers again, fixing topology, doing Weight Painting, and dealing with all kinds of cloth simulation headaches. In short, what should take an hour often turns into several hours—or even days—and your creativity gets lost in all those technical settings and complexities.
And the reality is, 3D garment creation is one of the most difficult aspects of creating a character. Not only modeling the garment but getting it to properly sit on the character’s body and animate as fabric should is no easy feat.
So, is there a solution for creating your character’s garments in a quick and easy fashion so as not to take up hours of your precious time? A method that allows you to think more creatively and conceptually than technically?

Long and Hard
If you want to create your character’s clothes without any add-ons or special tools, you have to go down the traditional, pure Blender route—the workflow everyone knows, but no one enjoys wrestling with for hours:
1️⃣ Manual Modeling
Every piece of clothing has to be built from scratch. Want to make a jacket? You need to model every single detail: collar, sleeves, folds, and wrinkles. Any small change means editing the mesh again and fixing the topology.
2️⃣ Modifiers and Cloth Simulation (Cloth + Shrinkwrap)
Now, assume the clothing is modeled—you still need to simulate realistic fabric behavior. Cloth and Shrinkwrap modifiers help, but they’re difficult and time-consuming to control. Every time you want to see how the clothing fits on the character’s body, you have to run the simulation, and the result might not be what you expected.
3️⃣ Vertex Groups and Weight Painting
Want some parts of the clothing to stay fixed, or to look puffy? You need to manually create Vertex Groups and do Weight Painting. This process is not only time-consuming but also requires experience and precision for the clothing to look natural.
Challenges of the Traditional Workflow
- High technical knowledge and lots of patience are required: Beginners get confused quickly, and even professionals need to spend a lot of time.
- Long iteration and simulation testing times: Every small change can take minutes or hours.
- Topology, UV, and accessory attachment issues: If your UVs aren’t clean or the mesh isn’t solid, even adding a simple zipper later can become a problem.
In short, the traditional workflow is like a long, winding road—time-consuming and draining your creative energy.
Professional Tool Introduction: “Divine Cut – Create Your Character’s Clothes in Minutes”
This is where the long and exhausting traditional workflow turns into a fast and visual experience. Divine Cut (also called DivineCut) is a Blender add-on that makes character clothing design incredibly easy and frees up your time so you can focus on creativity.
A) Generate Clothing with Just a Few Clicks
- Define the overall shape of the garment, sleeve length, collar size, shirt or pants length, and even thigh or ankle width.
- Output always comes with clean topology and ready-to-use base UVs, so you don’t need complex fixes.
- From short outfits to long gowns and various jackets, everything can be created effortlessly.
B) Paint and Control Clothing Behavior
Tools like Shrinkwrap, Pinning, Bloat, Smooth, and Pressure let you control different parts of the garment:
- Attach clothing closely to the character’s body
- Keep areas like cuffs or waist fixed
- Create volume or puffiness in specific regions
- Smooth and soften wrinkles
- Apply pressure to maintain shape and structure
This means the clothing isn’t just visually appealing—it also behaves like real fabric on the character.
C) Details and Accessories
- Add hoods, collars, buttons, zippers, pockets, and other Divine Assets with a single click.
- Accessories automatically interact with the clothing—no need to manually manage each part.
- Even complex outfits become simulation-ready and render-ready with minimal effort.
D) Presets and Workflow Acceleration
- Start quickly using presets like puffer jackets, shorts, and ready-made outfits.
- The fabric puffing algorithm is optimized and easier to control, so you don’t need to worry about complex settings.
A Real Example
Think about it. You need a puffer jacket with a hood and a zipper for your 3D character. You could model it manually, take time to adjust topologies, do Weight Painting to attach it to your character’s skeleton, and then work on the settings for cloth simulation. But it would take you hours.
Or you could use Divine Cut and do it in less than 10 minutes. Pick the style of jacket you want (click), add the hood (click) and zipper (click), and you’re done, ready to simulate. Realistic, production-level result. No unnecessary steps or added difficulty.
Divine Cut eliminates the lengthy and tedious process of clothing creation in Blender. It allows you to generate pieces that would take you hours in a matter of minutes by simplifying garment generation, controlling fabric simulation properties, adding necessary embellishments like zippers, and does so in a concise, fast, visual manner to allow you to get back to your overarching ideas.
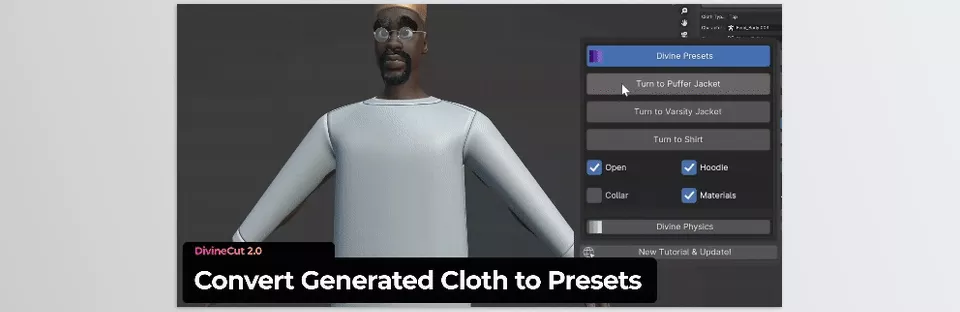

Professional Techniques & Tips
Even with the best tools, some details make clothing look truly natural and professional. Here are a few simple but effective tips for getting the most out of Divine Cut:
1️⃣ Smart Use of Pinning
Use pinning to correct things like sleeve cuffs, waistlines, and the edges of garments to prevent natural cloth simulation from sliding off or collapsing. It helps to take a quick read of these areas pre-simulate to make sure they’re all good to go.
2️⃣ Control Fabric Puffiness (Puffer)
If you want your clothing to look puffy or voluminous, use the Puffer tool—but be careful with pressure. Too much pressure makes the garment look unnatural or even “exploded,” while too little makes the puffiness invisible. Testing a few values helps you find the sweet spot.
3️⃣ Properly Bind Accessories
Buttons, zippers, pockets, and other details should always be bound to the clothing. This keeps them from drifting during simulation and ensures they move naturally with the garment. Loose, unbound accessories look unprofessional—even if the clothing itself is well-made.
4️⃣ Smooth After Shrinkwrap
After Shrinkwrapping the clothing to the character’s body, some areas like collars, armpits, or sleeve edges may show sharp lines or unnatural folds. Use the Smooth tool to soften these areas and achieve a more natural look. It’s a small step with a big impact.
5️⃣ Combine Multiple Tools
Often, the best results come from combining tools: first Pin certain areas, then Smooth them, and finally add volume using Bloat or Pressure. This combination creates clothing that looks natural and moves in harmony with the character.
By following a few simple tips—smart Pinning, proper puff control with Puffer, correct accessory binding, and smoothing key areas—you can create clothing that looks natural and professional. Even small tweaks make cloth simulation more realistic and give the final result a high-quality, believable feel.
Fast, Engaging, and Hassle-Free
Divine Cut ensures you never spend hours modeling garments, cleaning topology, and adjusting endless little things. You have time to spare for adjustments—you don’t need to with this addon. You can get right to the ideation and clothing creation and progress much sooner. That means less downtime in creative thinking and shorter project execution.
Create complex arrangements, adjust fabric simulation properties, and add accessories in no time. Hoods, collars, zippers, buttons—the works—all in a few clicks and no broken simulations in between or complicated arrangements needed for each adjustment. Weight, Painting, and UVs are also minimal.
Ultimately, using Divine Cut to create your clothing will never be strenuous or take hours of your time. Once you use it once, you will see how effective a few easy clicks can be to make your projects faster, more natural, and more professional. You really won’t want to go back.
If you’re looking to gain in-depth knowledge of Blender and develop confidence in using its tools, our detailed Blender Tools guide provides step-by-step instructions, examples, and best practices for every tool.



