

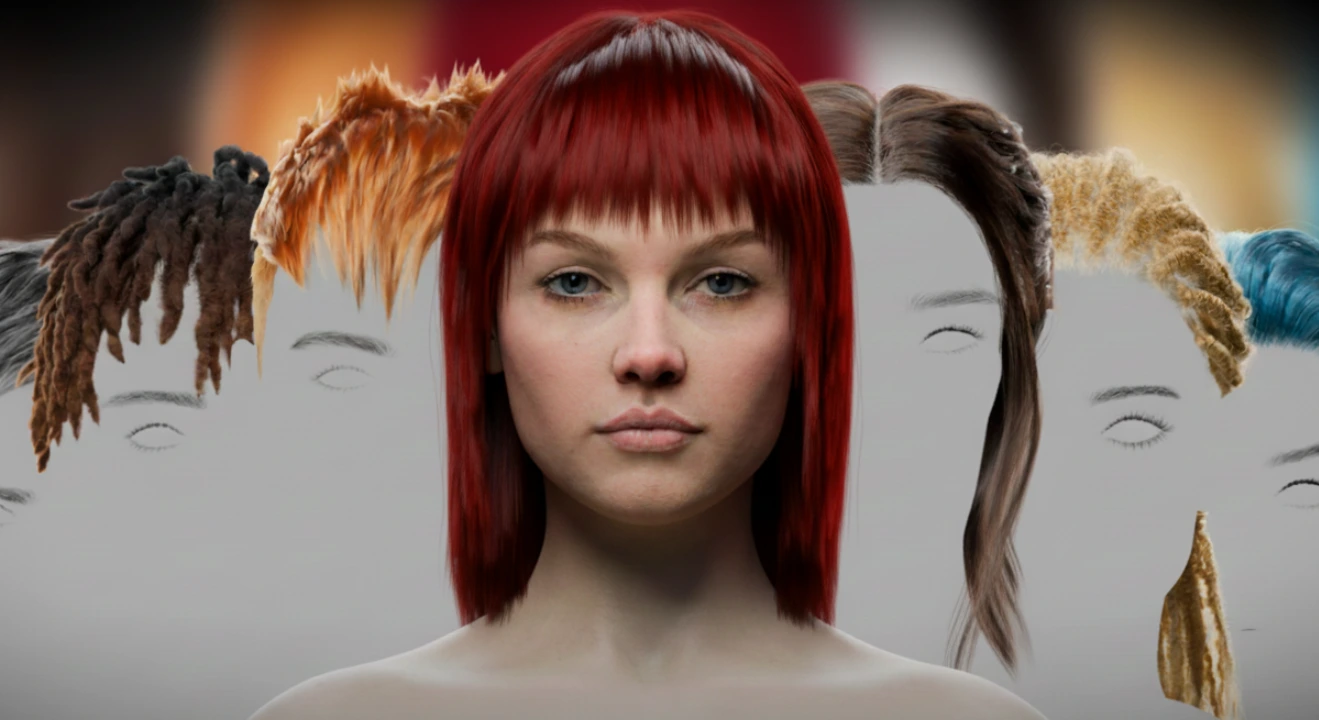
A Familiar Start for Every Blender Artist
Have you heard people talk about the Globalhair? Making hair in Blender, especially for a more serious character, is probably one of the most tedious pieces of production. The entire process, from how to groom the hair to where to place the guides to what render settings will allow the best control over the final product, is all about delicate hands and seasoned veterans. Even some pros say they never get it looking clean and realistic.
In the usual workflow, a simple change—like shortening the hair, reducing volume, or changing its style—can force you to redo several grooming steps from scratch. These back-and-forth adjustments make hair work feel more like a trial-and-error process than a straightforward and fast path.
That’s why many artists, even experienced ones, ask themselves if there’s a way to simplify and make this process more reliable—so that speed increases without compromising the quality. This question often leads them to search for tools that can standardize and manage this crucial aspect of character creation.

Traditional Methods – When You Only Have Blender and Patience
Before professional hair tools entered the Blender scene, the grooming process was more about patience than design. Anyone who has worked with Blender’s default methods knows how time-consuming and complex it can be to create proper hair without assistance.
- Particle Hair
The oldest and most well-known method. You had to enable the hair system on the scalp, set the number of strands, and then start combing. The problem?
From the beginning, it produced a huge number of strands, which slowed down the viewport. Combing wasn’t precise, and the hair often ended up either too soft or looking “stringy.” For serious projects, getting a clean output with Particle Hair wasn’t easy.
- Manual Geometry Nodes
When nodes were introduced, users gained much more flexibility. But creating a hair system from scratch—only using nodes—was truly a challenge. The number of nodes grew quickly, and the graph structure became complex. If you decided to change hair length or style midway, you often had to rebuild or adjust half of the graph. So while it was powerful, it lacked speed and flexibility.
- Traditional Modeling
This method worked mostly for volumetric, stylized, or cartoonish hair. For natural hair that needed fine strands, density, and realistic direction, it was rarely practical. Manual modeling often resulted in artificial and unrealistic outcomes.
The Main Problem?
Each of these methods had significant limitations. Speed wasn’t sufficient, flexibility for changes was low, and most importantly, there was no clear standard for creating hair. Therefore, when the character changed, you often had to start from scratch—a time-consuming and exhausting task in large projects.
GlobalHair: A Library of 180 Ready-Made Hair Models
Now we reach the exciting part—the point that artists usually look for after struggling with Blender’s default systems. GlobalHair was created precisely for this: to standardize, speed up, and make hair creation reliable—without compromising final quality.
What Does GlobalHair Do?
In the simplest terms, it provides a large library of 180 fully editable hair models, all made with Geometry Nodes. Not just a ready-made collection, but a complete, flexible system that allows you to transform almost any hair model into your desired shape. Shorten it, lengthen it, style it, create wet effects, or even make fantasy styles—all fully adjustable and reversible.
The big advantage is that you only work with guides. You don’t need to comb thousands of strands one by one. Move a few guides, and the system generates the natural strands automatically. Additionally, GlobalHair fits any character—realistic or cartoonish—quickly and requires minimal adjustments.
Features Categorized
- Complete Library of 180 Hair Models
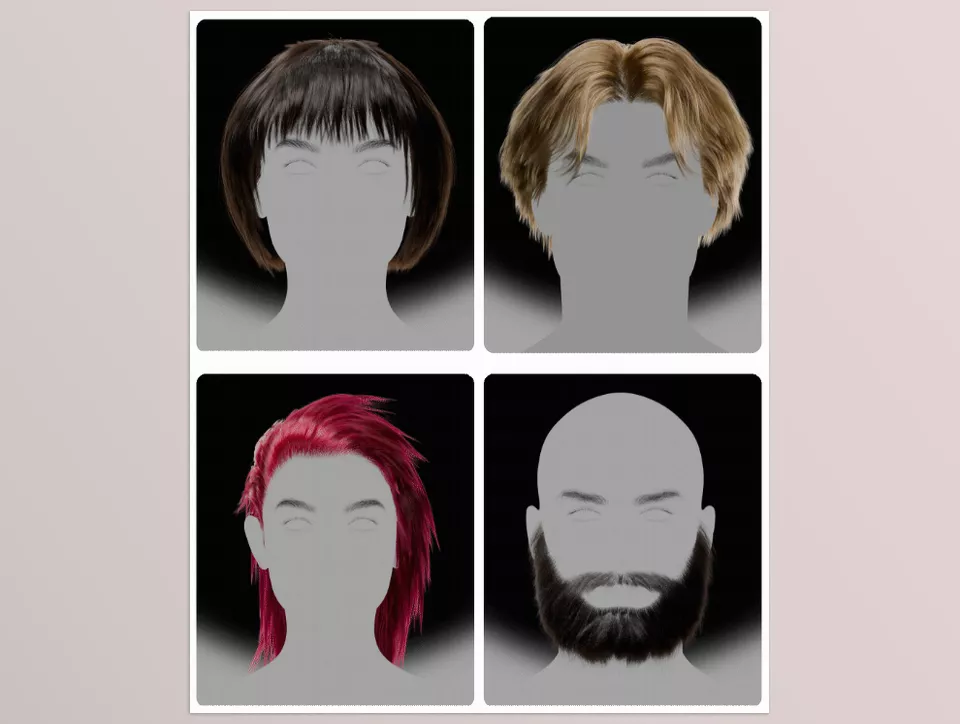
From male and female hairstyles to beards, stylized, fantasy, and classic looks, you’ll find a suitable option for almost any project. The best part is that all models are well-designed from the base—not just simple meshes labeled “hair.” - Full Control with Geometry Nodes
Everything is adjustable: length, density, form, randomness, thickness, weight, fluffiness, and dozens of other parameters—all with neat, clear sliders. This means you can transform a single hair model into dozens of styles in seconds. - Hair Growth with Texture Paint
Instead of hair growing everywhere and then needing removal, you determine exactly where hair grows. Paint directly on the scalp, and the hair appears there. This gives more control for beards and complex styles as well. - Level of Detail (LOD) Control
When working on a heavy project, viewing full hair in the viewport can be taxing. GlobalHair allows you to lower the detail level for easy work, and with one click, switch to cinematic detail for the final render. - Automatic Fit on Any Character
Simply fit the scalp to the character’s head, and the system handles the rest. This means you don’t have to manually adjust volume and shape for each model—especially time-saving in multi-character projects. - Quick Control with Guides
Instead of dealing with thousands of strands, adjust just a few main guides, and the system generates the rest. This speeds up your workflow and makes future edits much easier.
Overall, before these advanced tools, hair work in Blender felt more like a grueling battle than a creative process. Lots of nodes, endless adjustments, frustration… and often, the result didn’t meet expectations. That’s why, when Geometry Nodes-based or ready-made solutions appeared, it was a relief. Finally, we could focus our energy on designing hair rather than struggling with the technique.
Professional Tips and Techniques
Now, some tips that truly elevate your work:
- Use Texture Paint to control hair growth
This lets you precisely define areas of dense or sparse hair, creating a natural and clean growth pattern rather than random placement. - Always set LOD to low before styling
Especially if your system isn’t strong. This keeps the viewport responsive and allows easy combing and shaping. - Wet or slicked-back hair?
Simply adjust Clump and Length. These two settings alone can create realistic wet or slicked-back effects instantly. - For cartoon characters, reduce Noise
Cartoon hair needs smooth, simple, uniform forms. Excess Noise can ruin the look. Reducing it gives clean, animation-ready results. - For realistic beards, use masks with Sharp Falloff
Beard lines usually have a defined edge. This mask ensures you achieve a precise, clean line. - Always recalculate hair before rendering
After edits, hair often needs a refresh to correct physical behavior and strand distribution. - Avoid very dark base colors
Extremely dark hair hides details. A slightly lighter base preserves visibility—even if you darken it later with color correction.
Following these simple tips gives you full control over hair styling, more natural and professional results, and no viewport lag or old frustrations.
Why It’s Worth Using
Once you use GlobalHair, you realize how simple and enjoyable hair creation can be. Returning to old, time-consuming methods like Particle Hair or manual modeling becomes nearly impossible. Everything is pre-made and adjustable, speeding up your workflow and letting you focus on creativity and design, not technical problems.
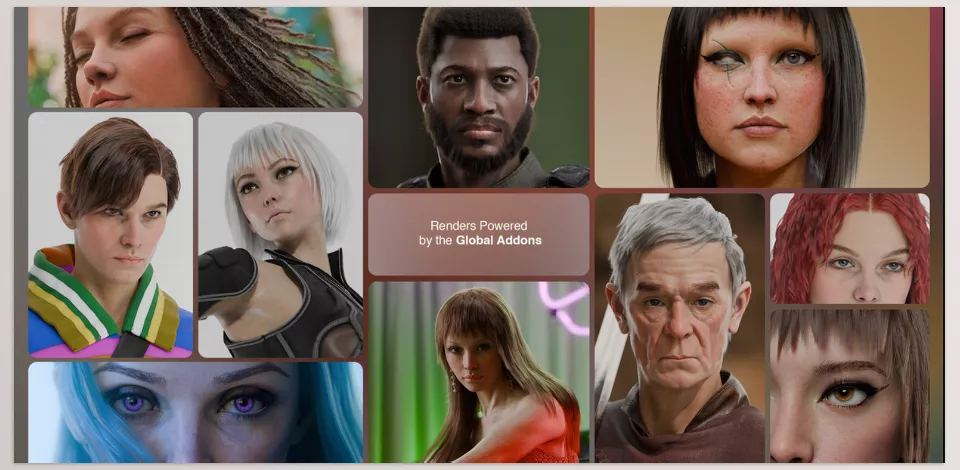
The final output is highly natural and professional. With just a few clicks, hair takes shape, styling is applied, and the result is realistic enough for cinematic renders or professional animation. You don’t need to start from scratch or adjust the entire character—the system fits any model and scalp easily.
Another major advantage is its non-destructive nature. Any changes or edits are fully reversible without breaking the system or requiring a full rebuild. This makes large, multi-character projects or style changes fast and hassle-free.
In short: if you work with characters, GlobalHair isn’t just a hair tool—it’s a fast, clean, reliable solution for saving time, energy, and frustration—and it’s absolutely worth trying.
Ready to transform the way you work in Blender? Our in-depth guide to Blender Tools not only explains how each feature works but also demonstrates practical applications that help you build real projects confidently.



